I recently made a lot of pillows and thought I would share how I do them and some of my “secrets.” To start out, select your pillow insert. This one is 18″ x 18″. 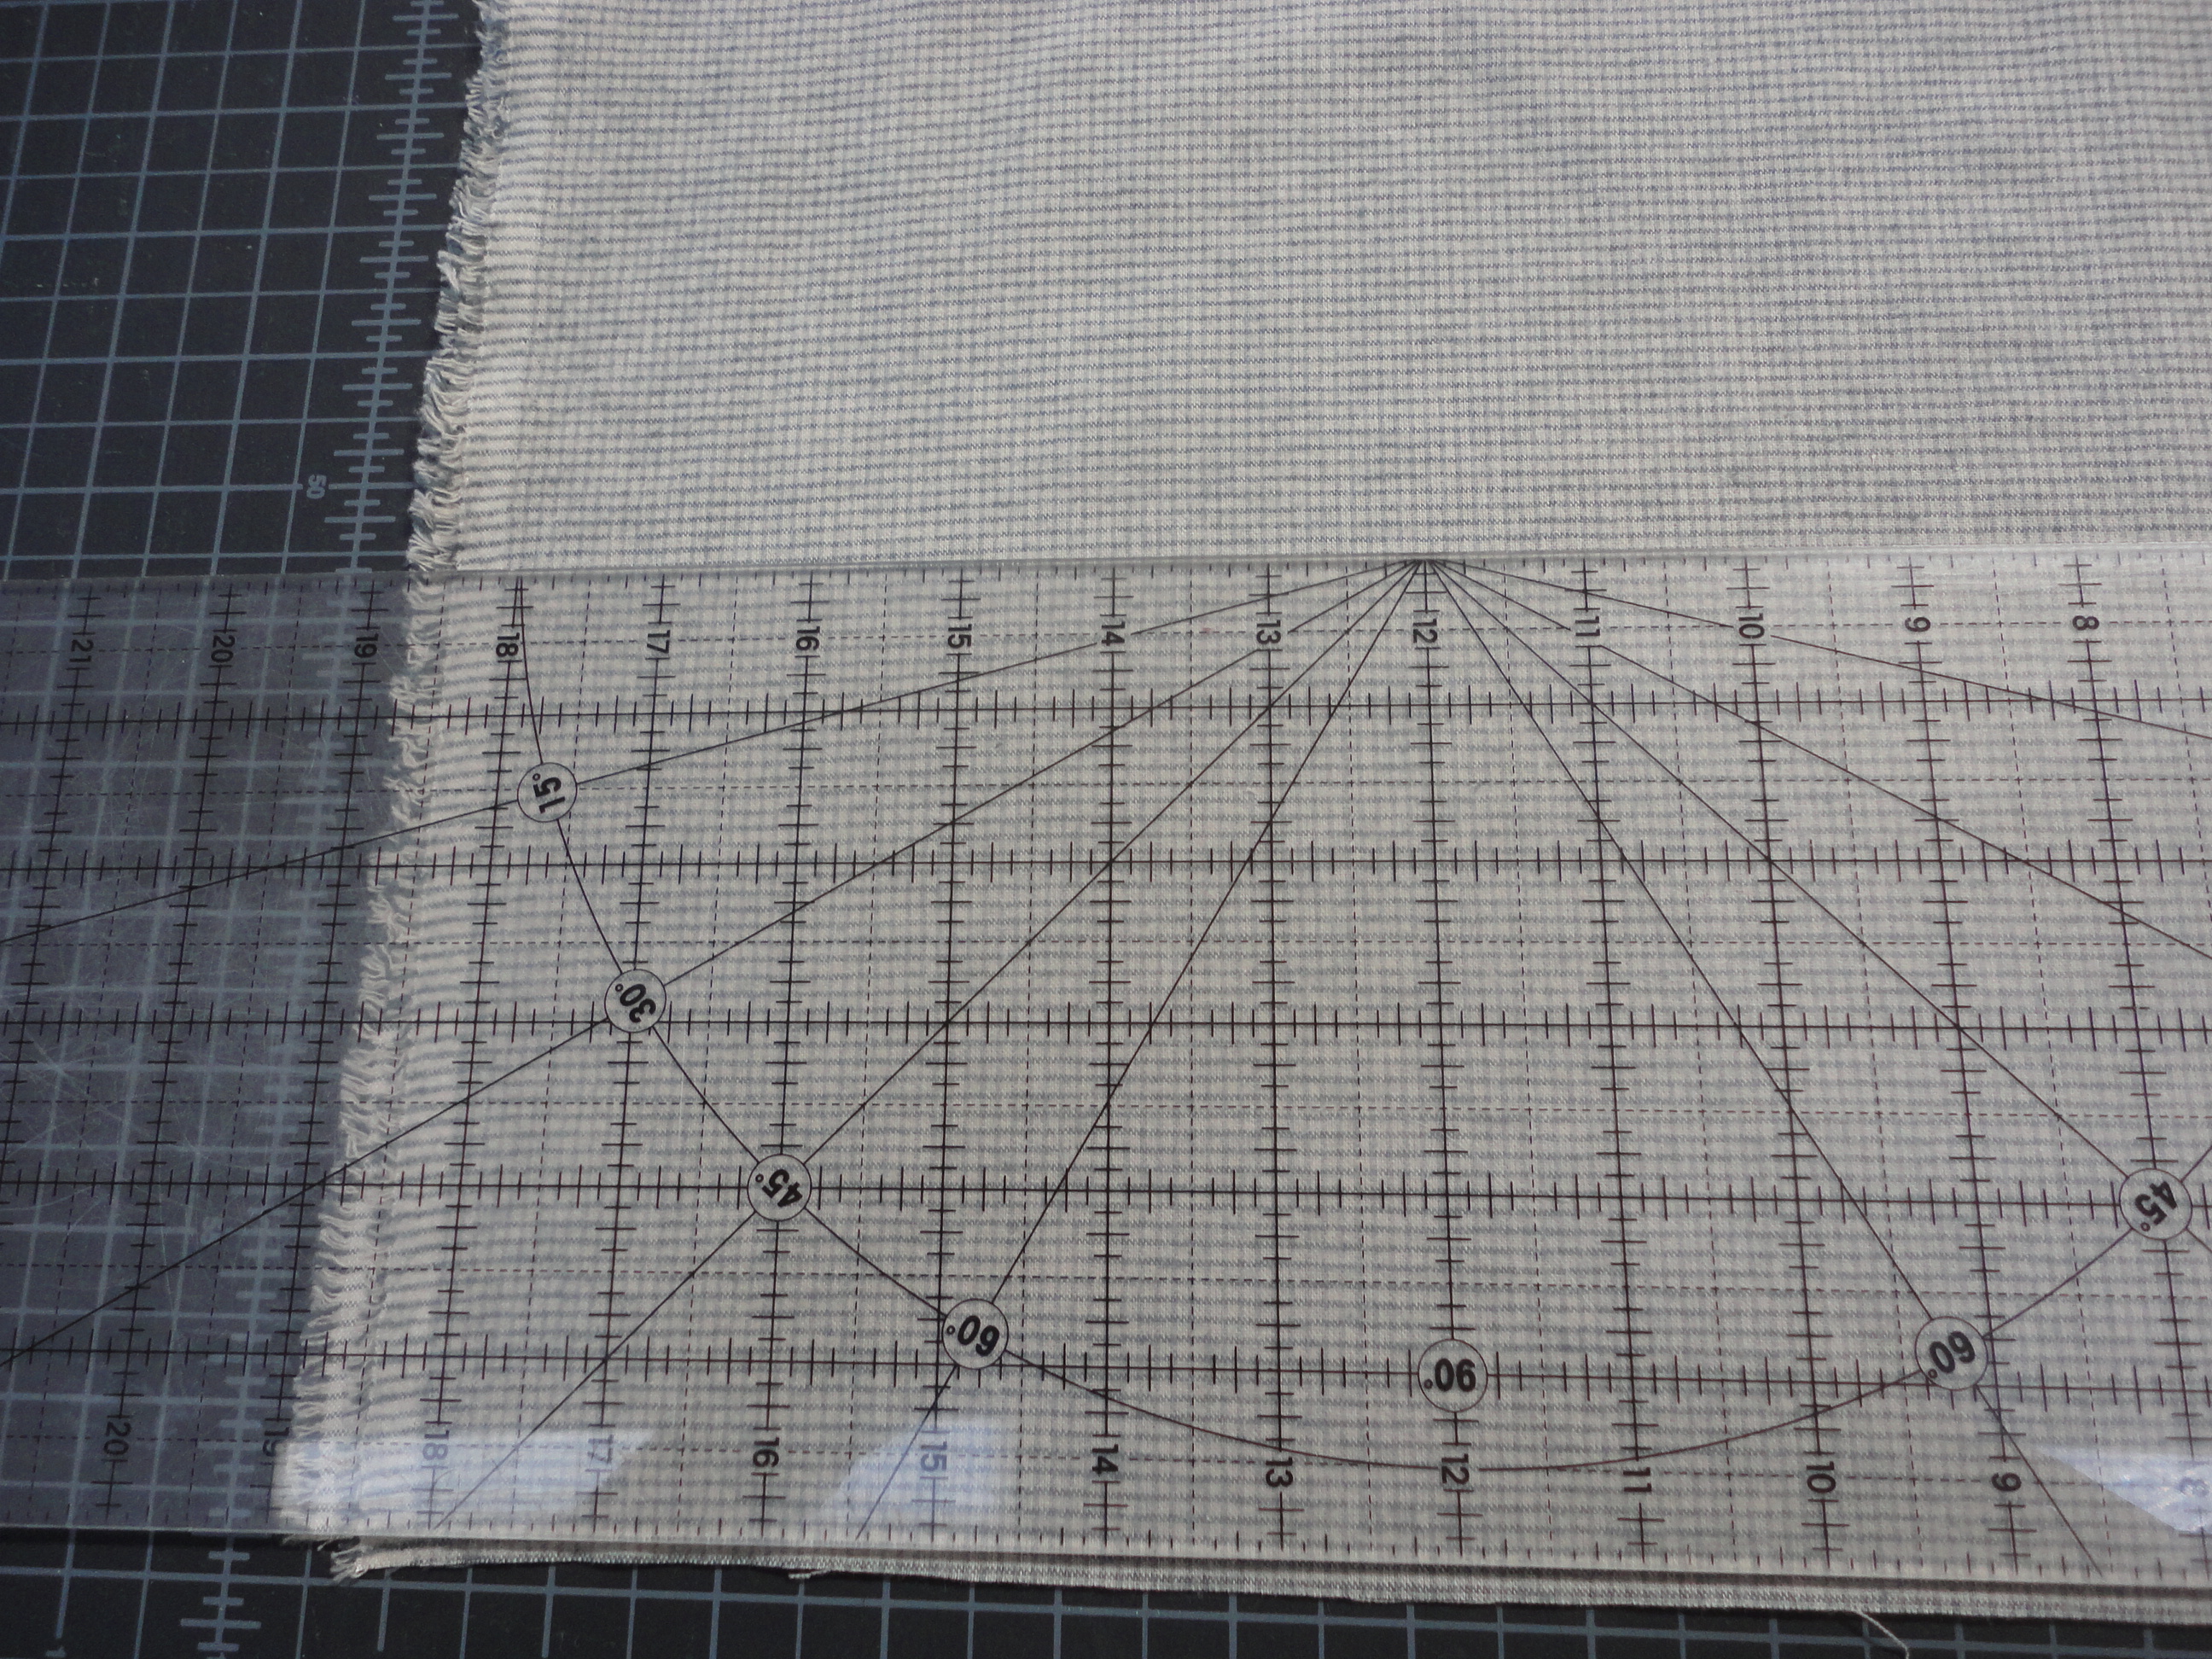 I lay the pillow covering fabric right sides together and measure 18″ not including the selvage.
 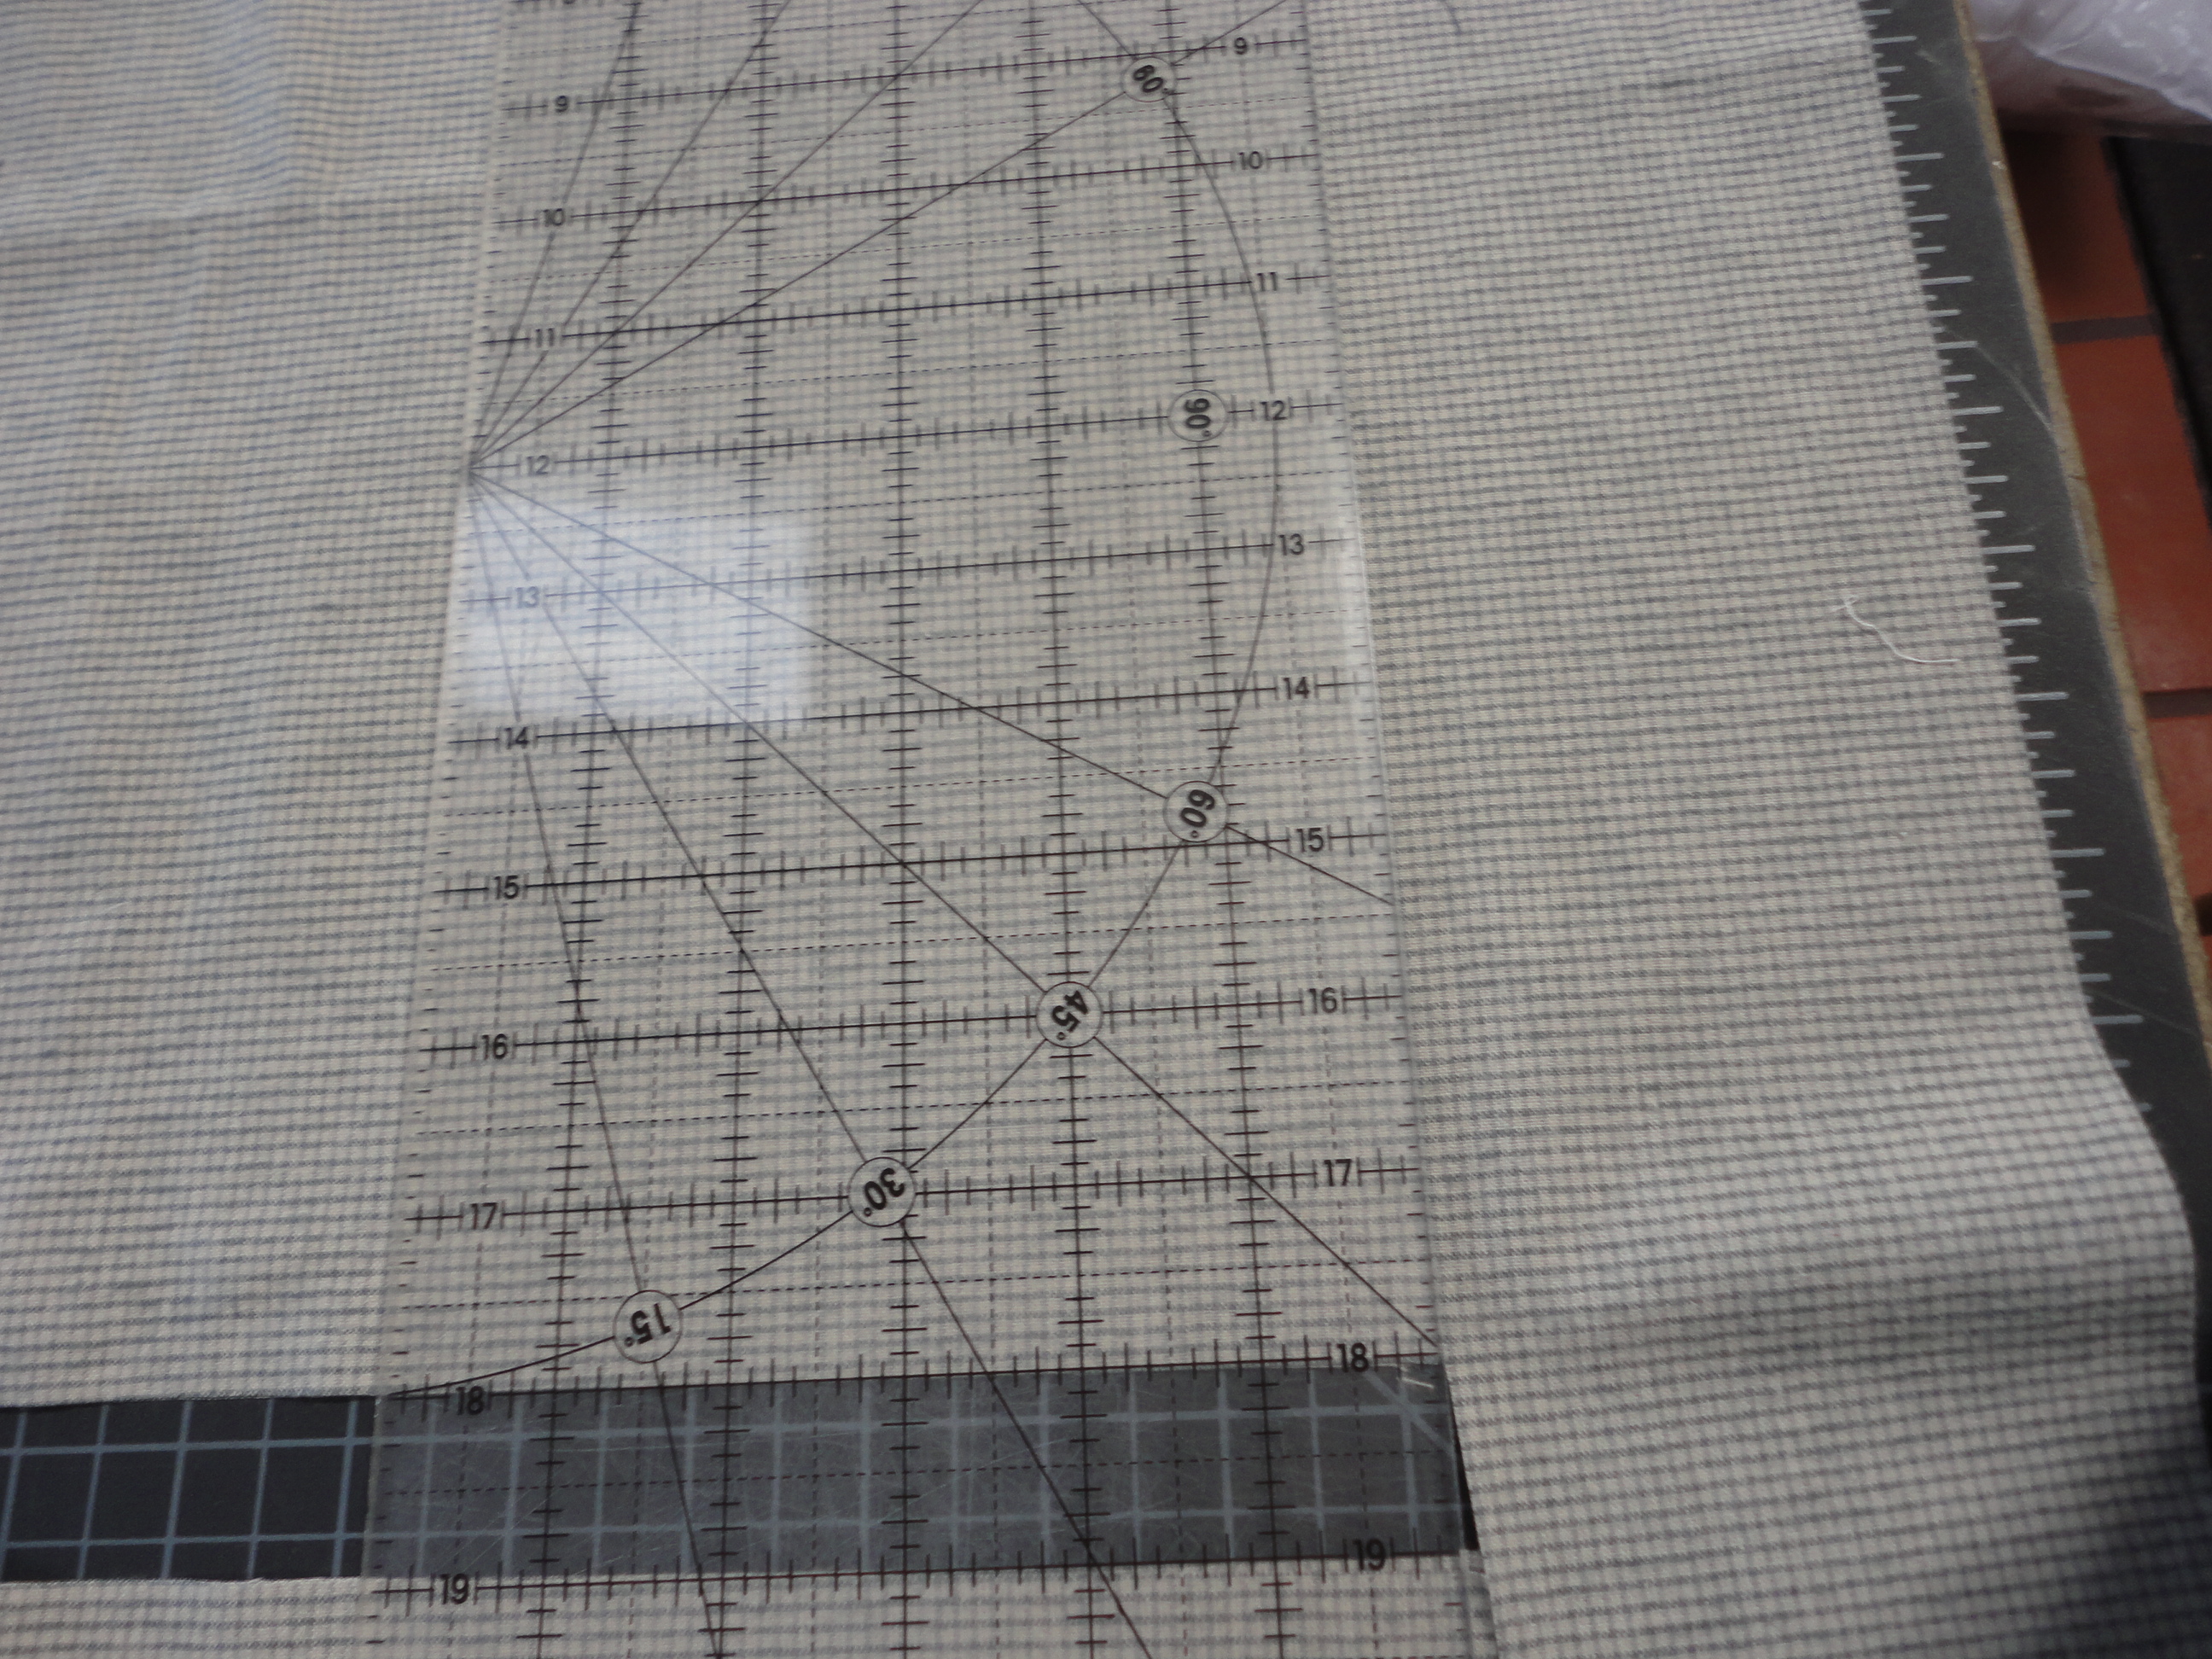 Then I cut it and measure 18″ in the other directions and cut. custodia iphone 7 azzurra That’s right, I cut the pillow covering fabric the same size as the pillow form, no seam allowances included.
 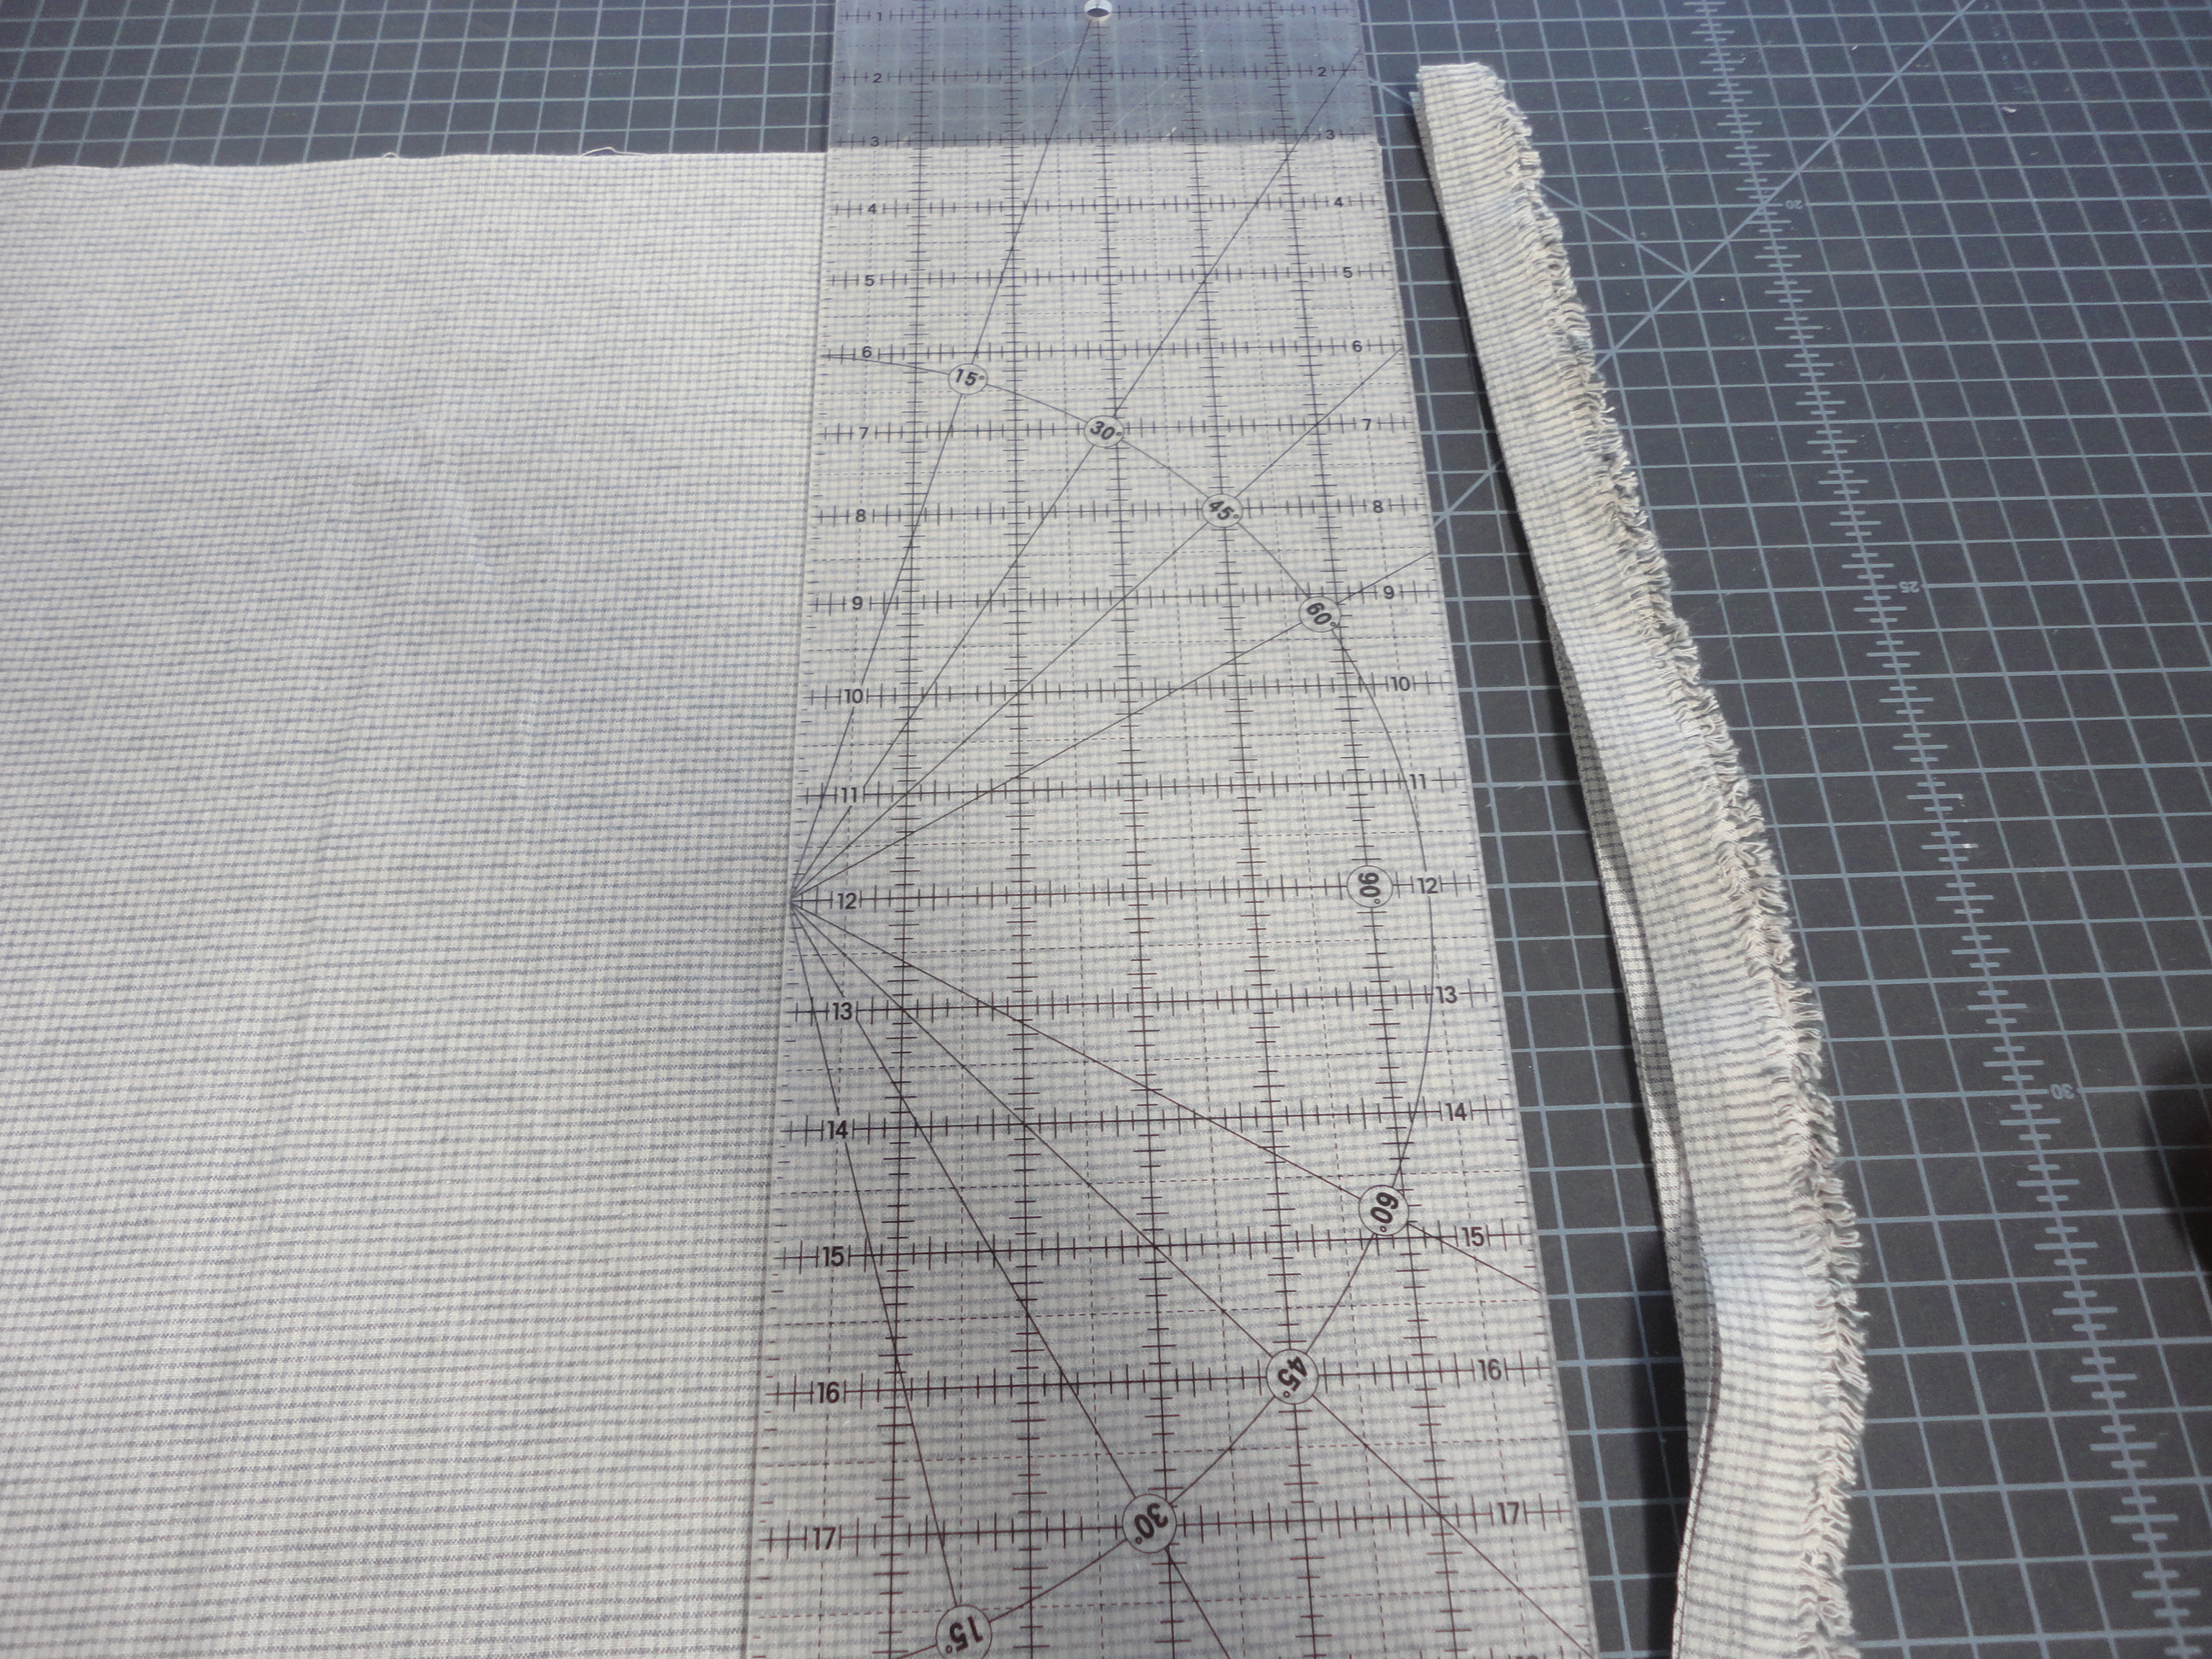 Now cut the the third and fourth sides and then remove the selvage.
 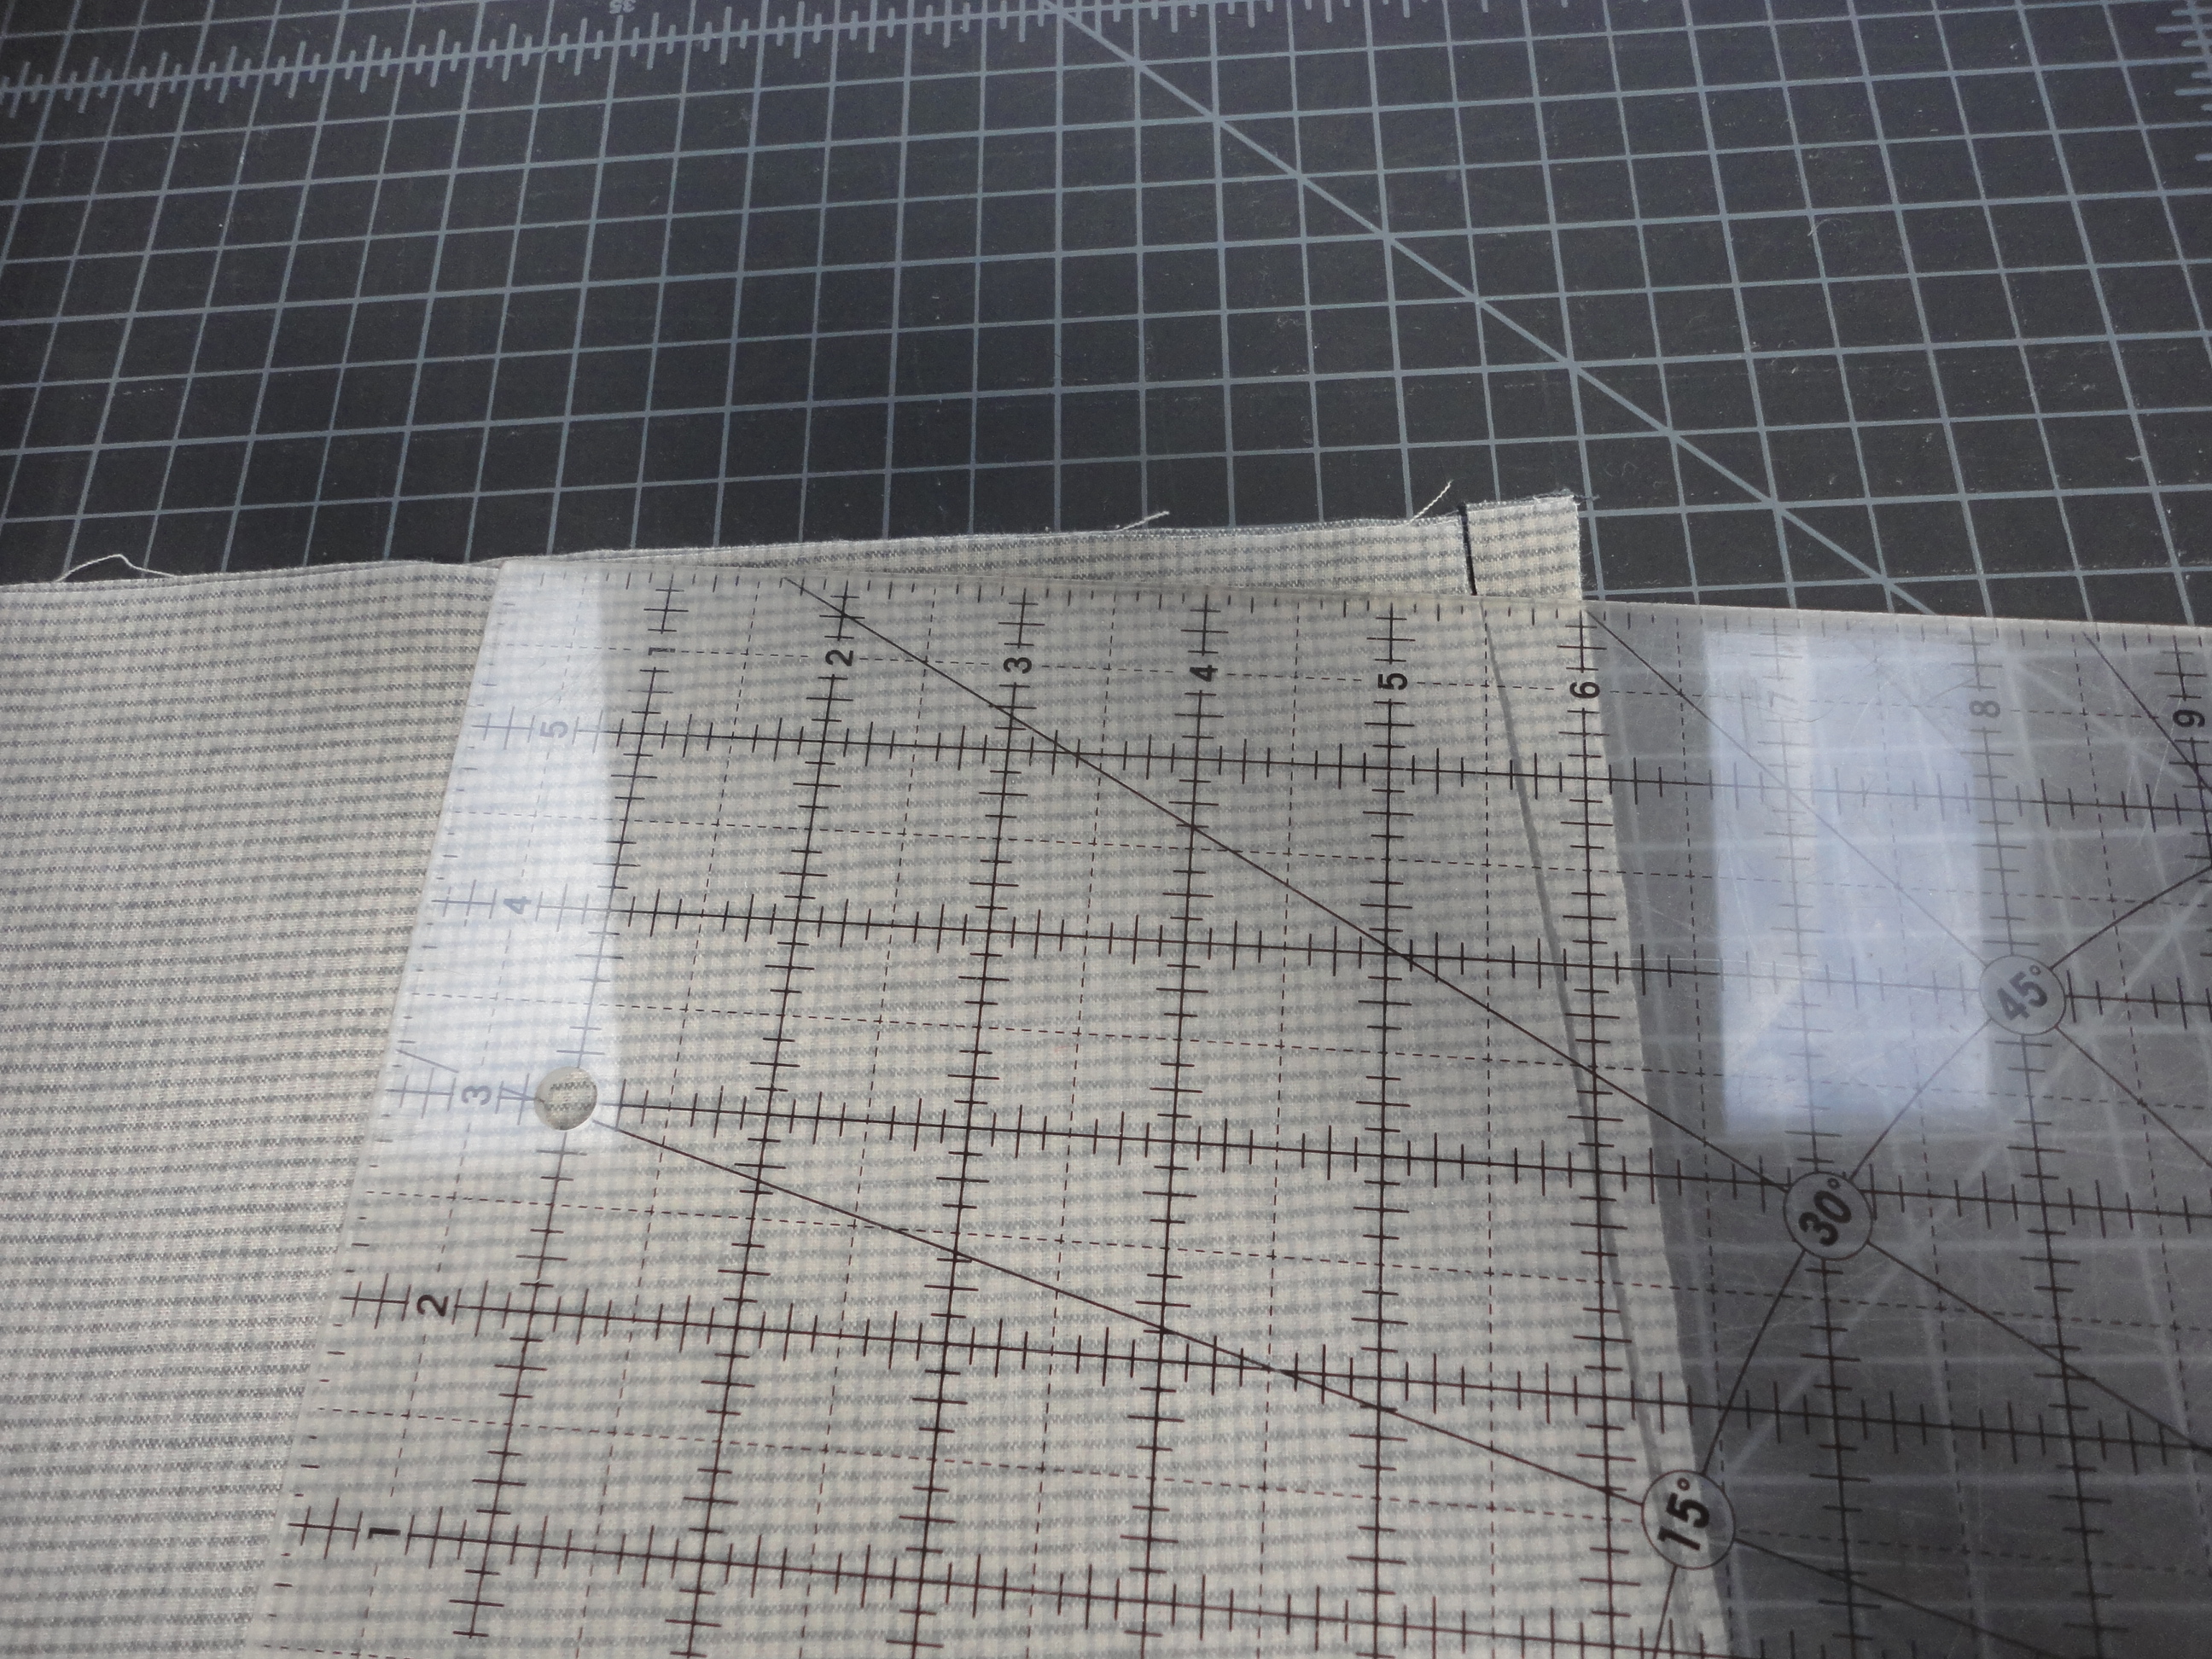 Now you will angle the ruler 6″ in and 1/2″ from the outside edge and slice off the long triangle. Do this on all four sides of the pillow covering.
 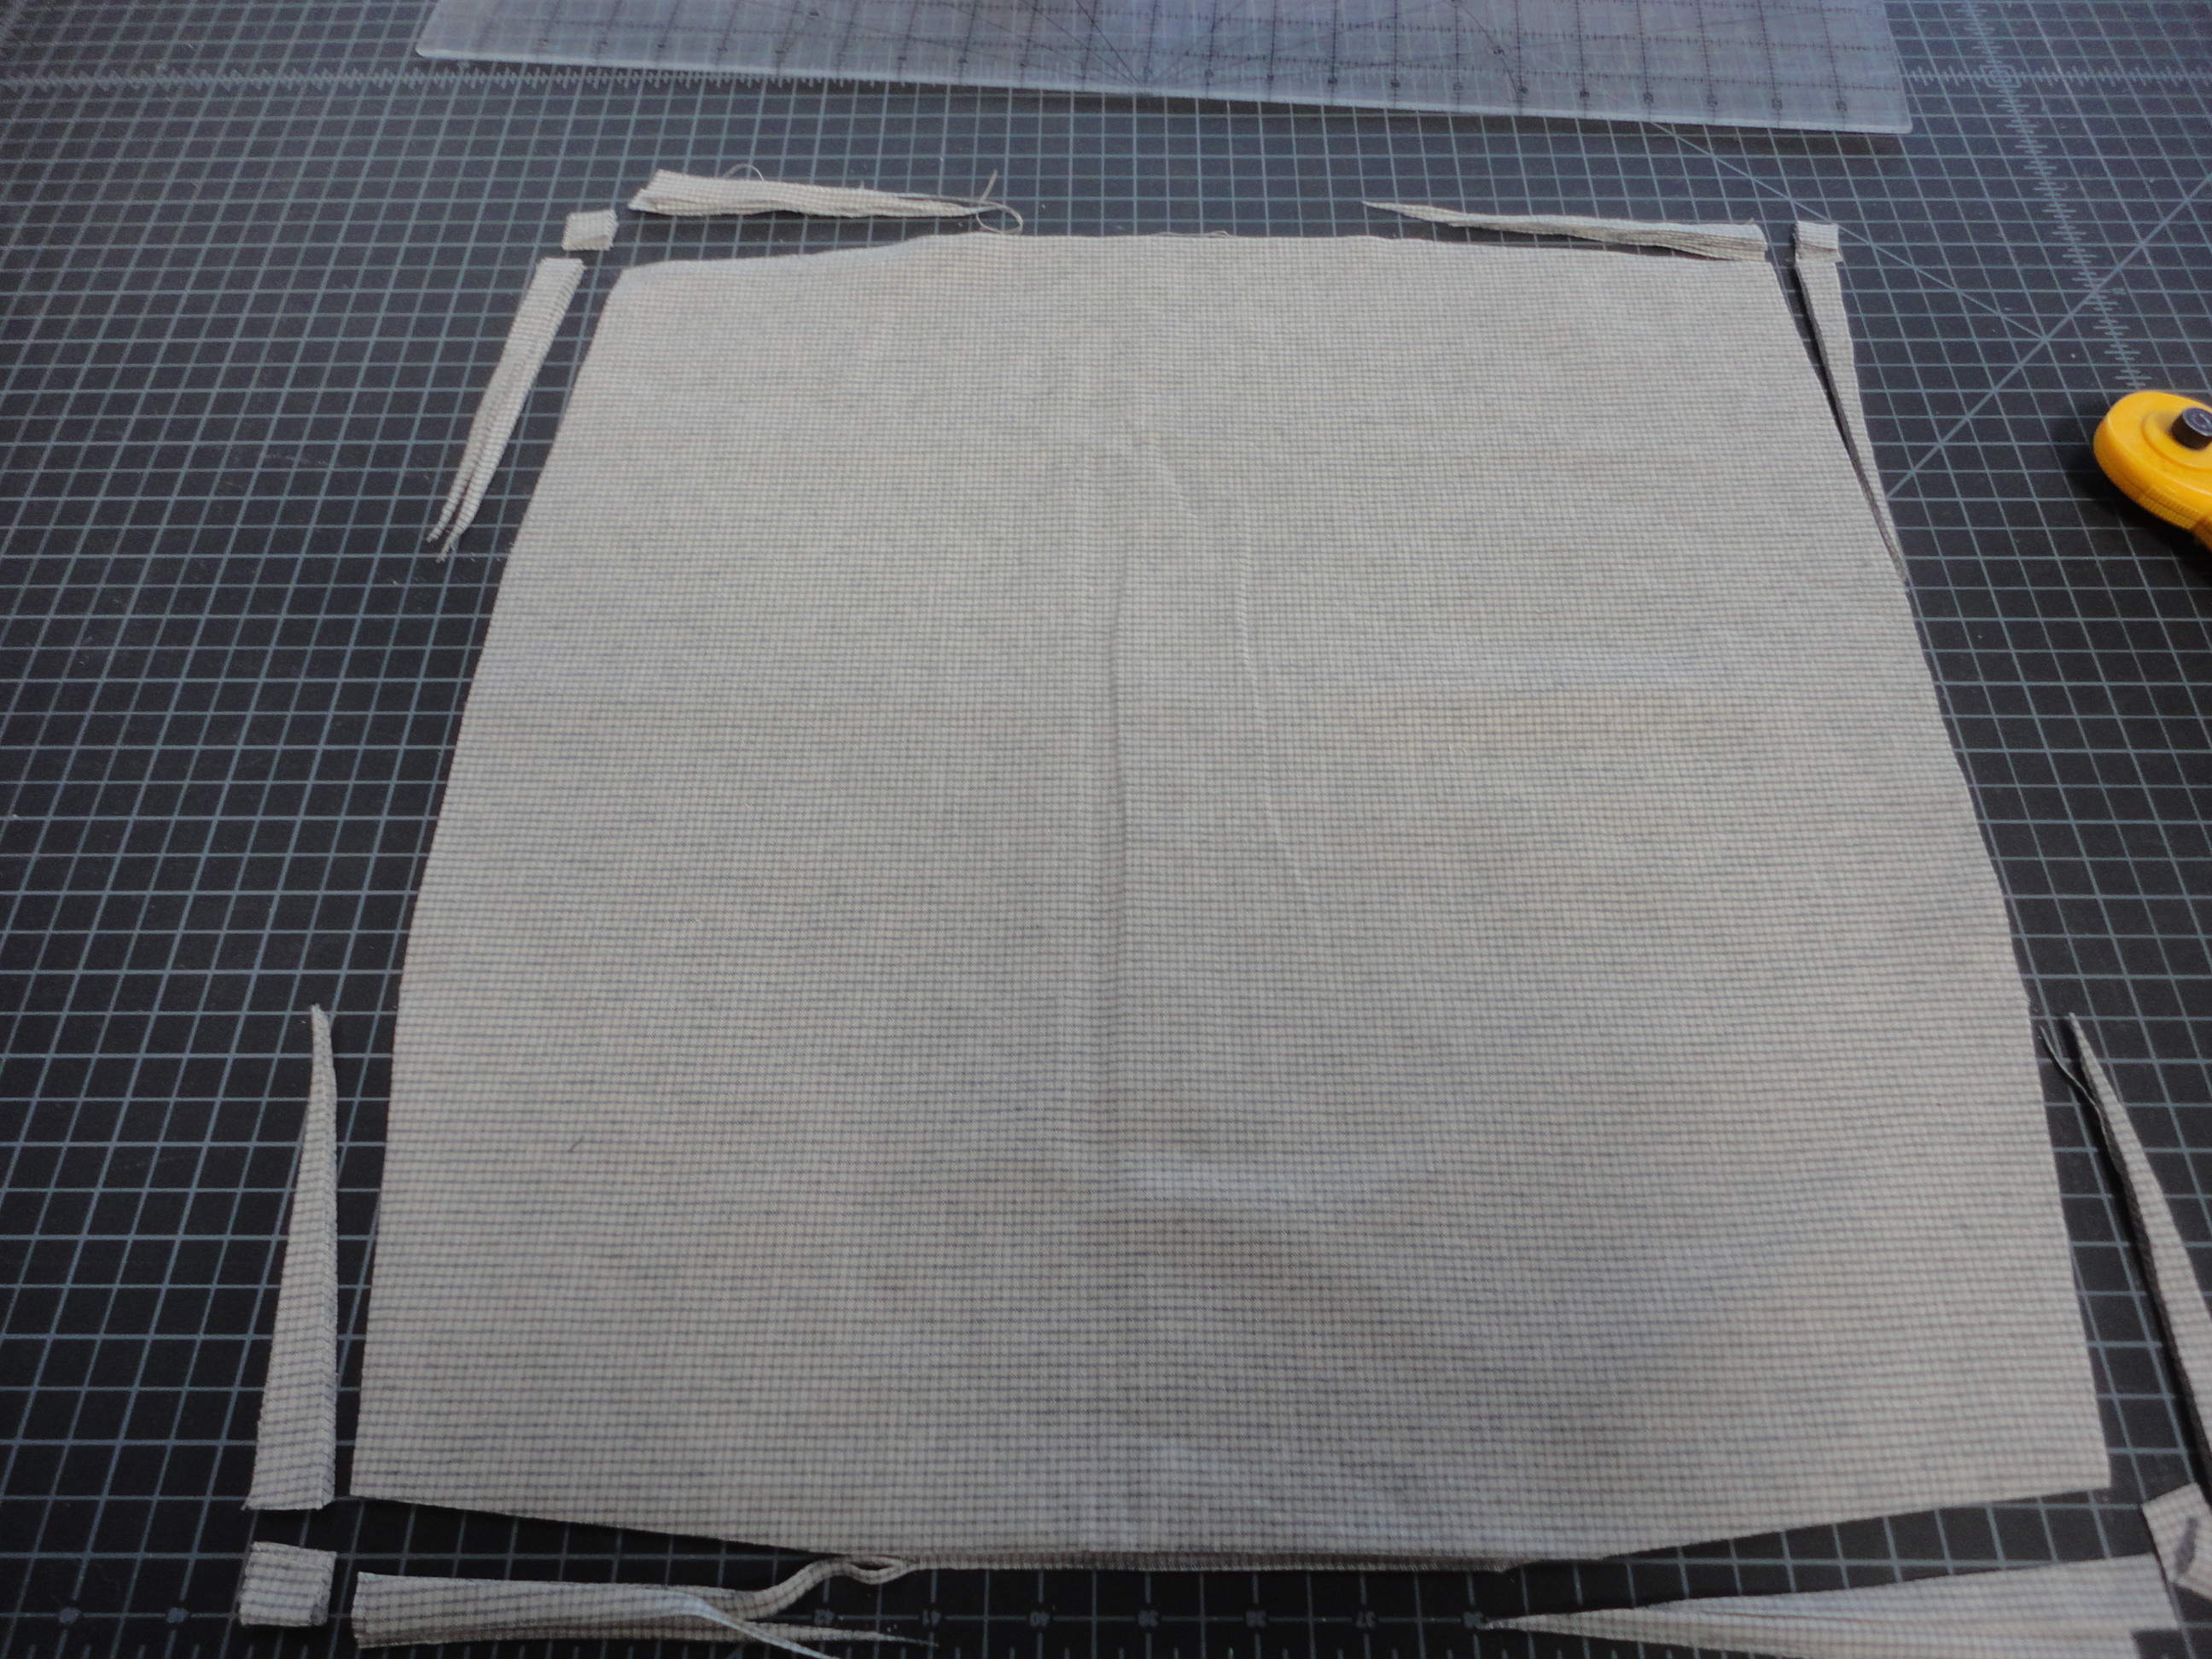 After you’ve done that, it will look like this.
 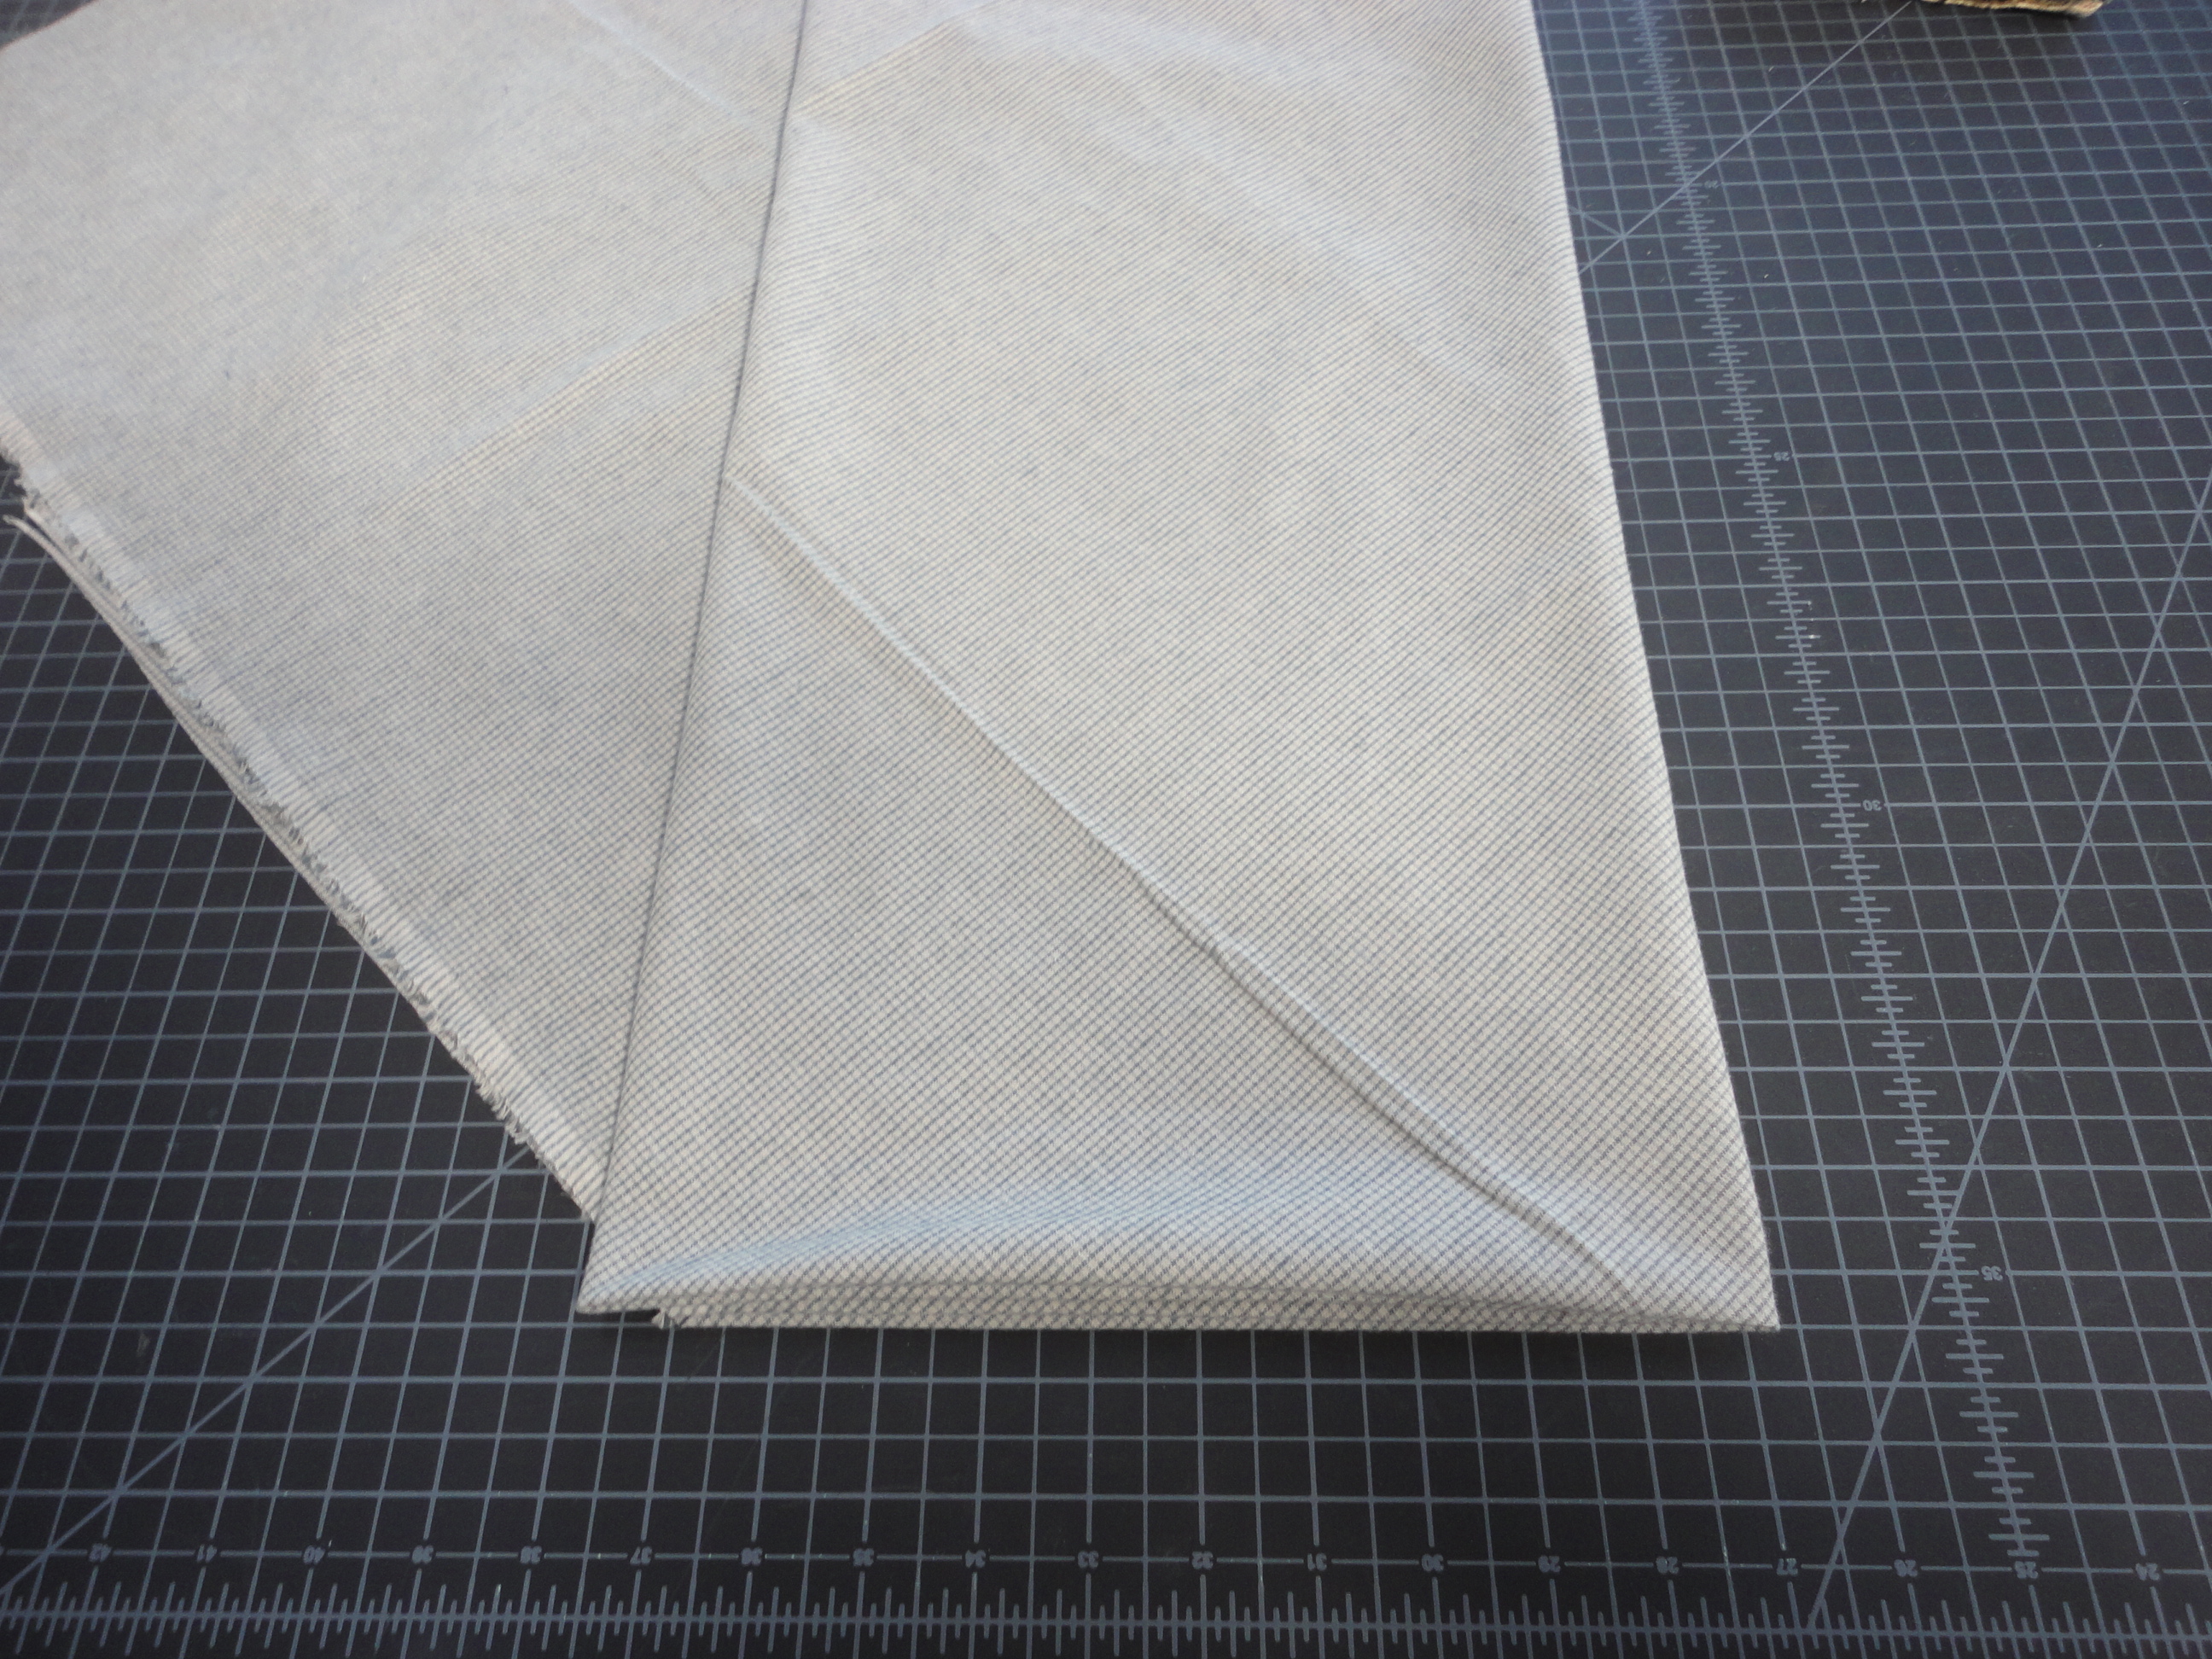 Now you will prepare to make the piping. Fold the fabric on the bias.
 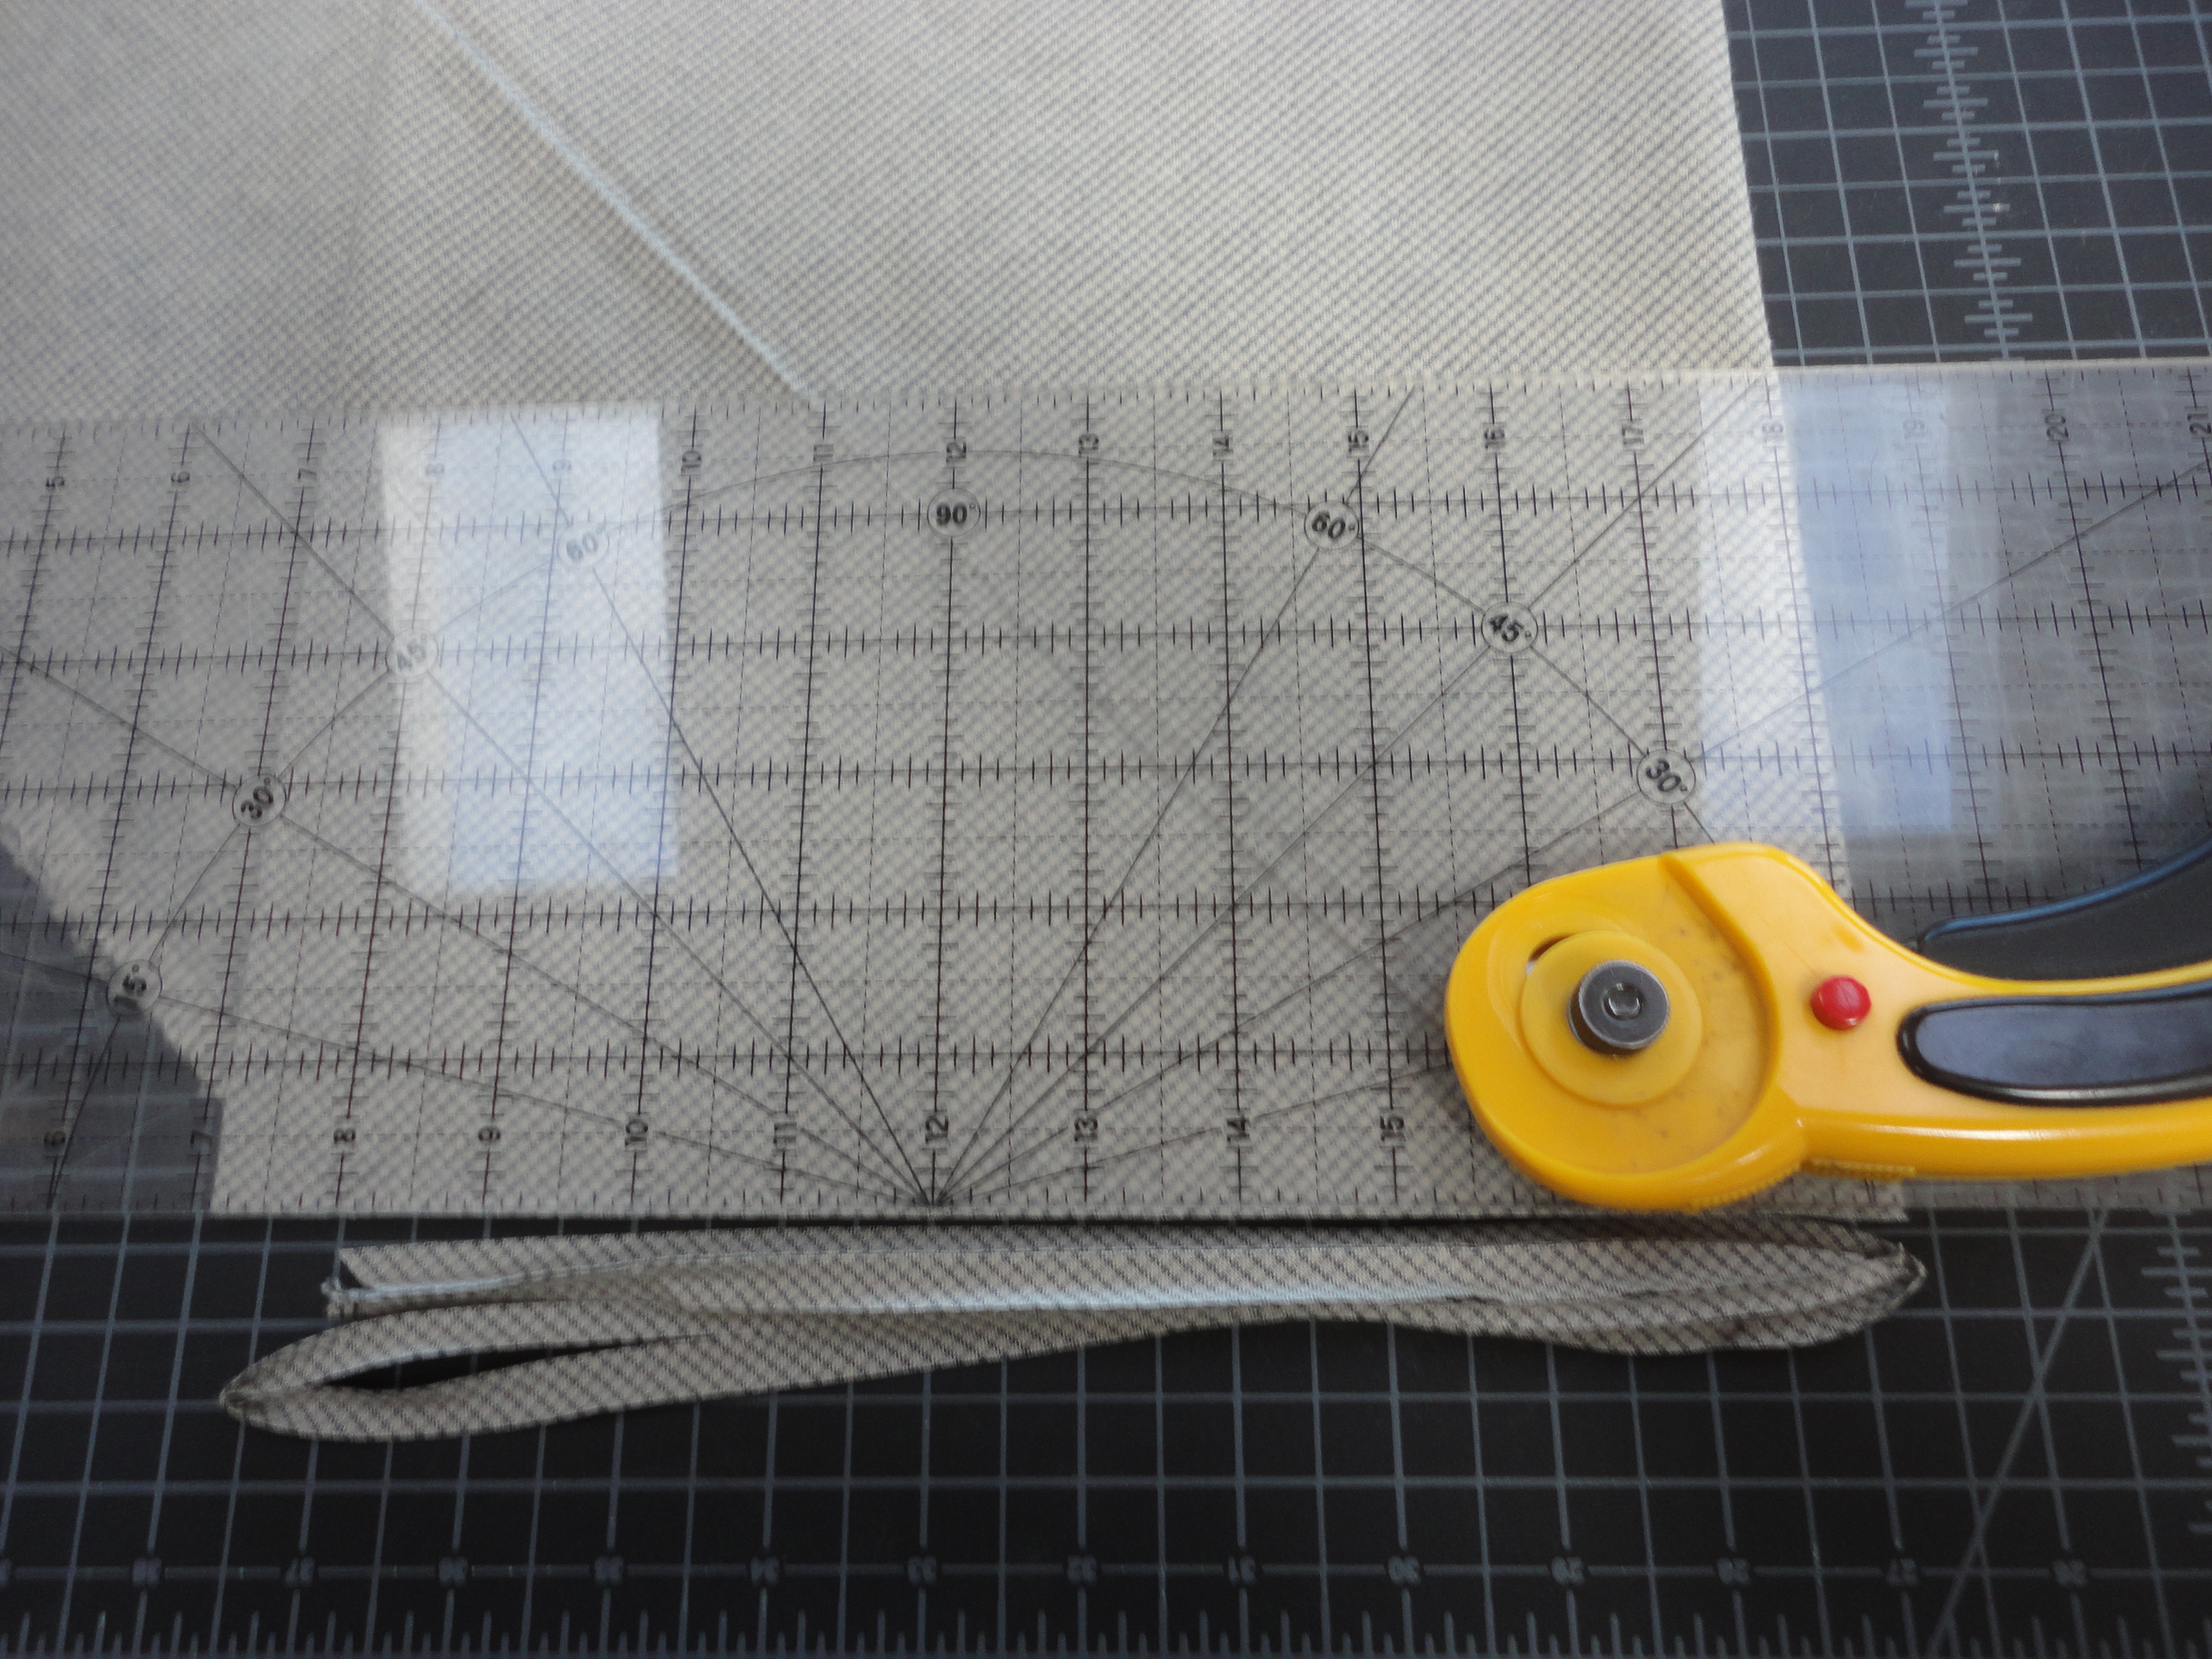 Trim off the fold and then proceed to cut 1 1/2″ bias strips.
 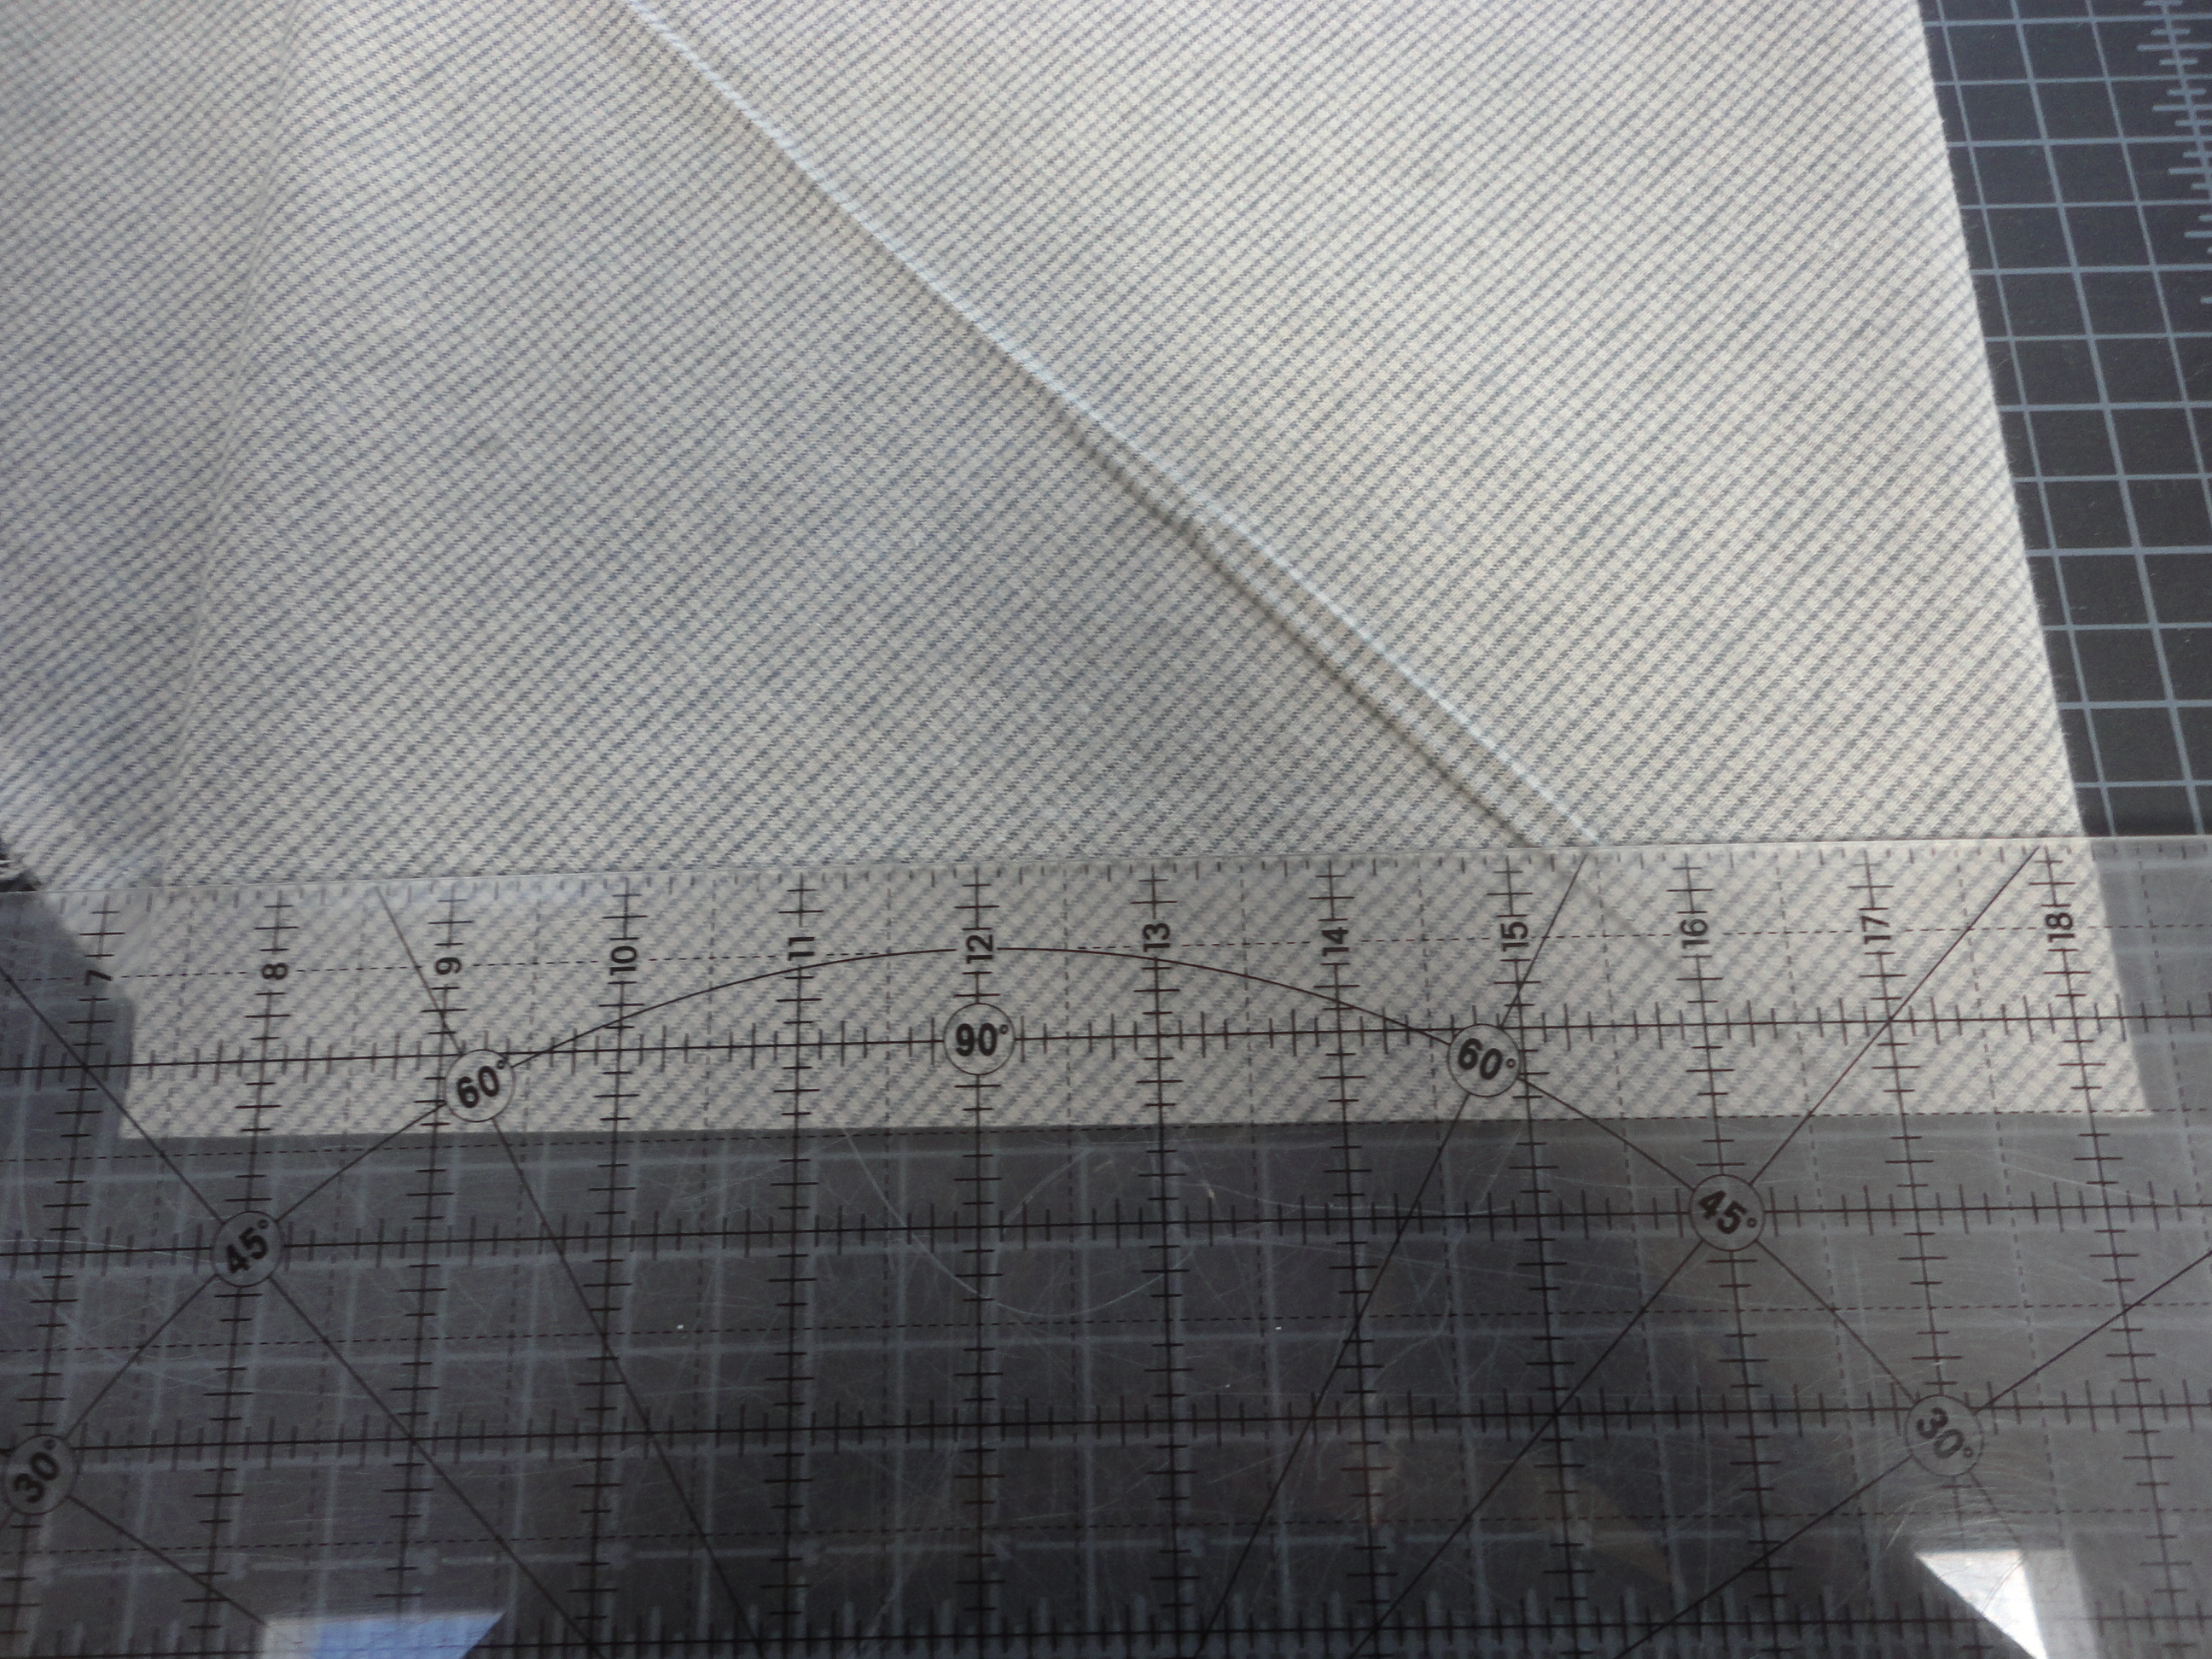 The pillow insert is 18″ so you will need 4 (sides) x 18″ to go around the pillow, or 64″ of piping. I cut about 2″-4″ extra of the bias strip. Join the bias end to end to the proper length.
 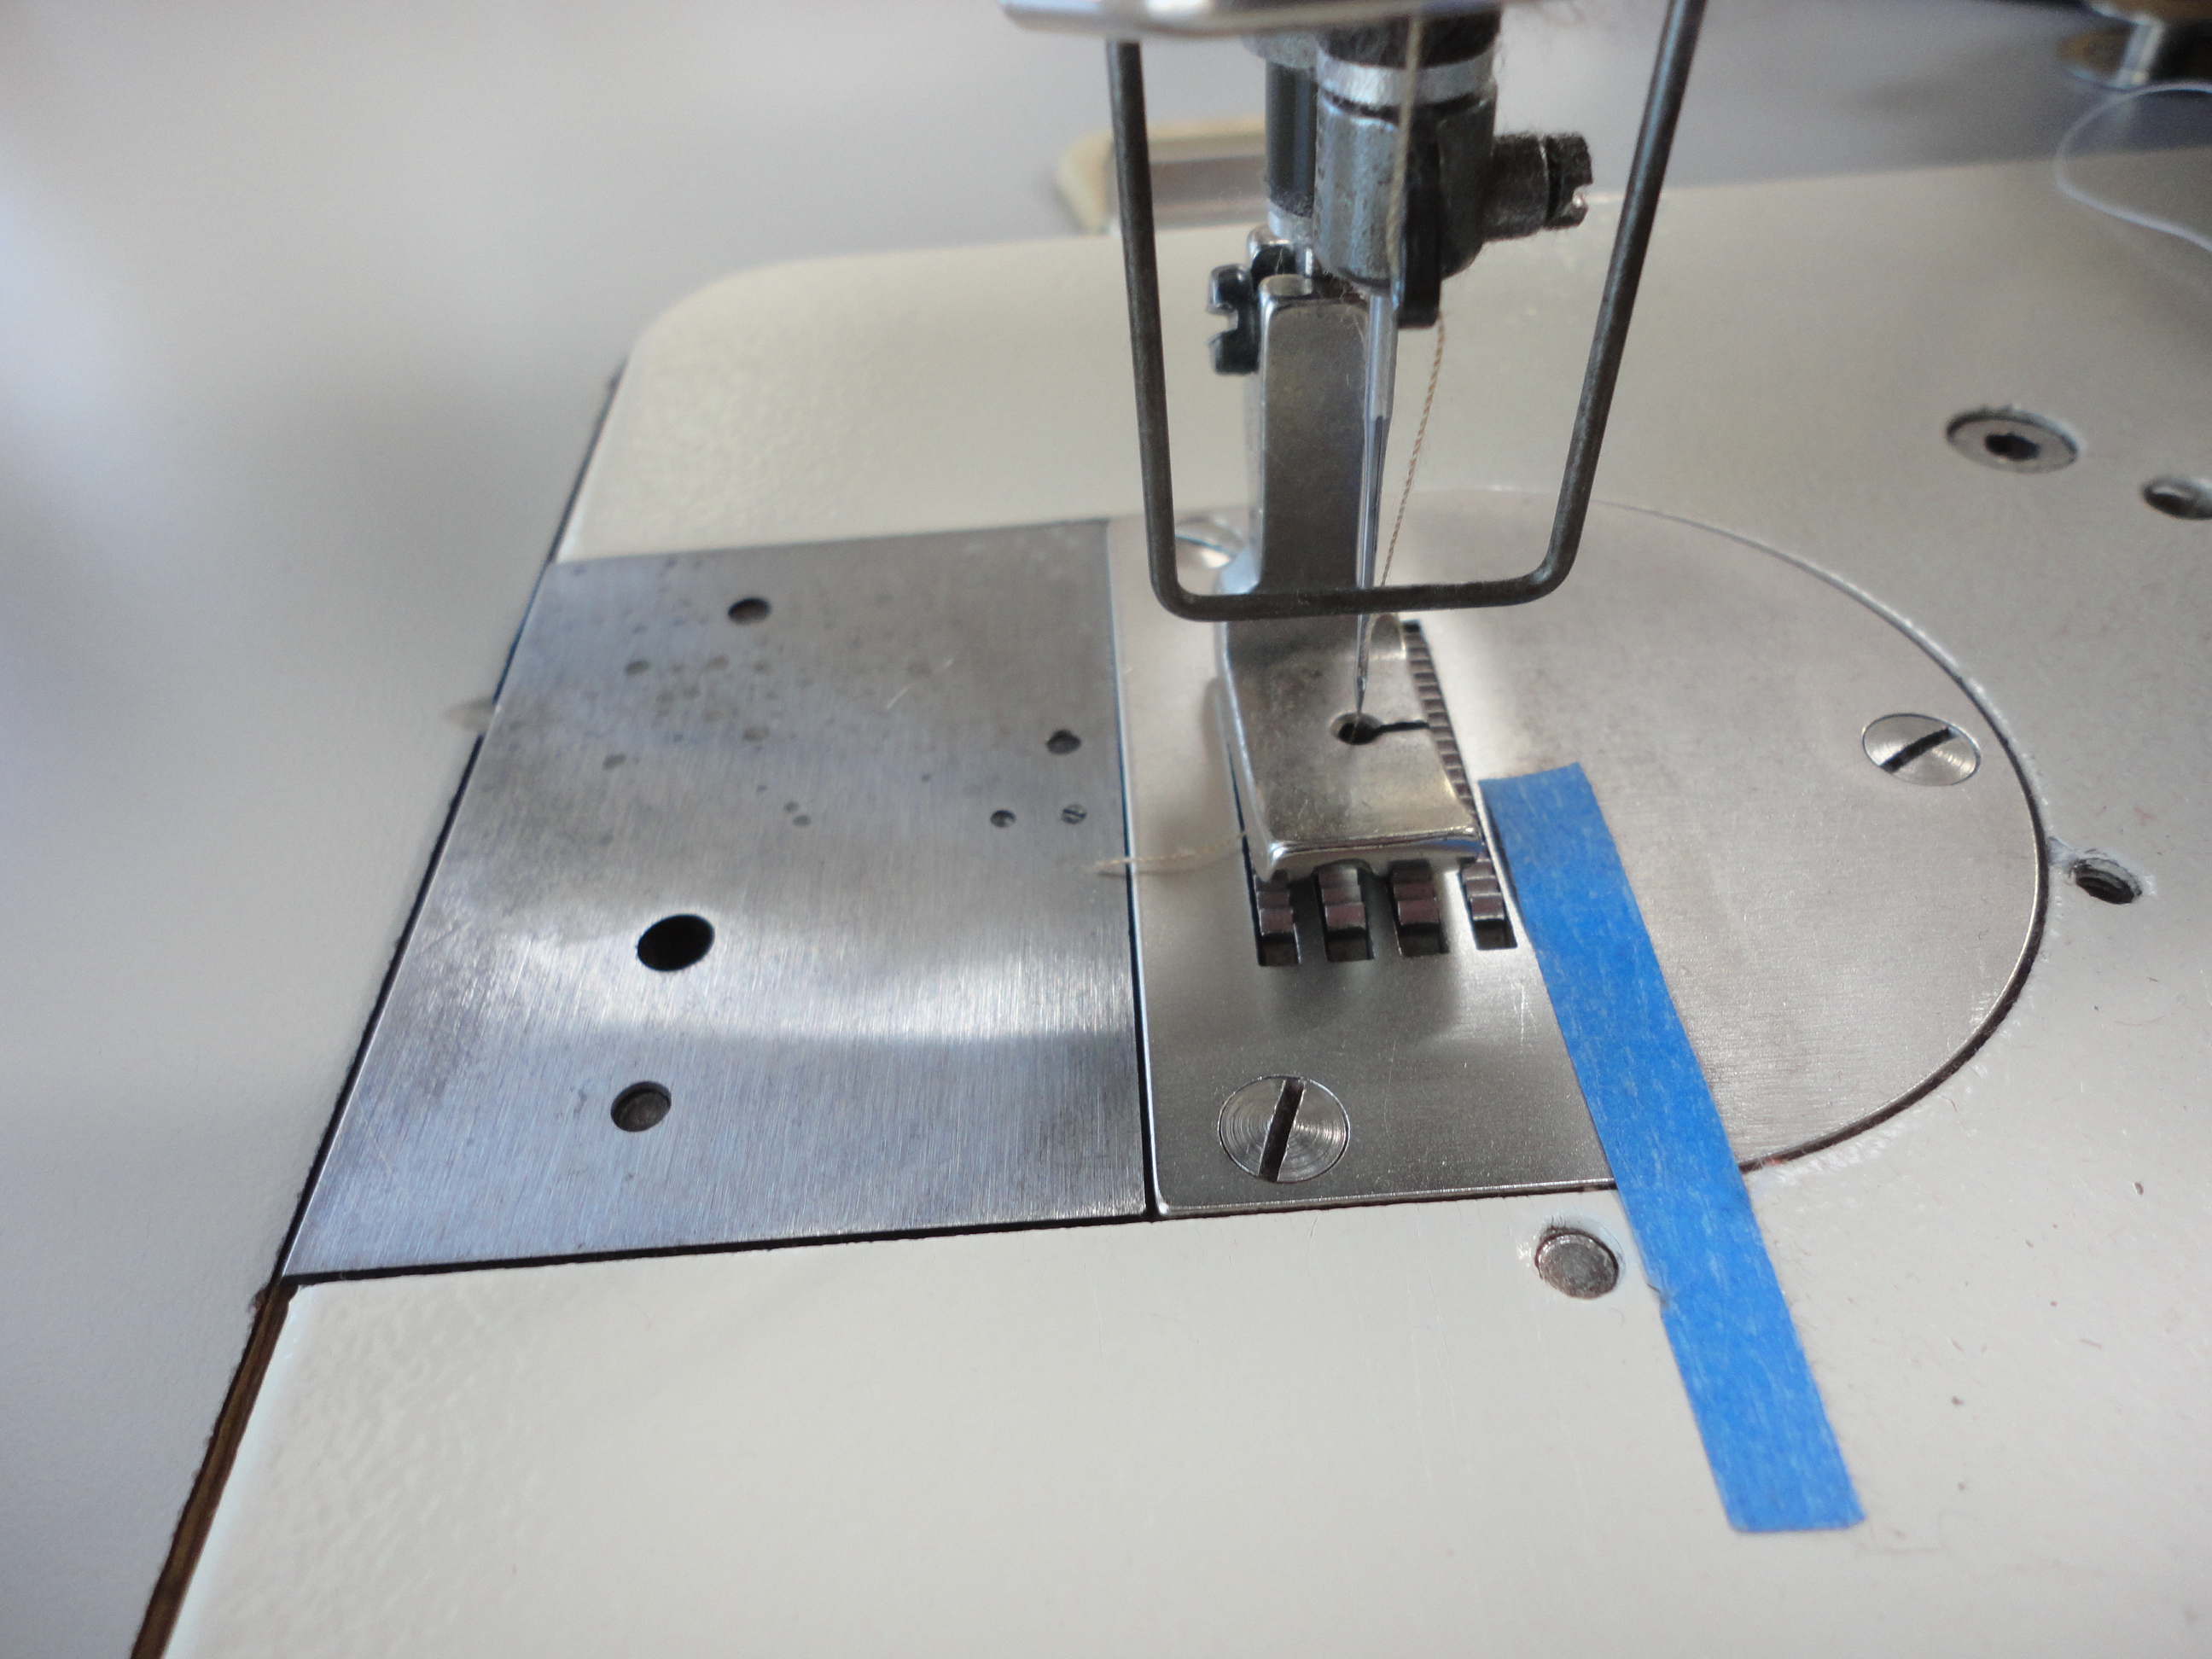 I install my 1/4″ cording foot.
 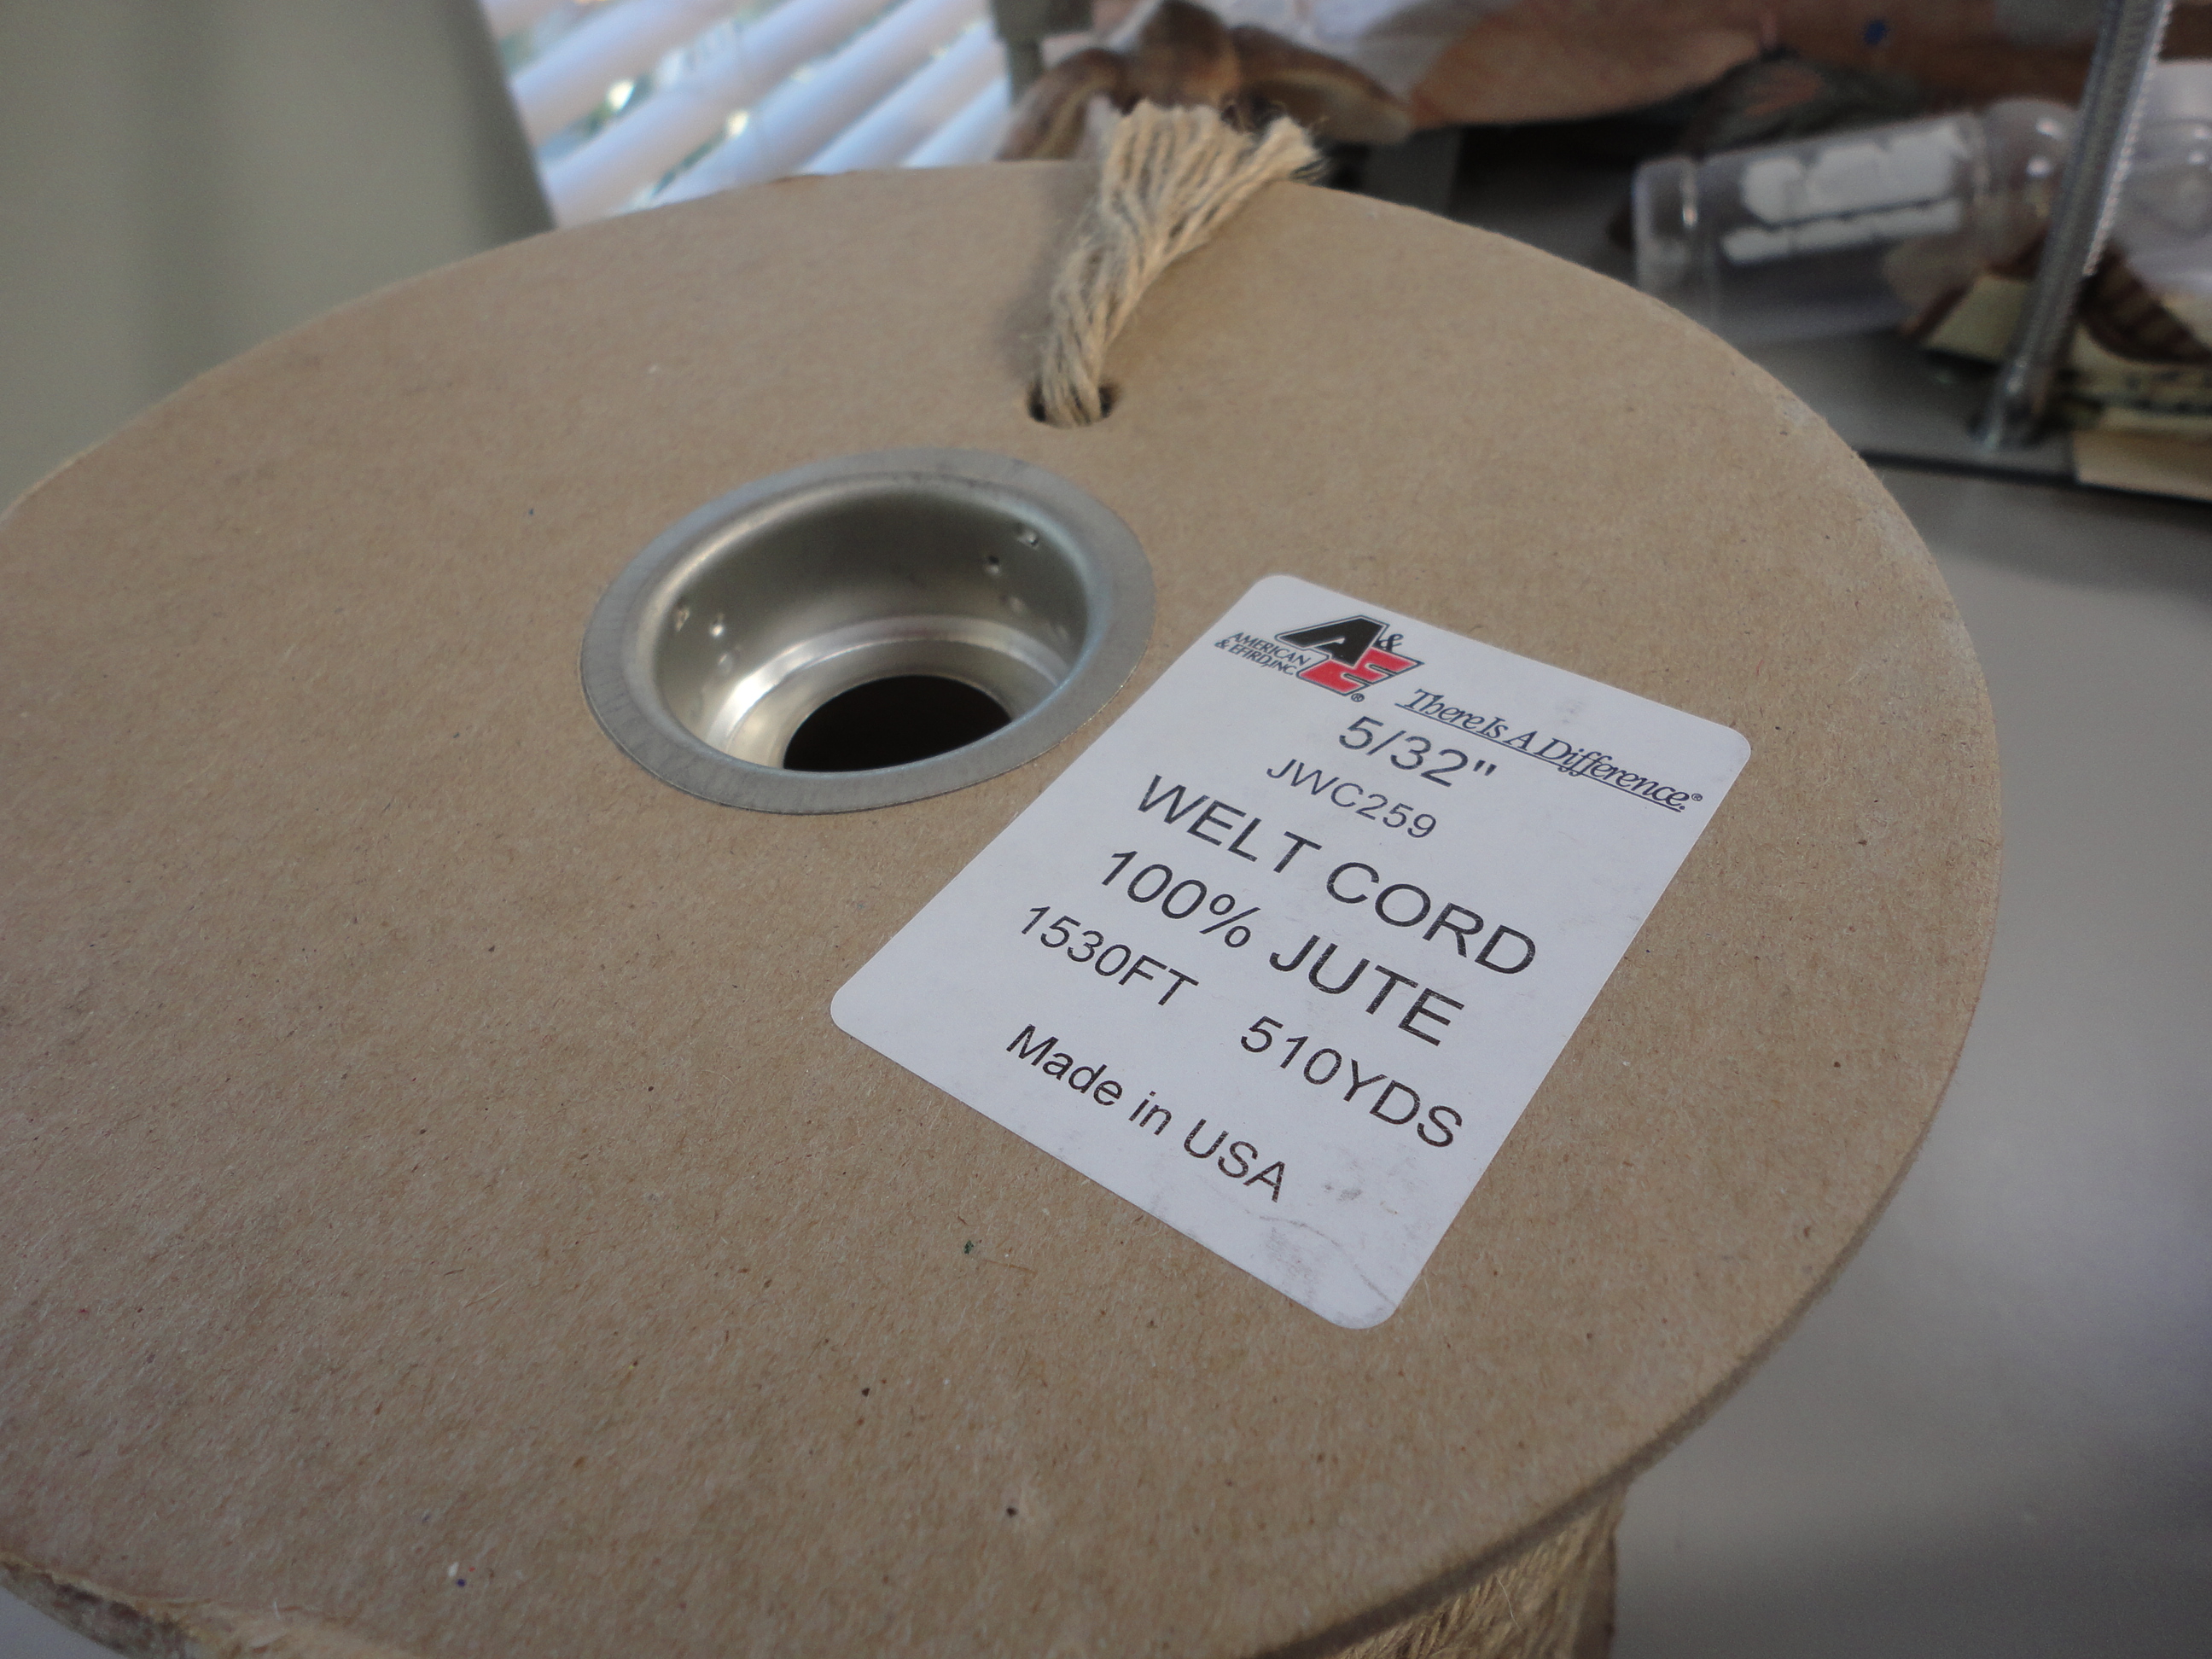 I get out my jute welt cord (510 yards on that spool!!)
 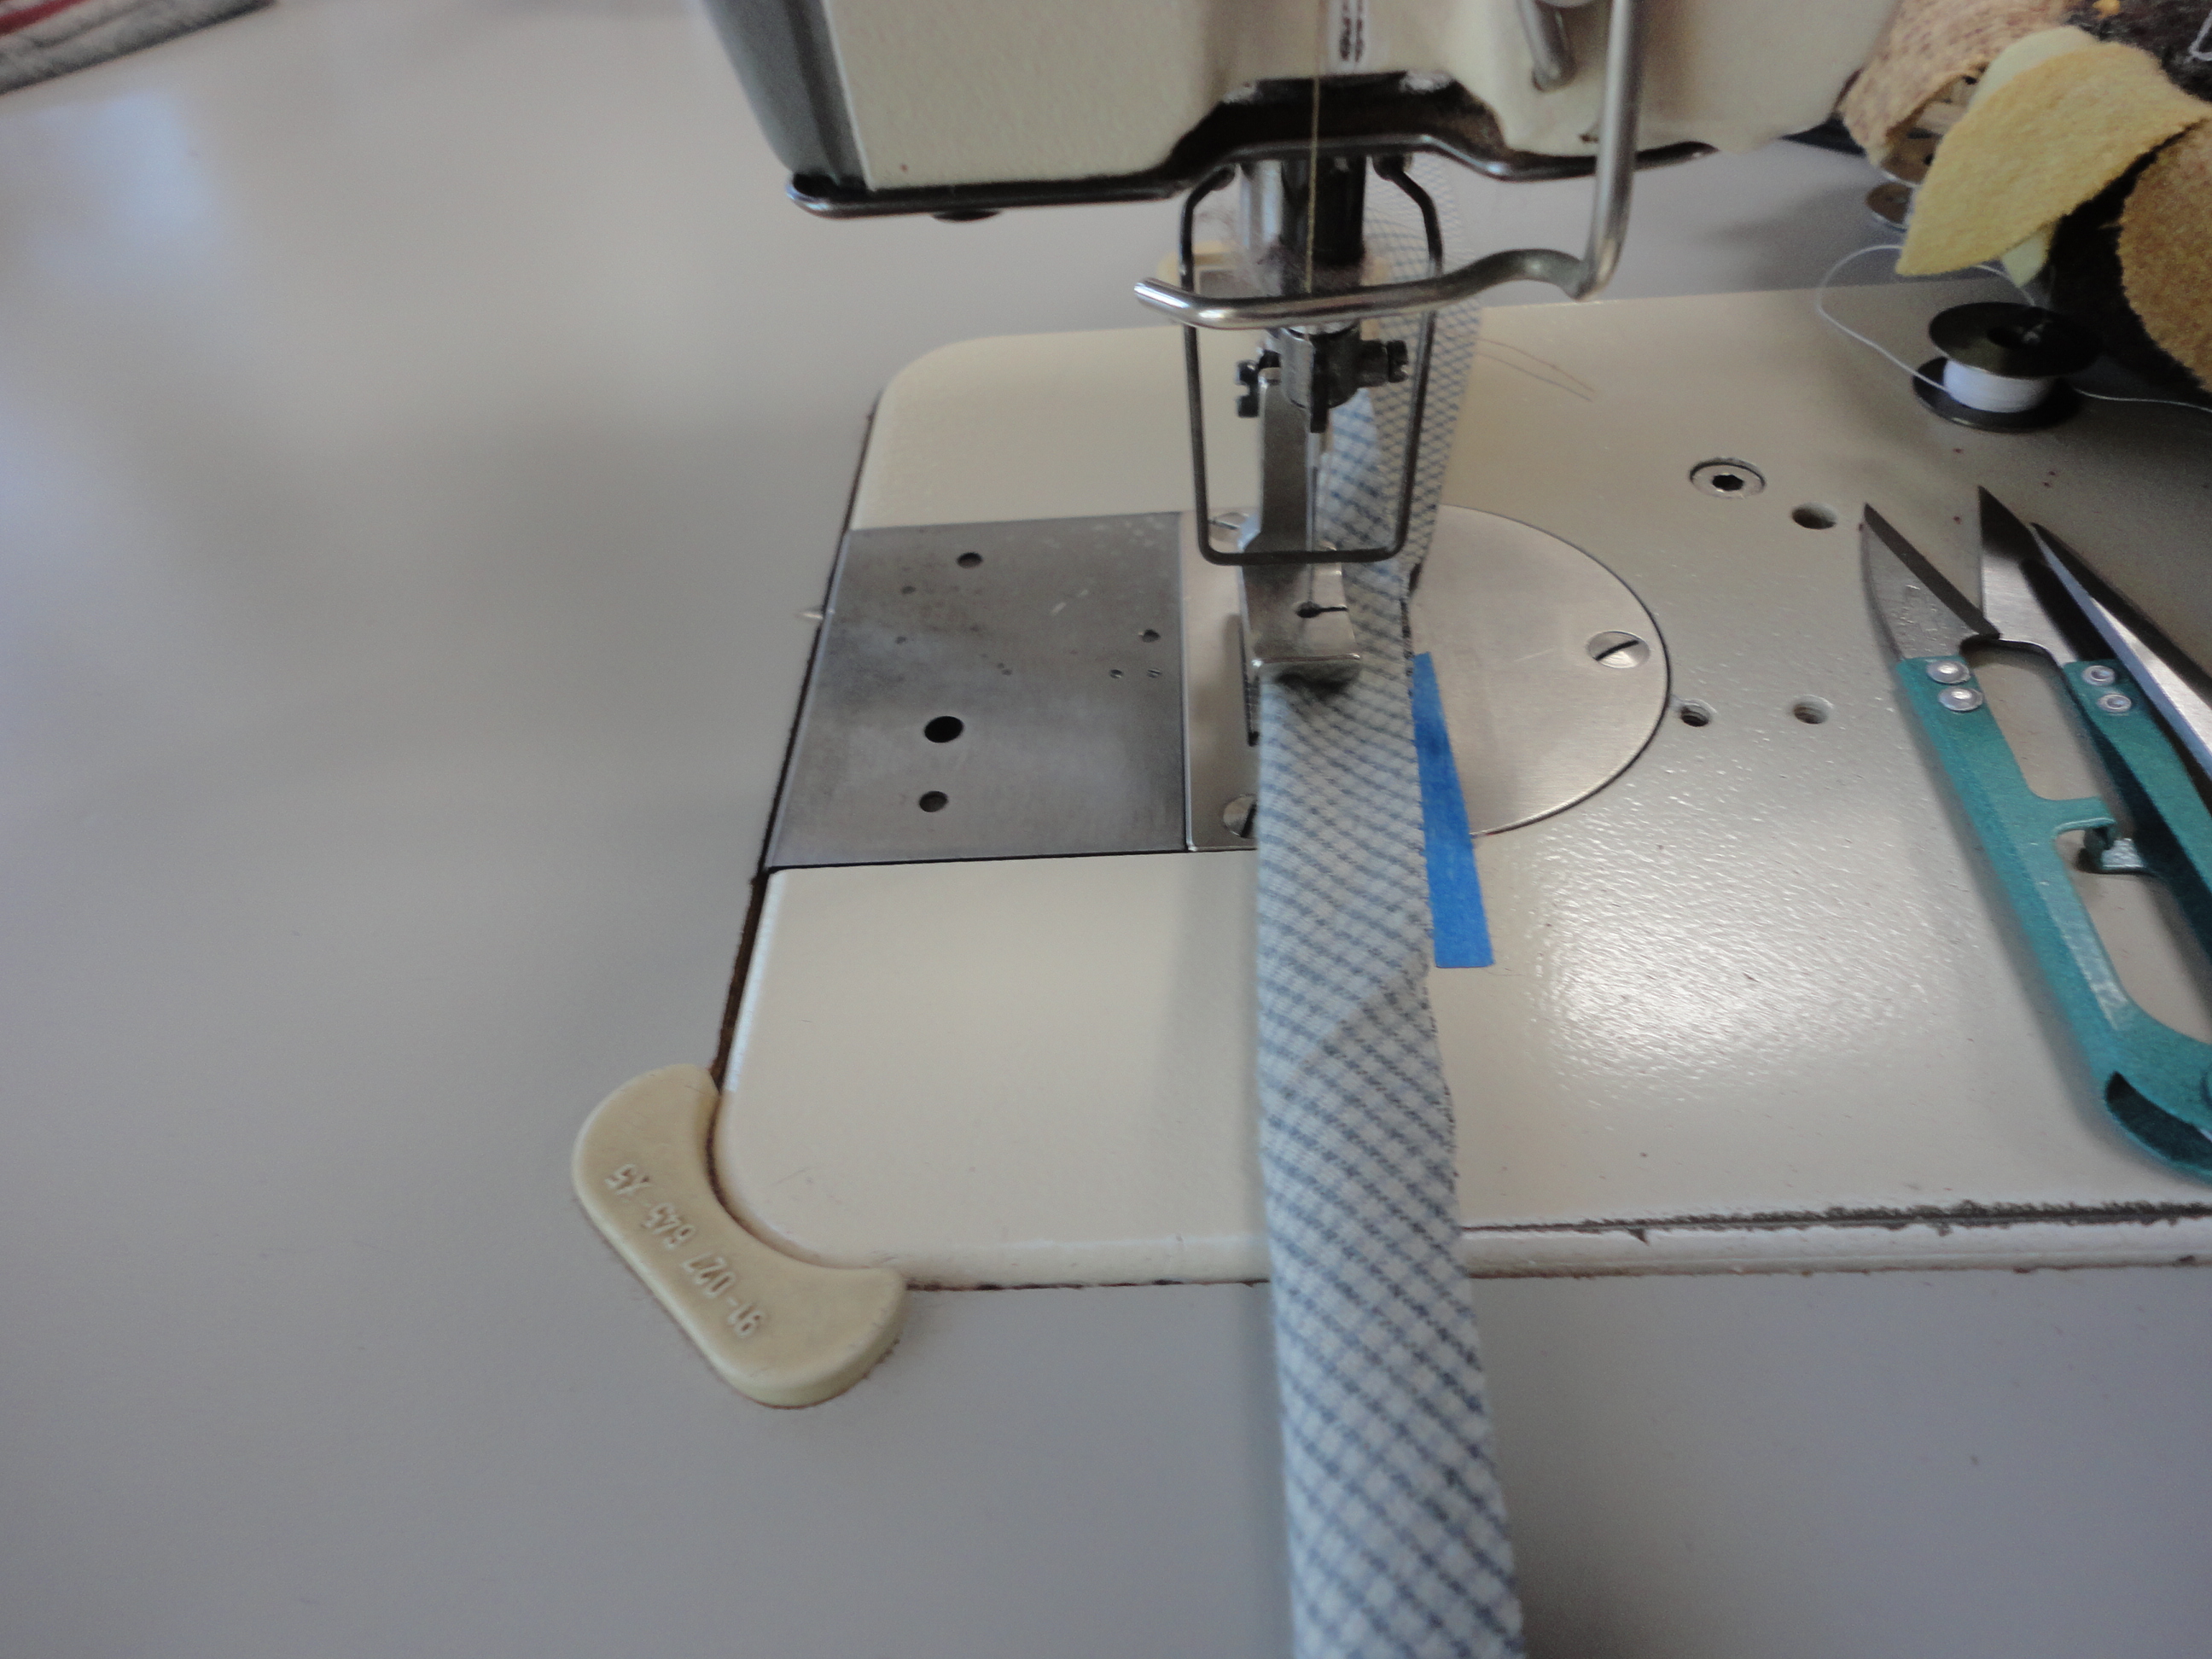 I fold the bias in half with the jute cord inside and place the cording foot on top and begin to sew. The hole in the cording foot is large enough that you can adjust the needle position slightly. I start with the needle to the right of center. custodia per iphone 7 4 7 fronte retro
 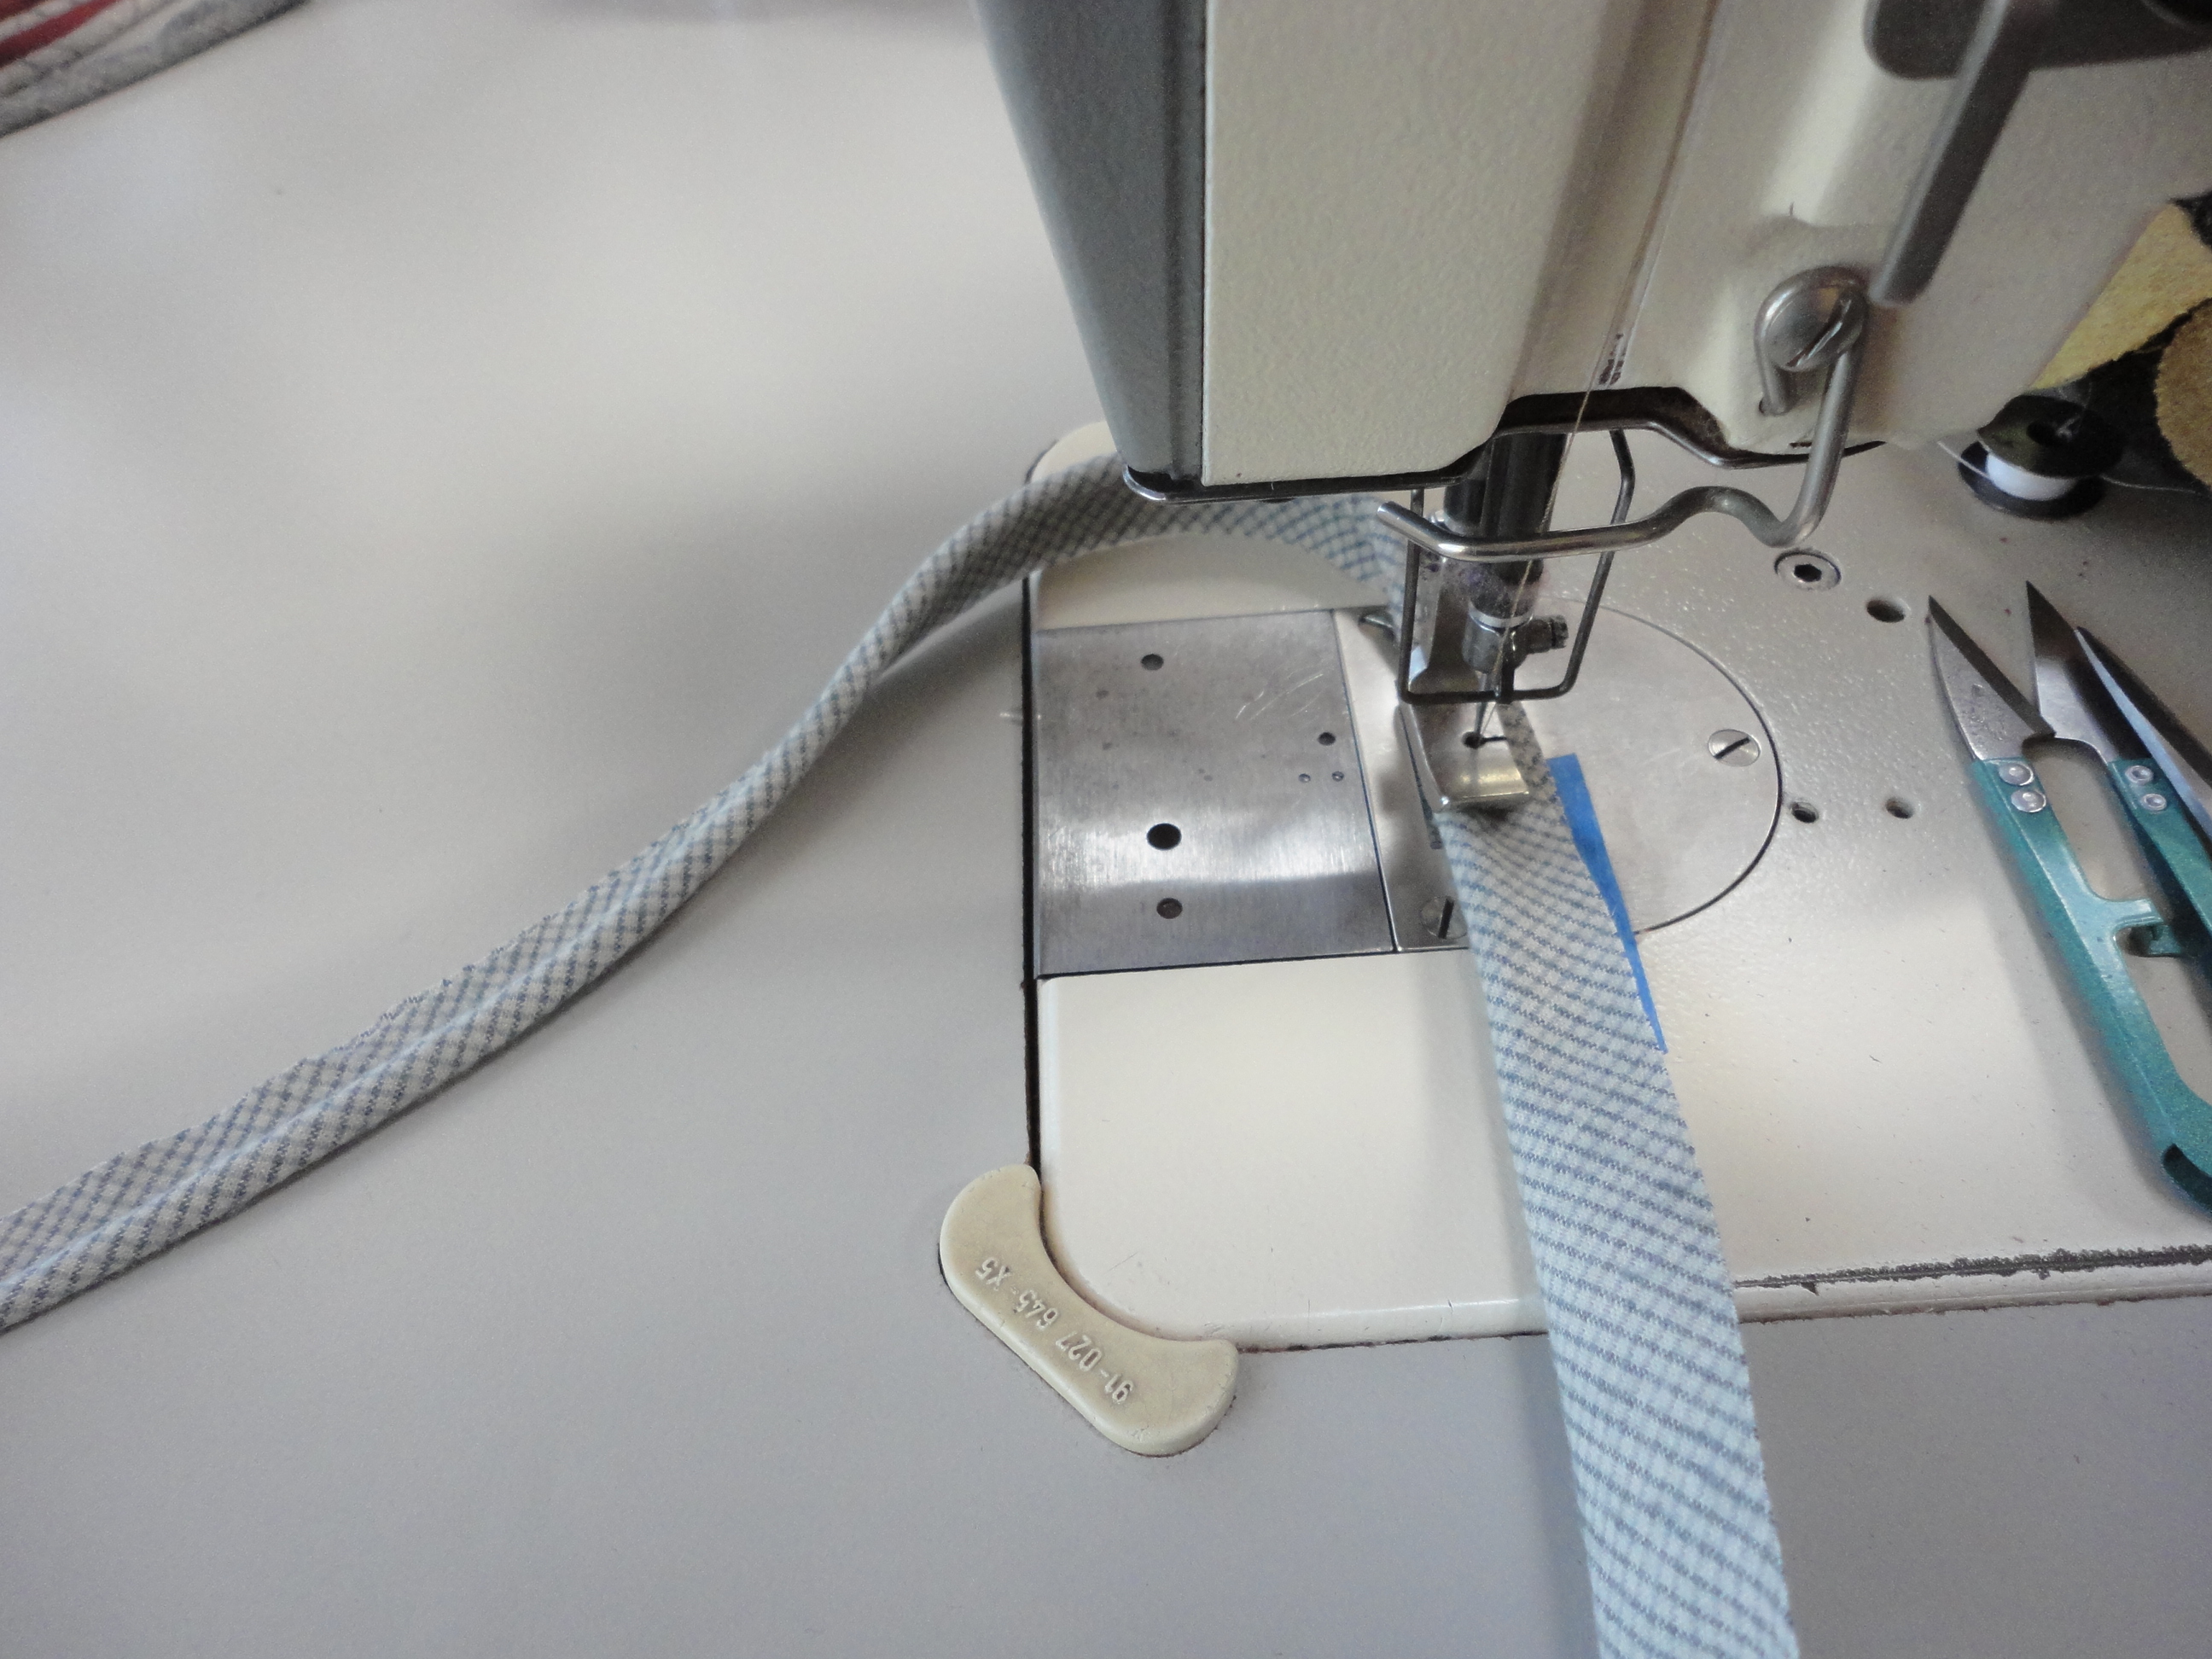 This is nearly effortless. The foot does all the work!
 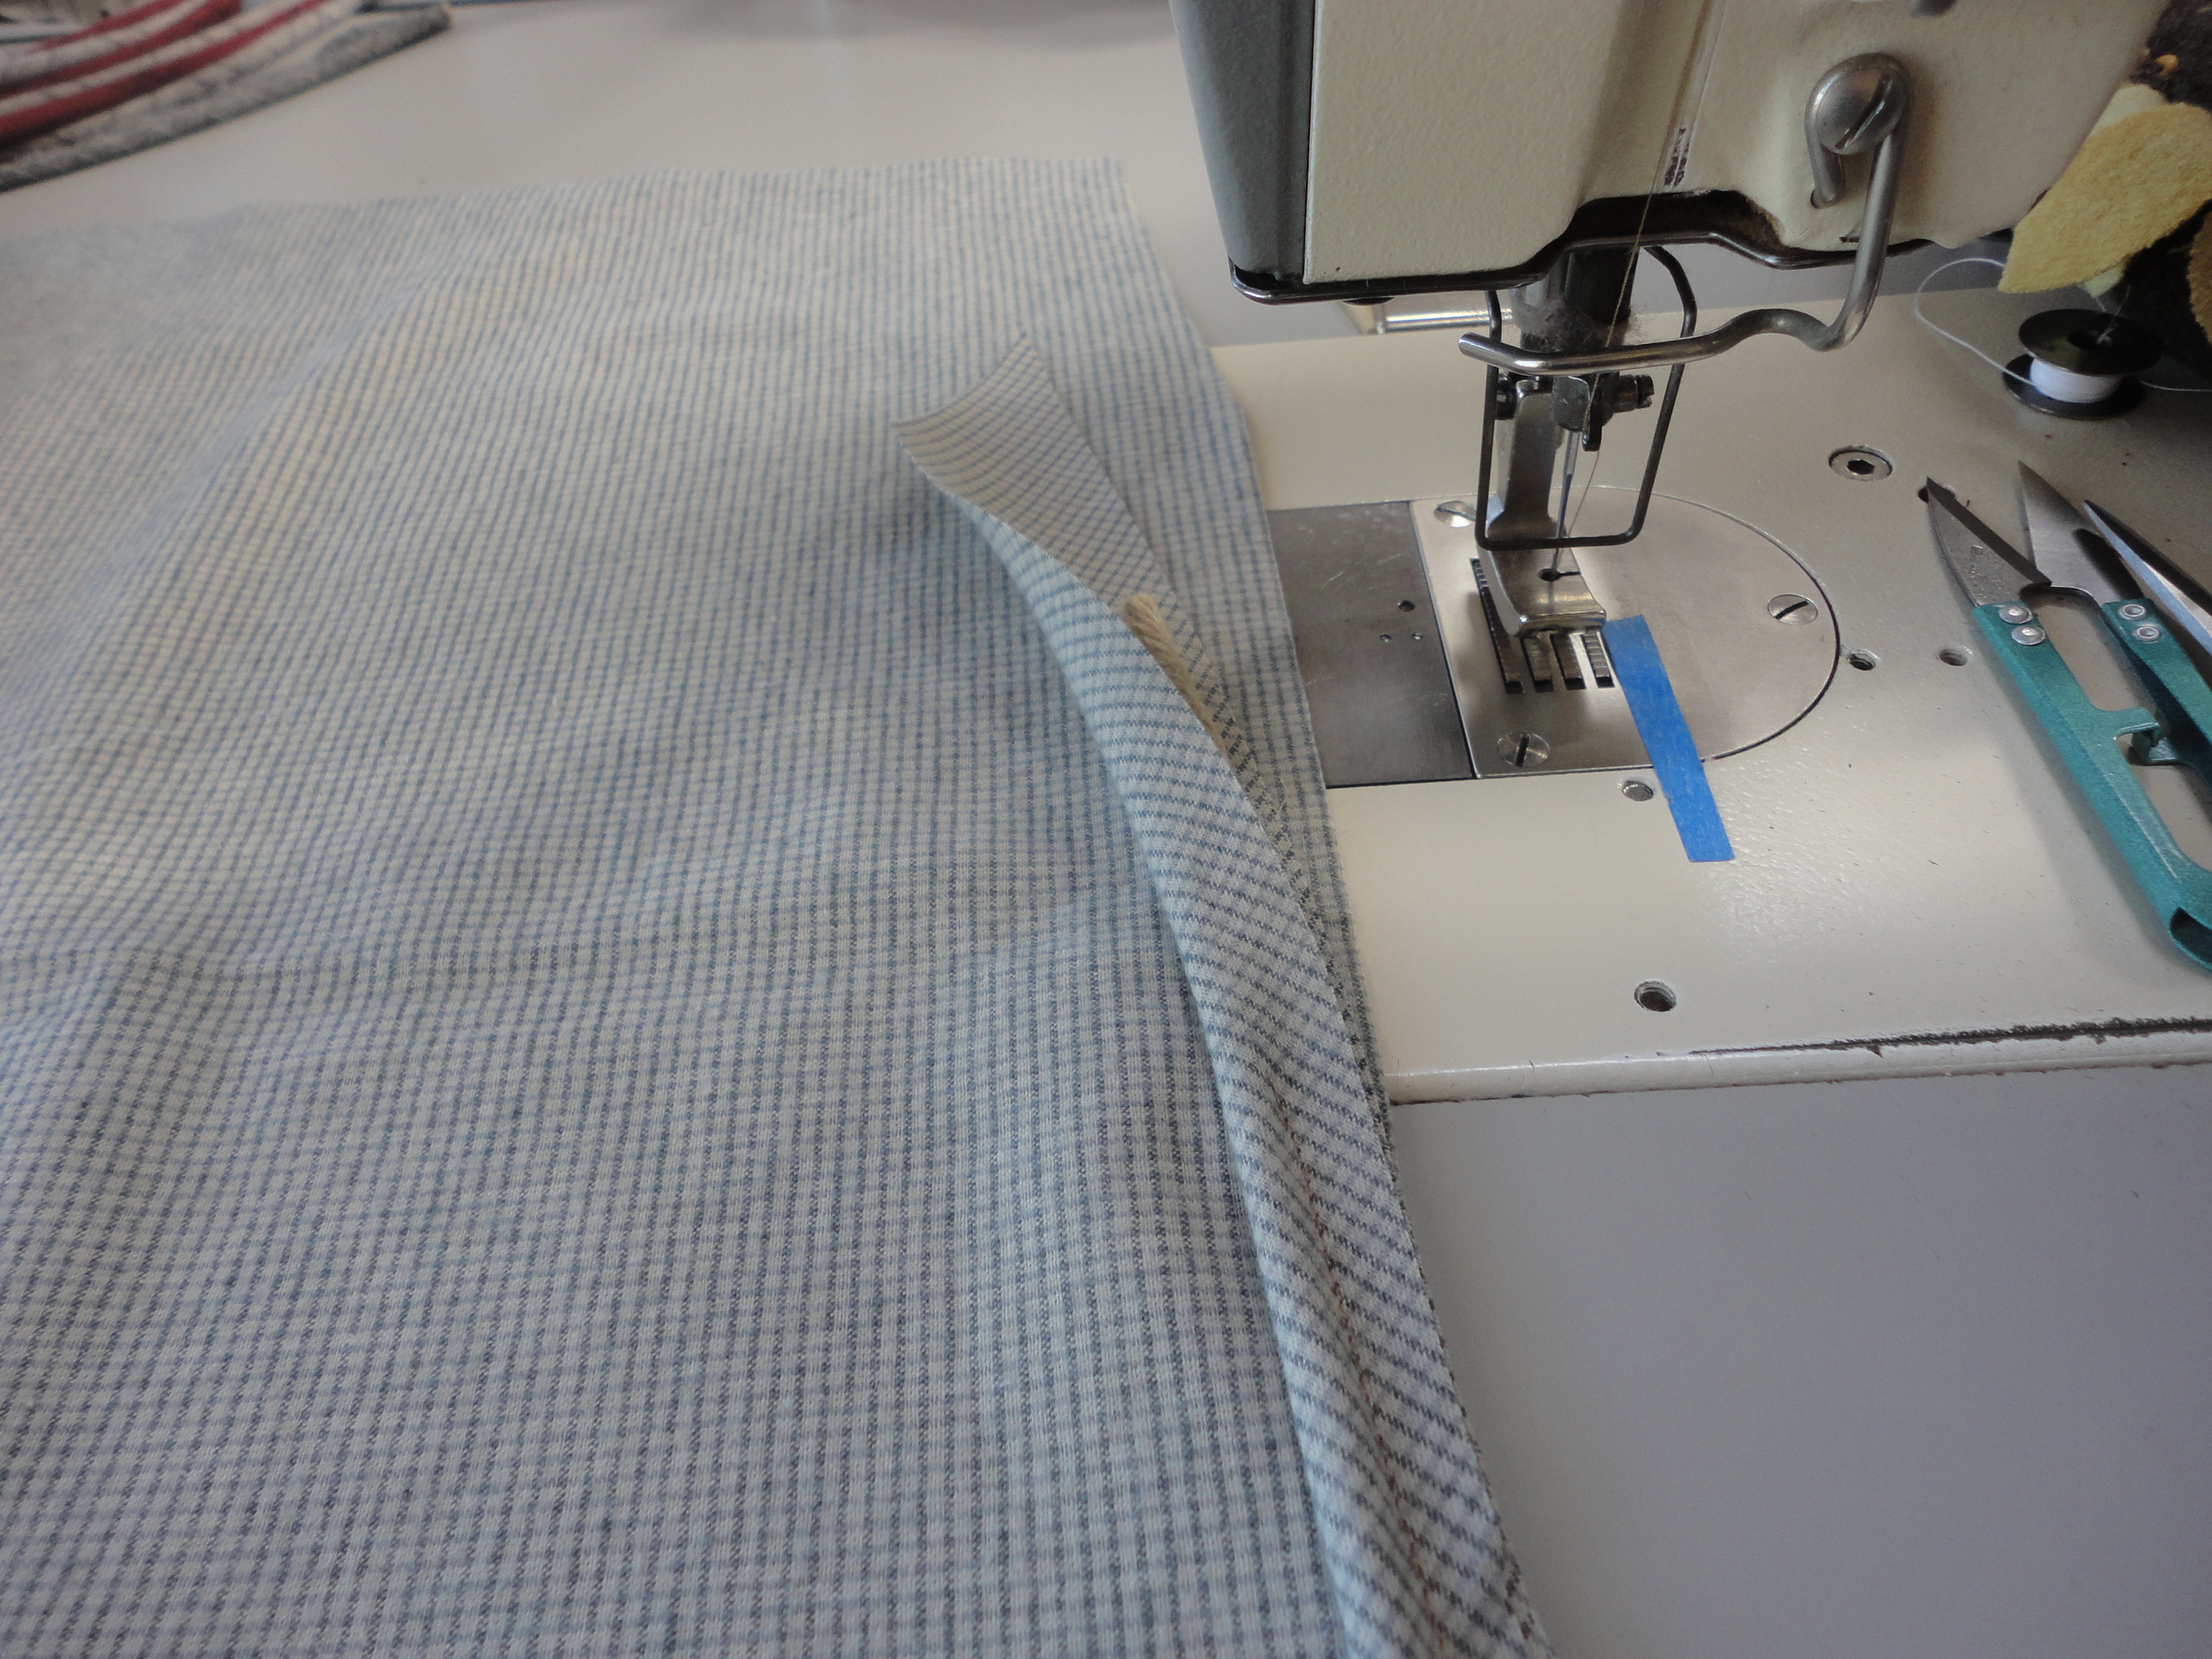 I start covering the jute piping about 4″ from the beginning. Then I lay the piping on the front right side of my pillow cover and stitch it in place around the edges. I start sewing the piping in the middle bottom of the pillow cover.
 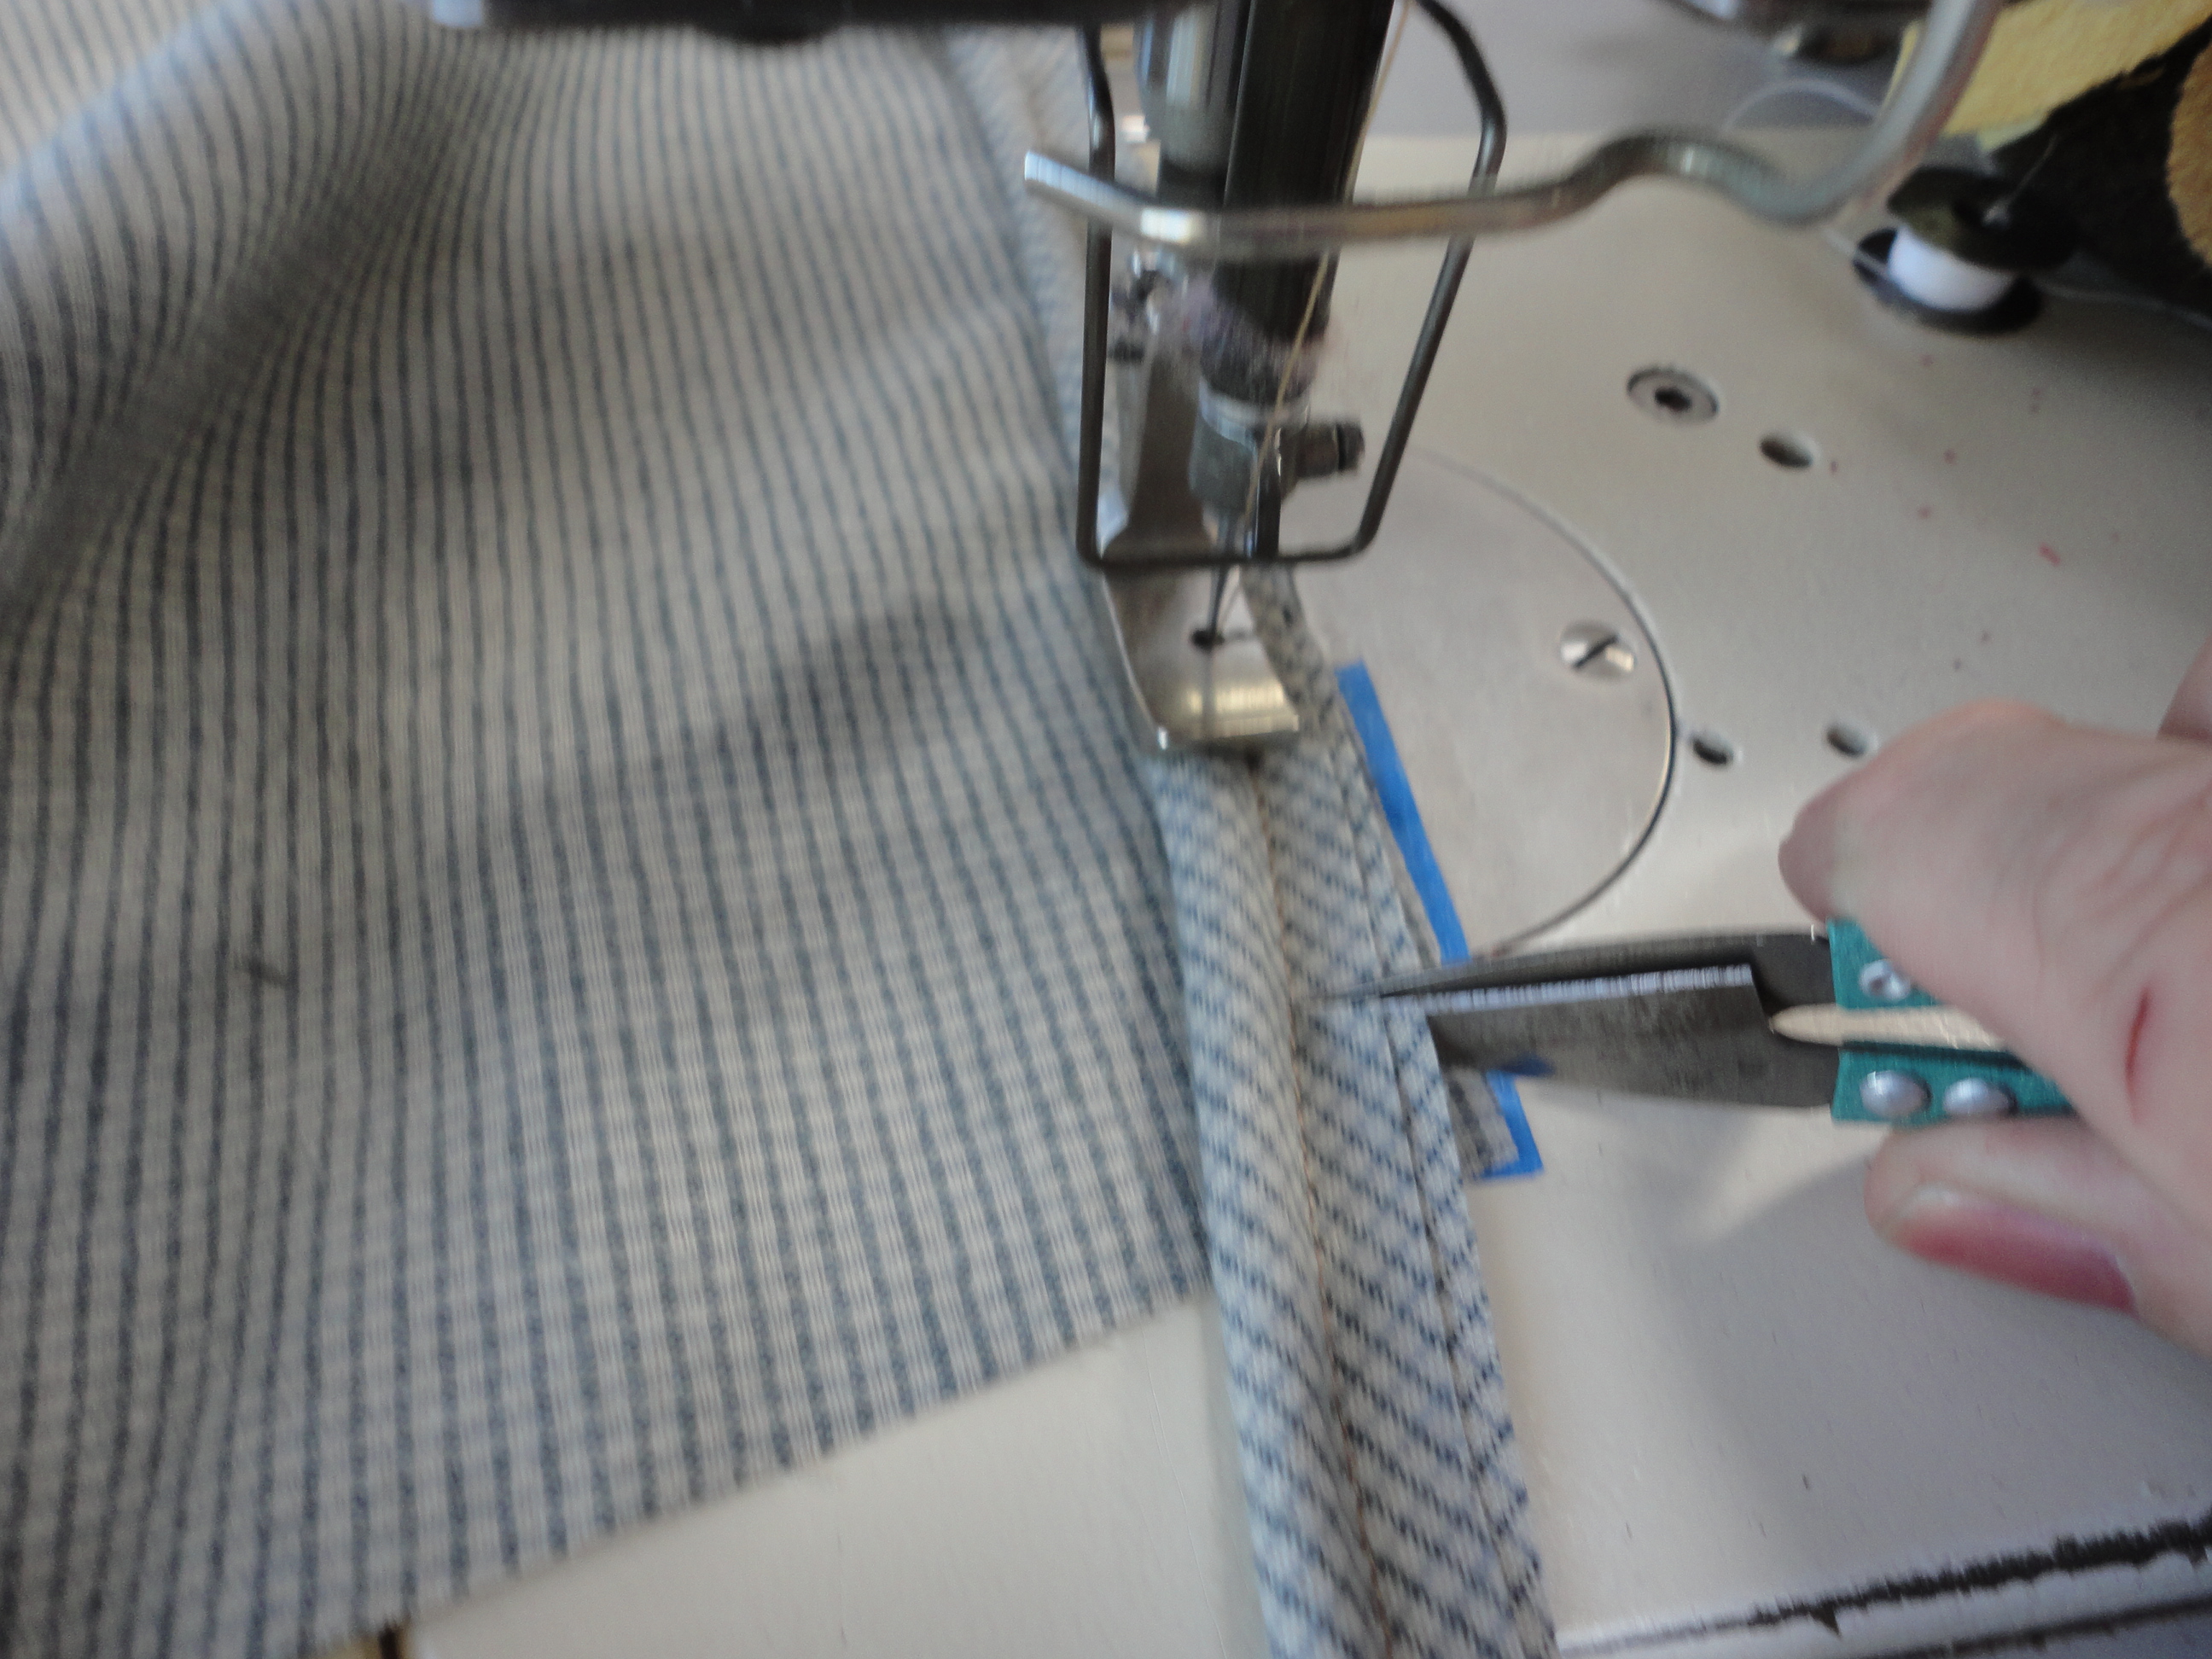 When I come to the corner, I make two slashes about 1/4″ apart almost to the sewing line of the piping.
 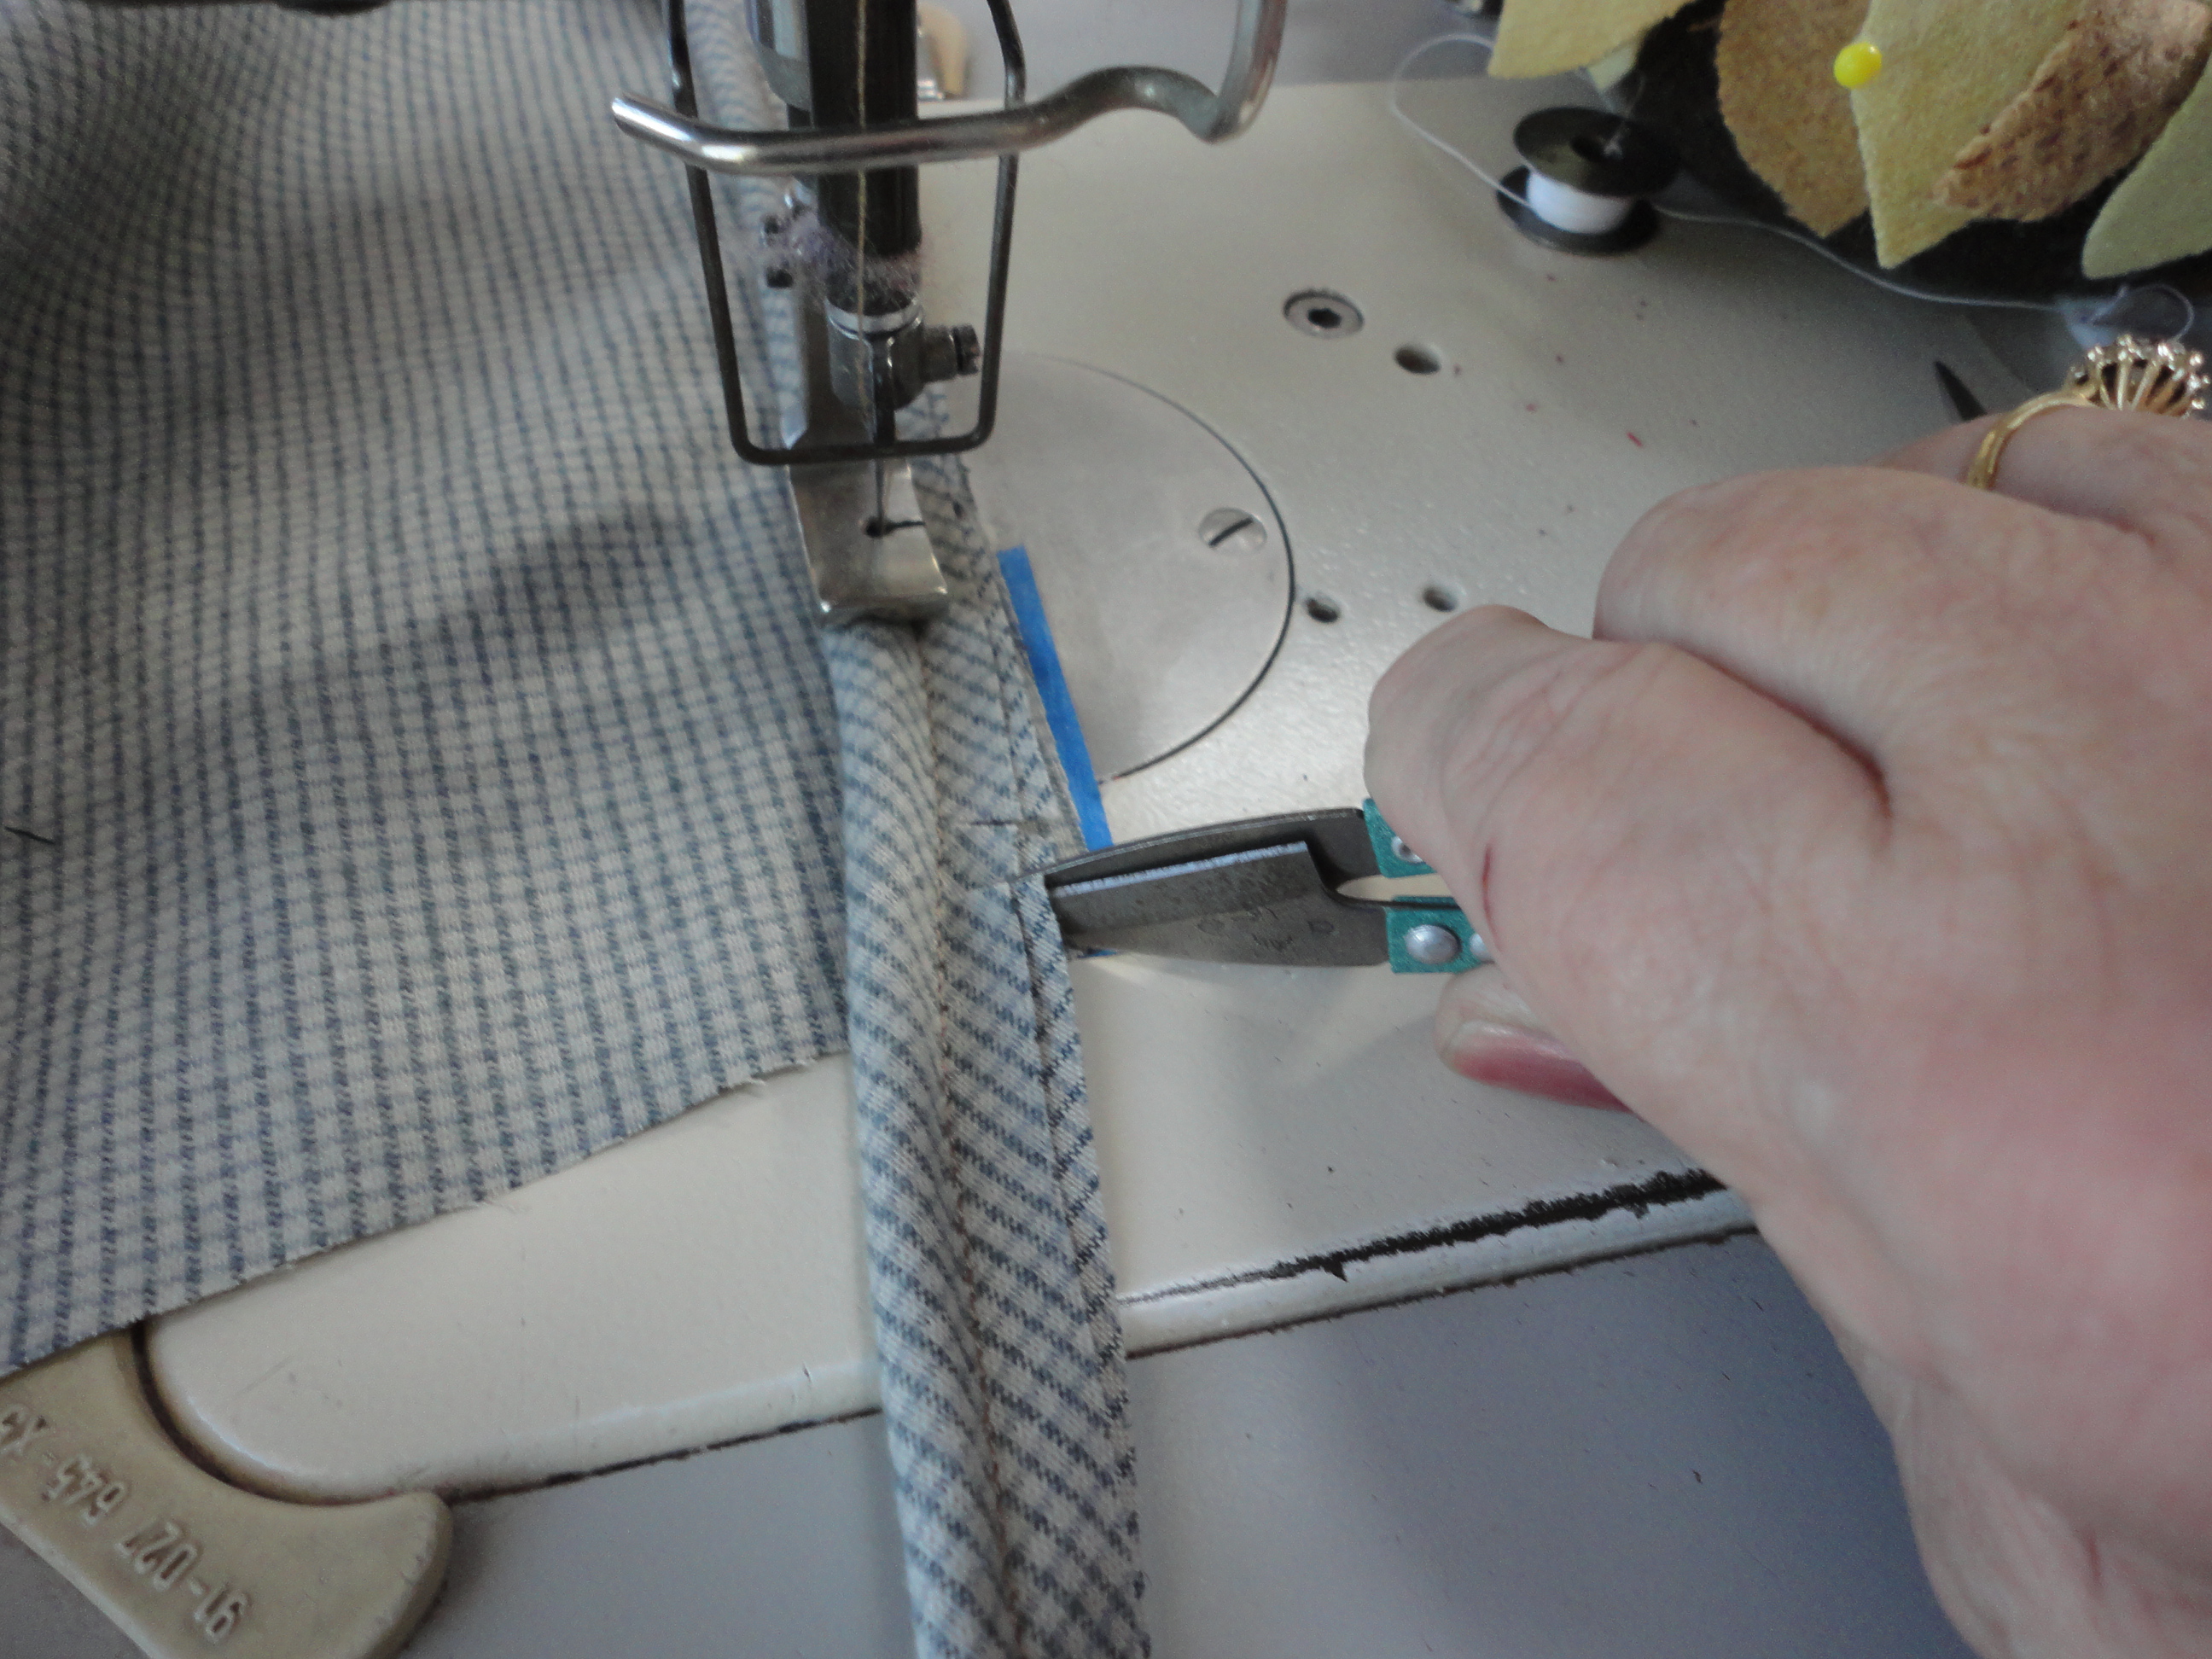 Now I’ve made my second slash.
 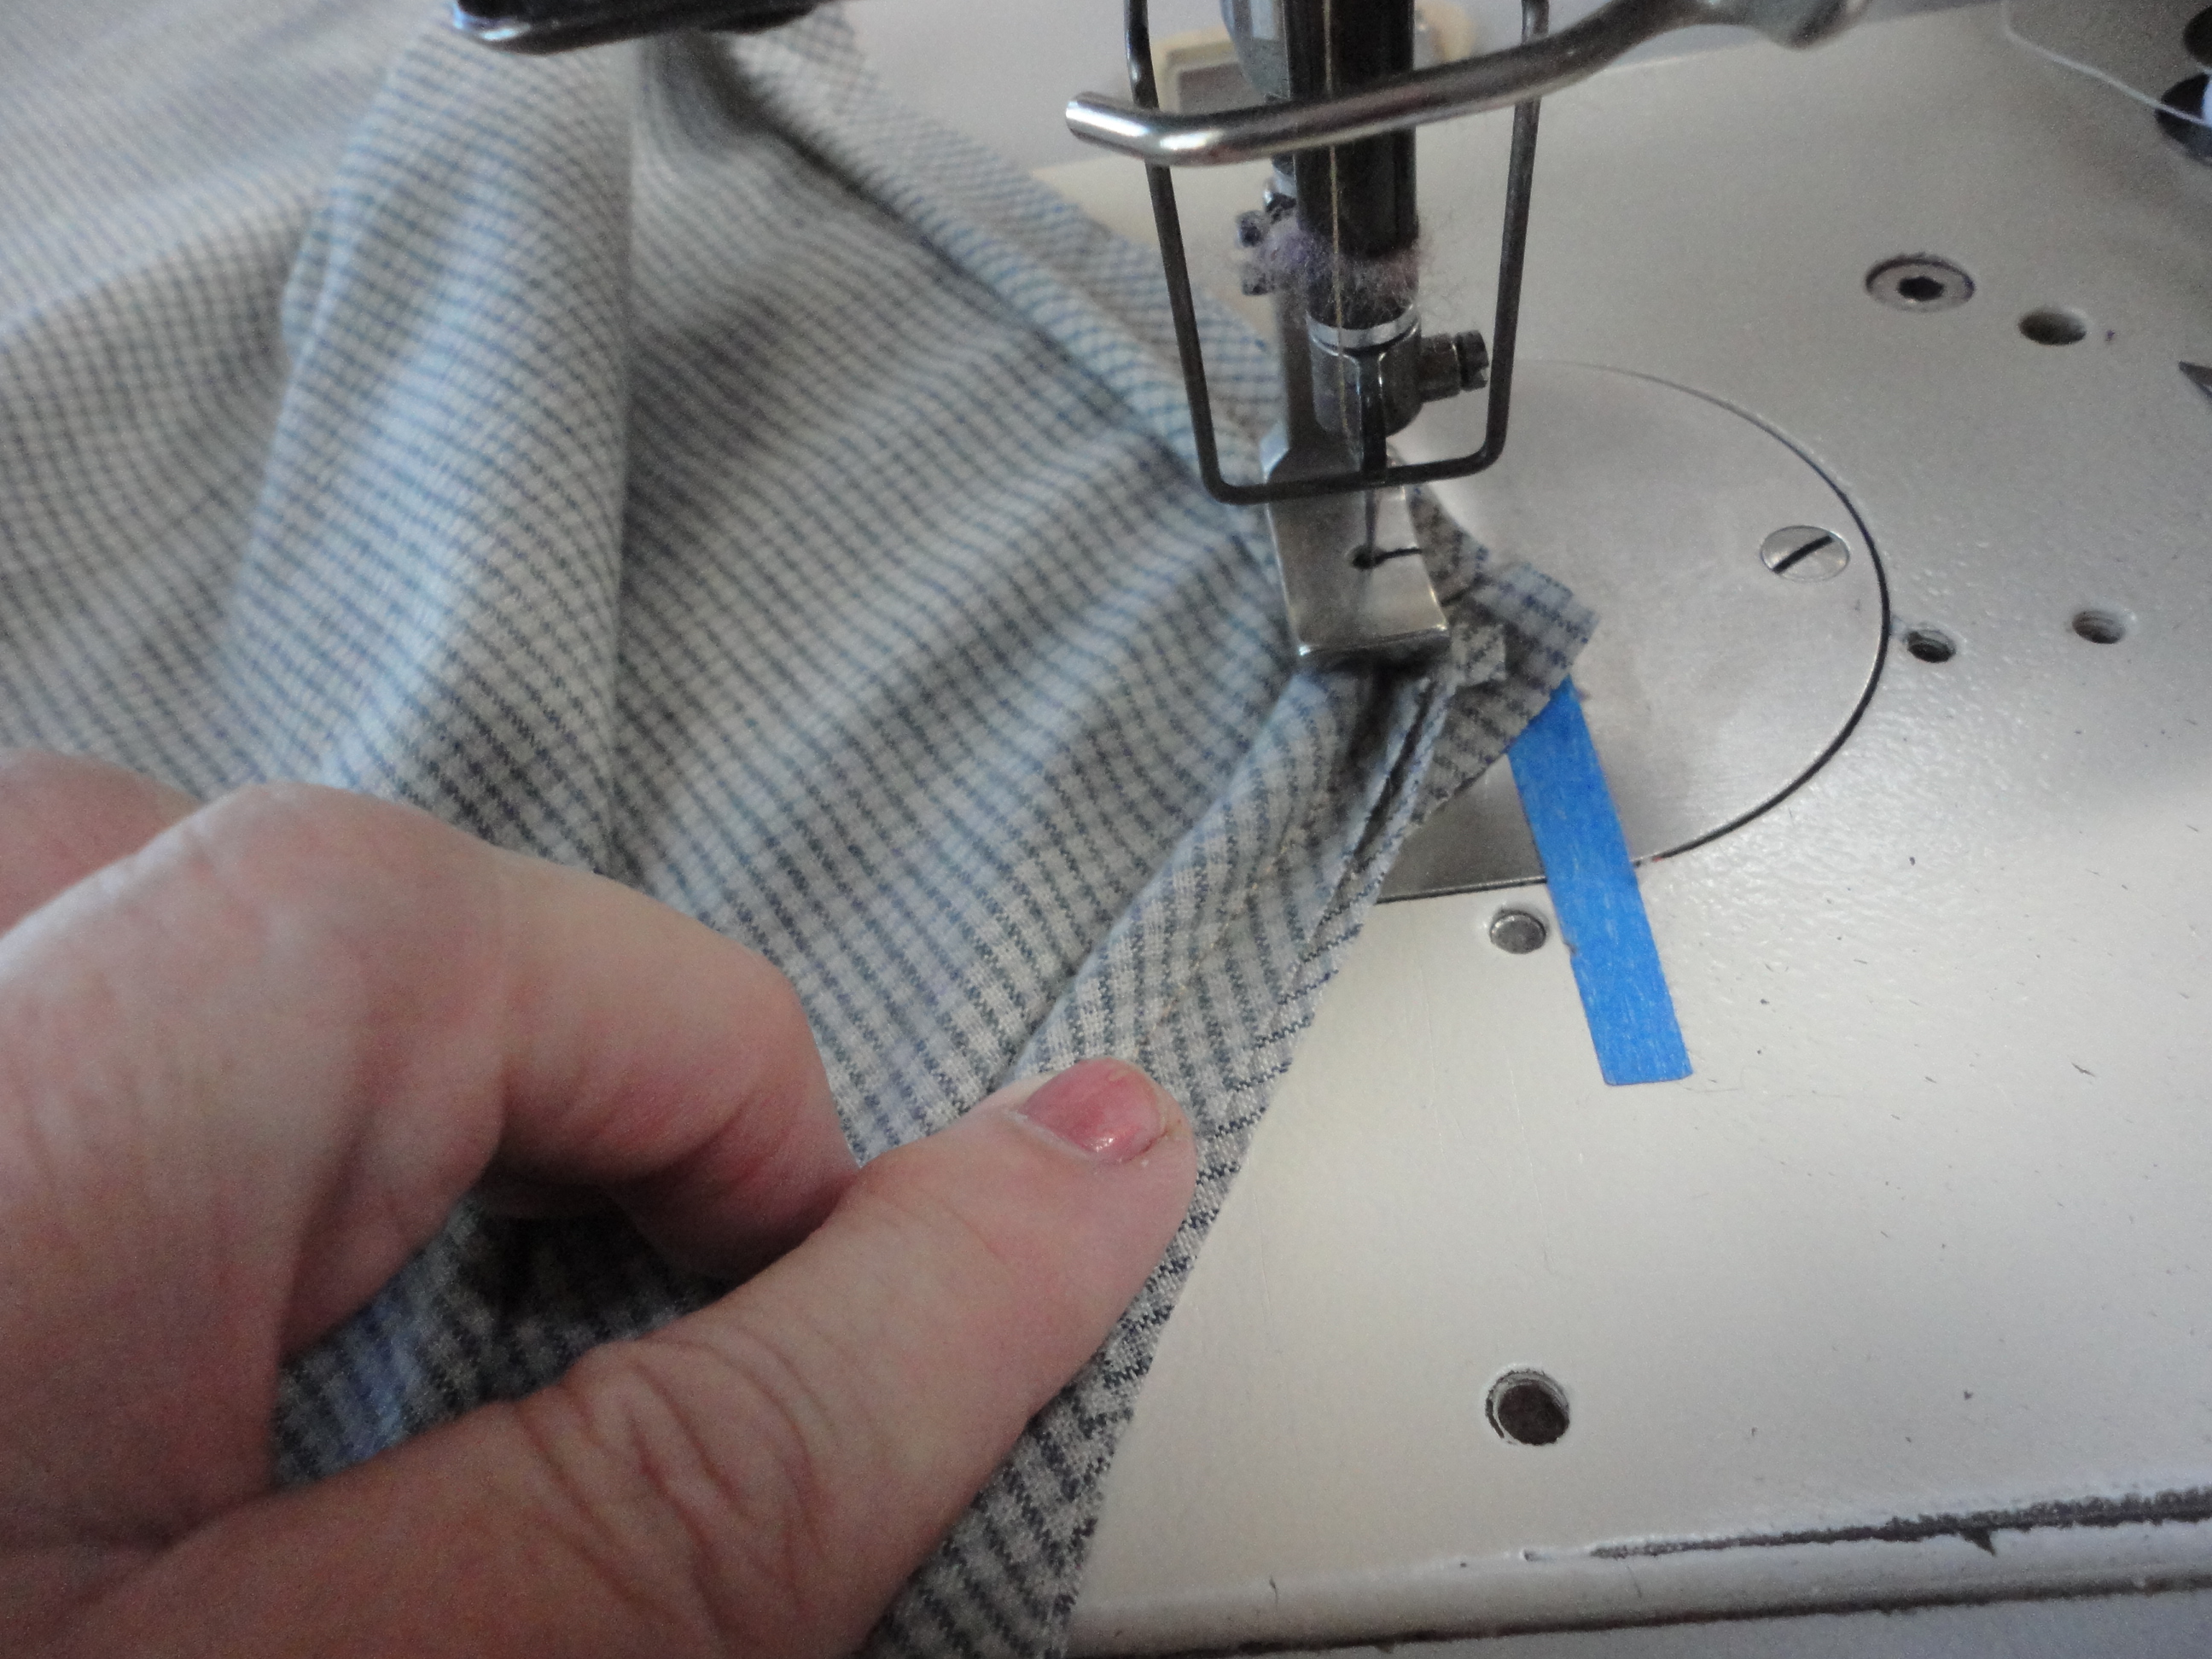 Now I’m able to turn the corner, not with a sharp angle, but a “rounded” angle. I take two stitches across the corner between the two slashes.
 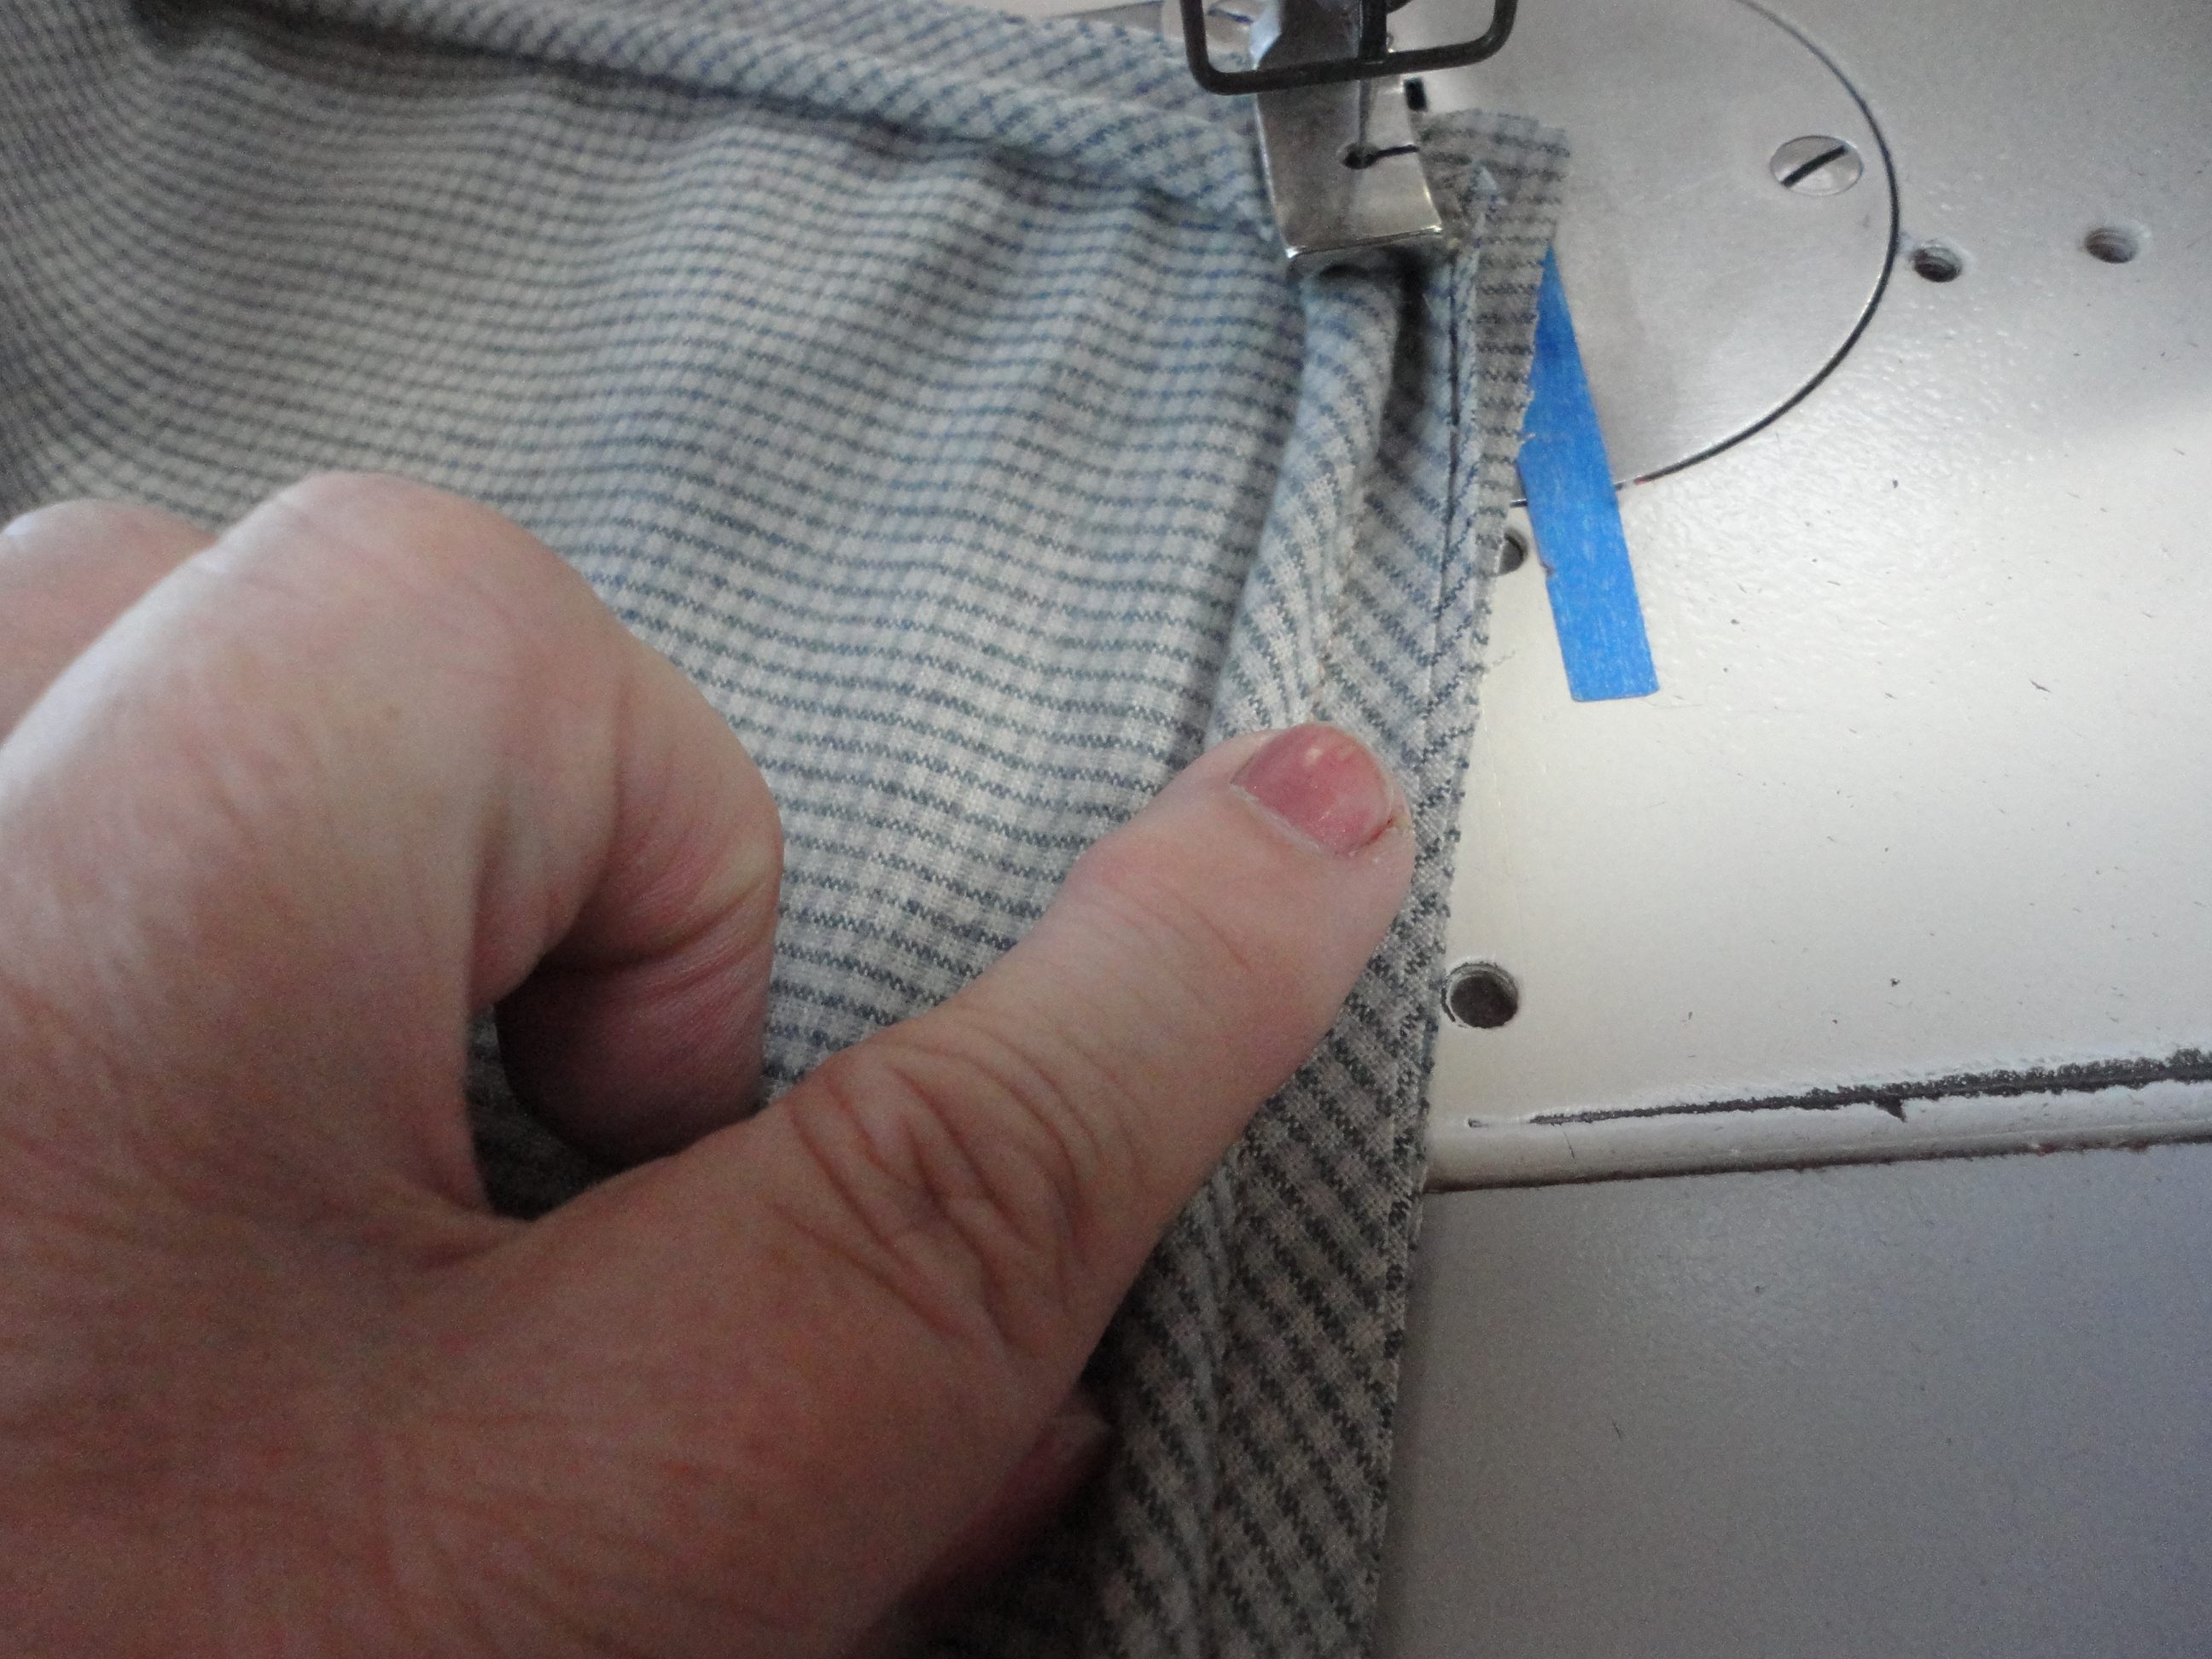 The first stitch goes in, then I bend the piping around the corner and the second stitch goes in. custodia iphone 8 plus adidas
 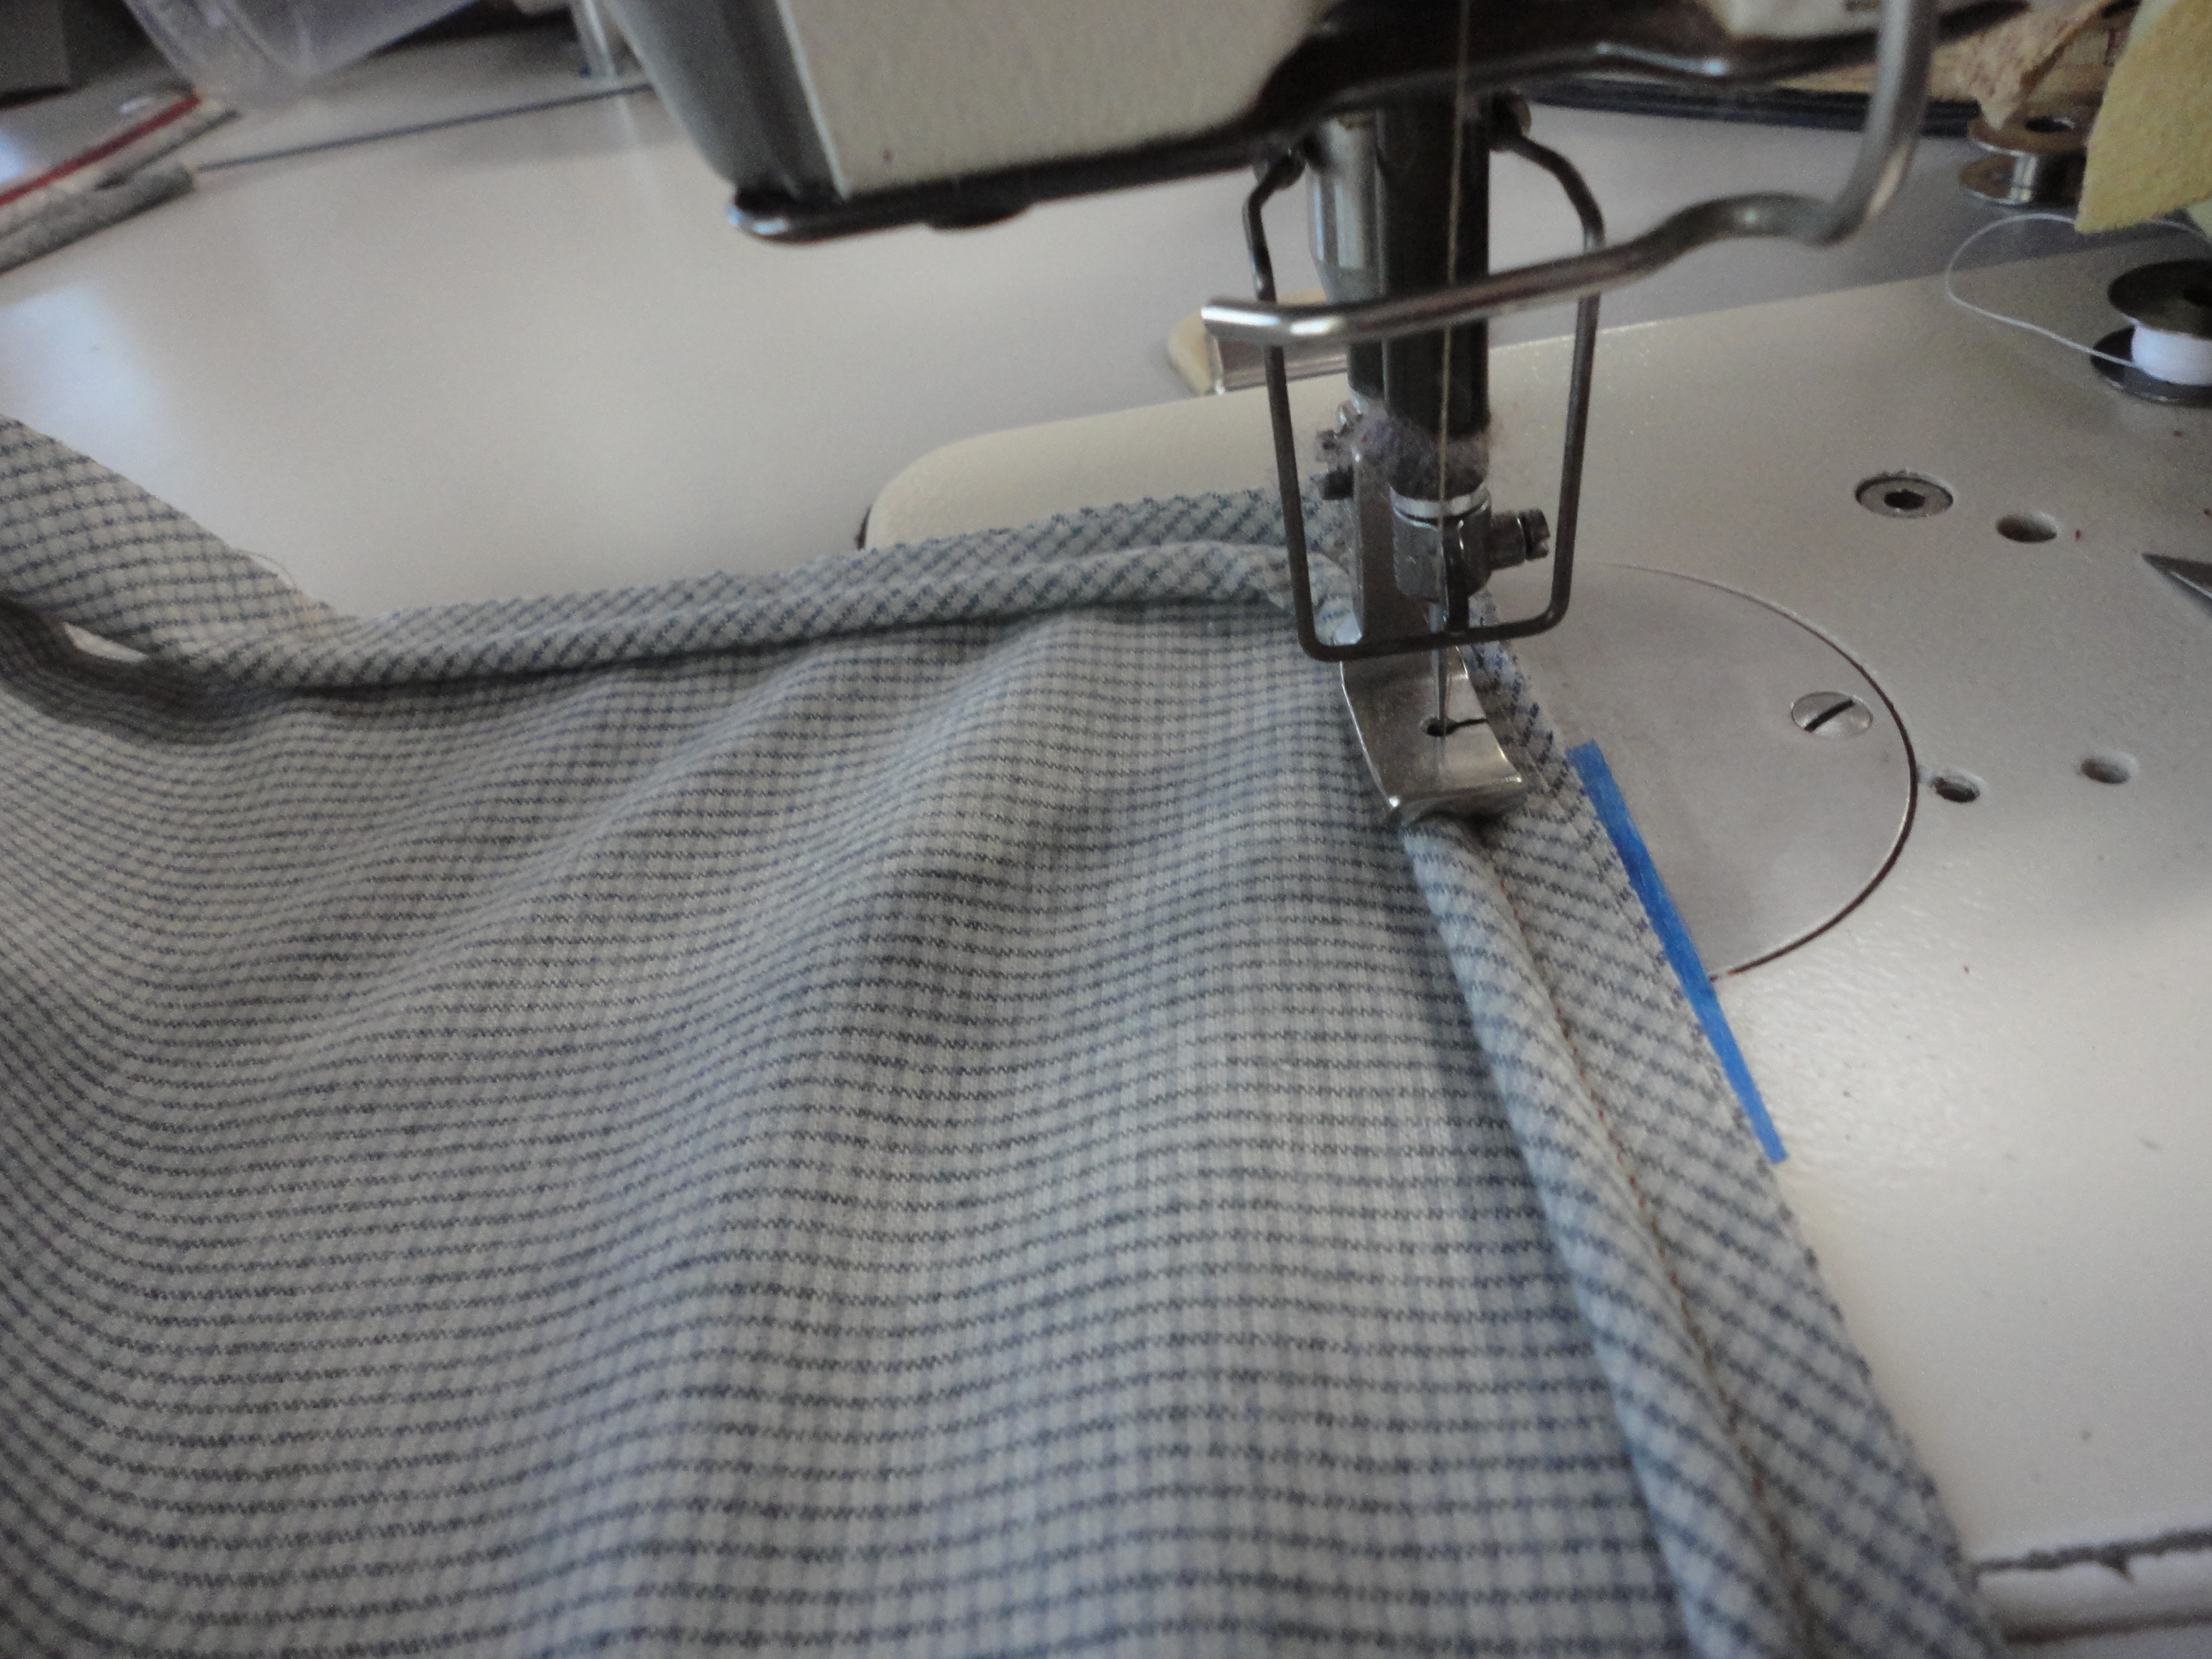 Now I’m on the straight away again until I come up to the next corner, and I repeat the process. custodia iphone 7 plus van gogh
 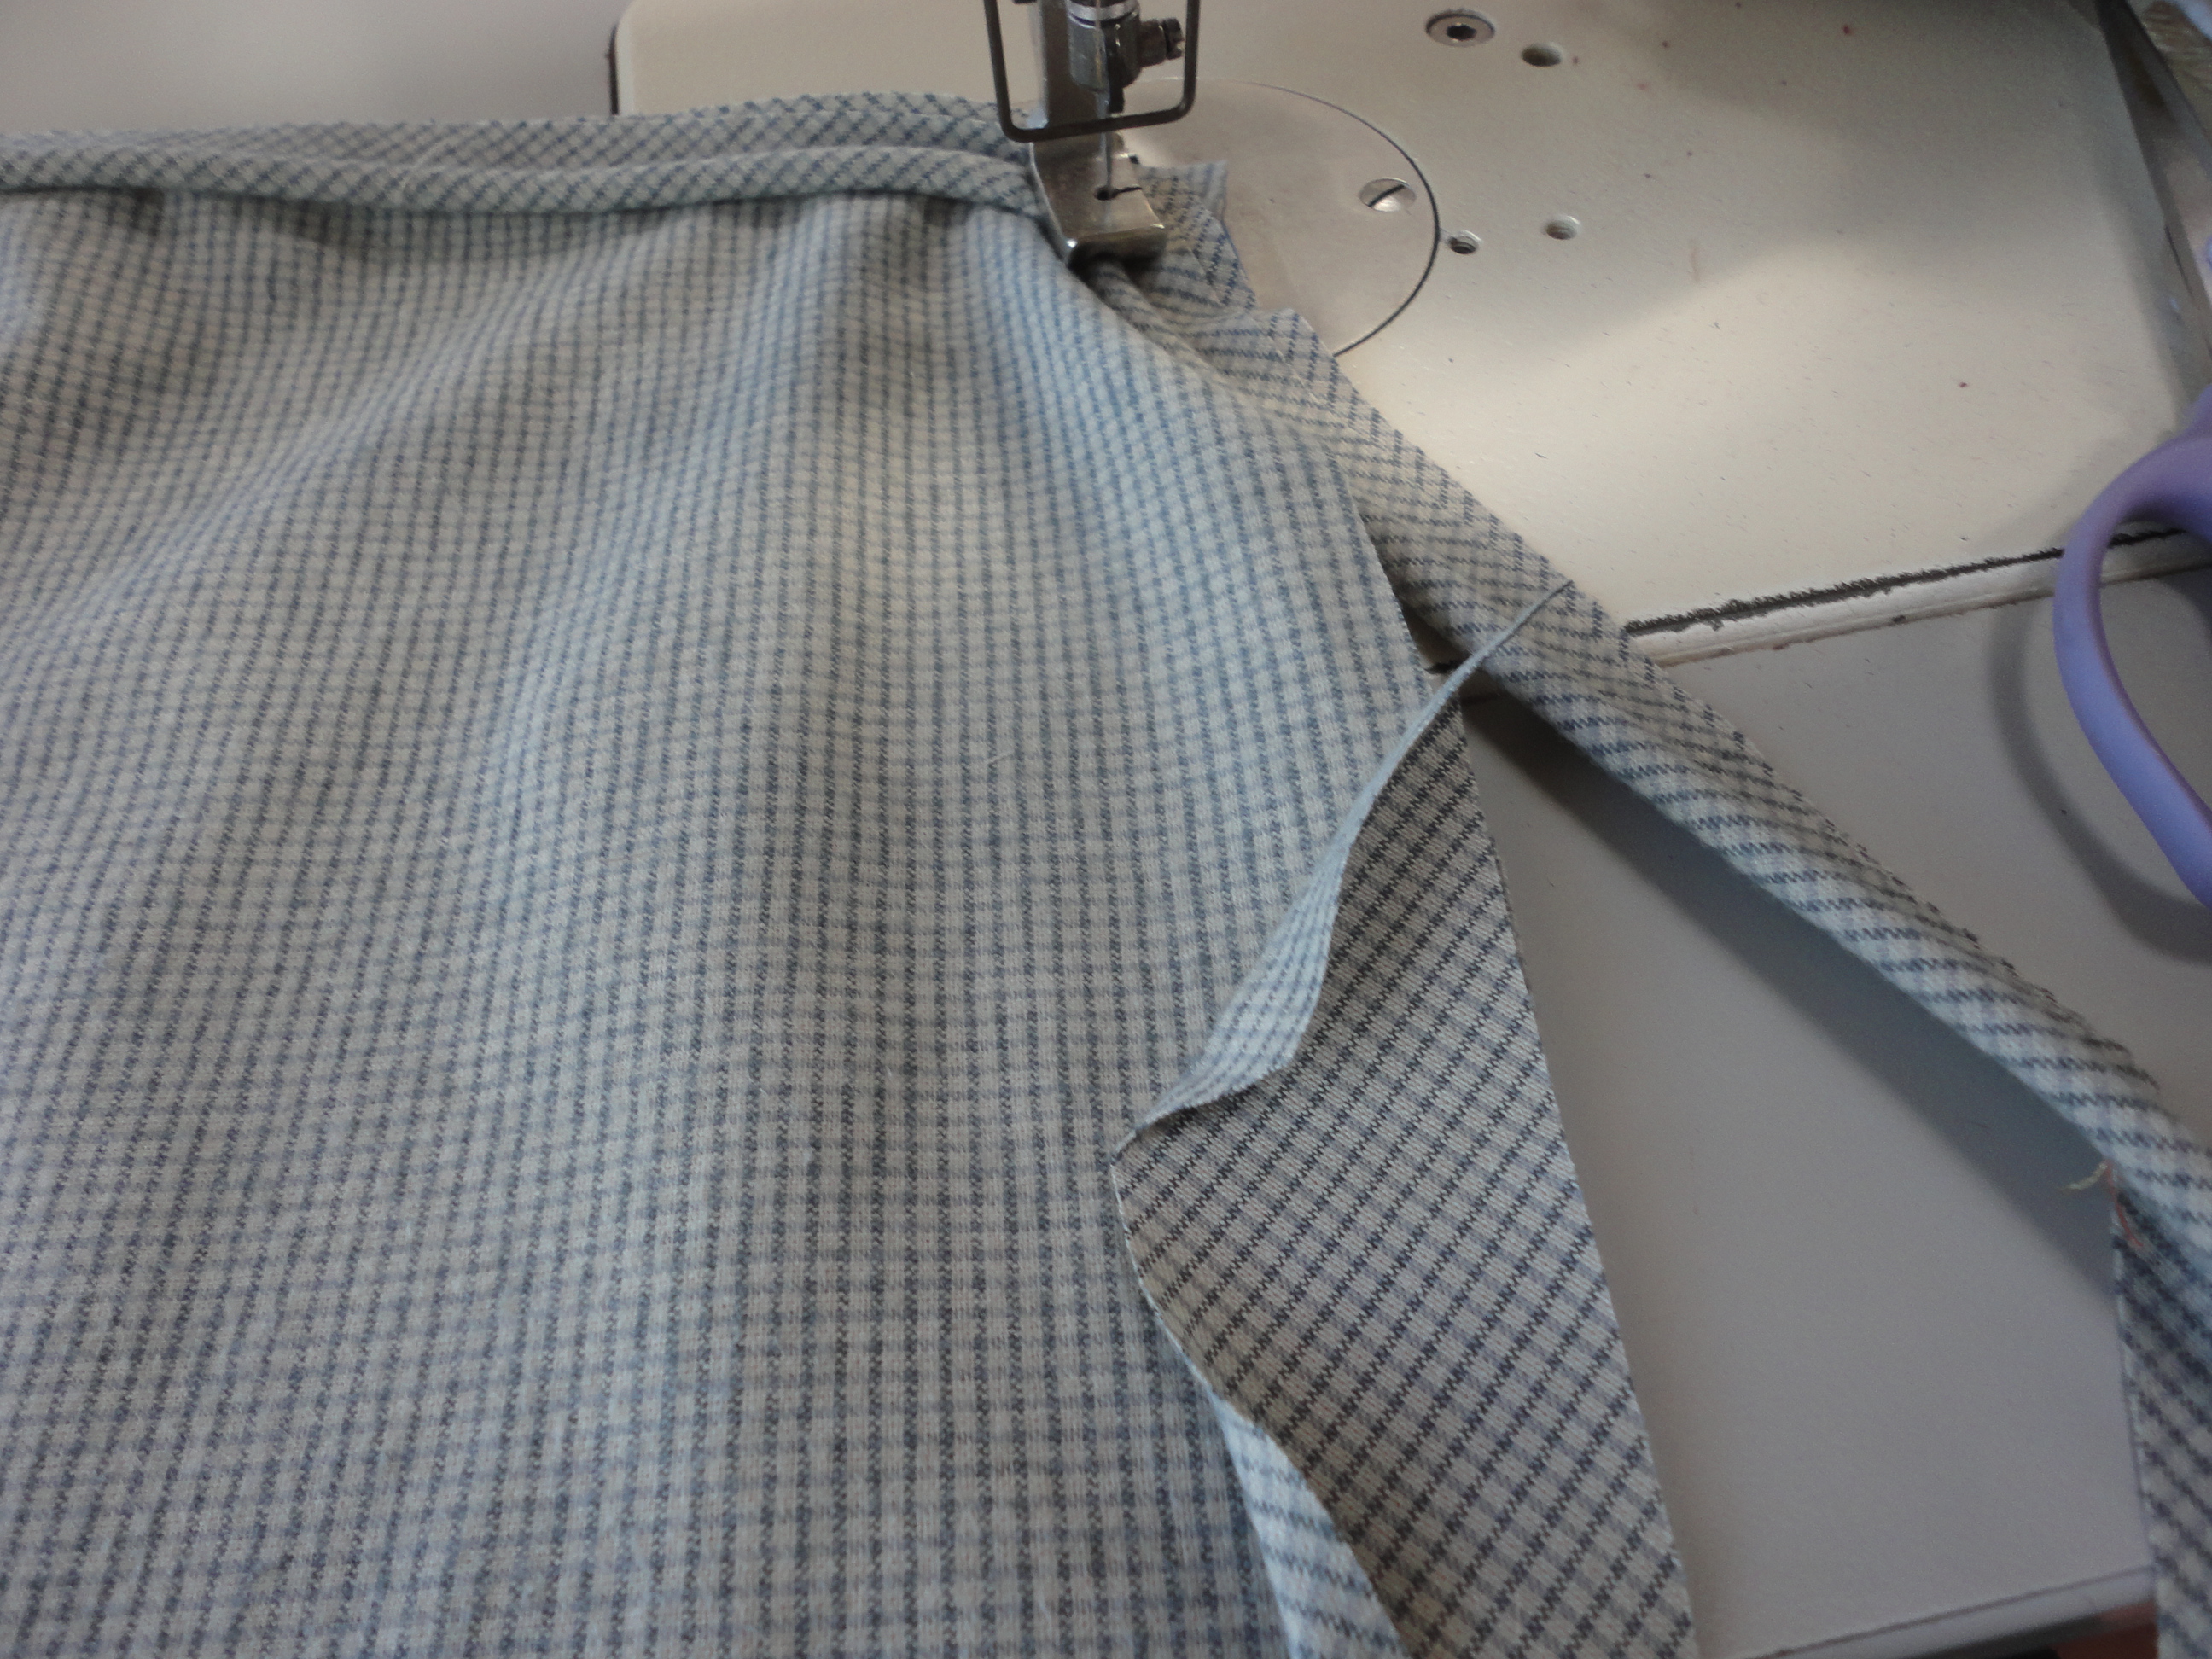 Now I’m turning my last corner and am ready to finish up the piping. See the loose end of the bias? I lay that out and fold in the end of the bias on an angle. Then I lay the piping inside that and continue stitching.
 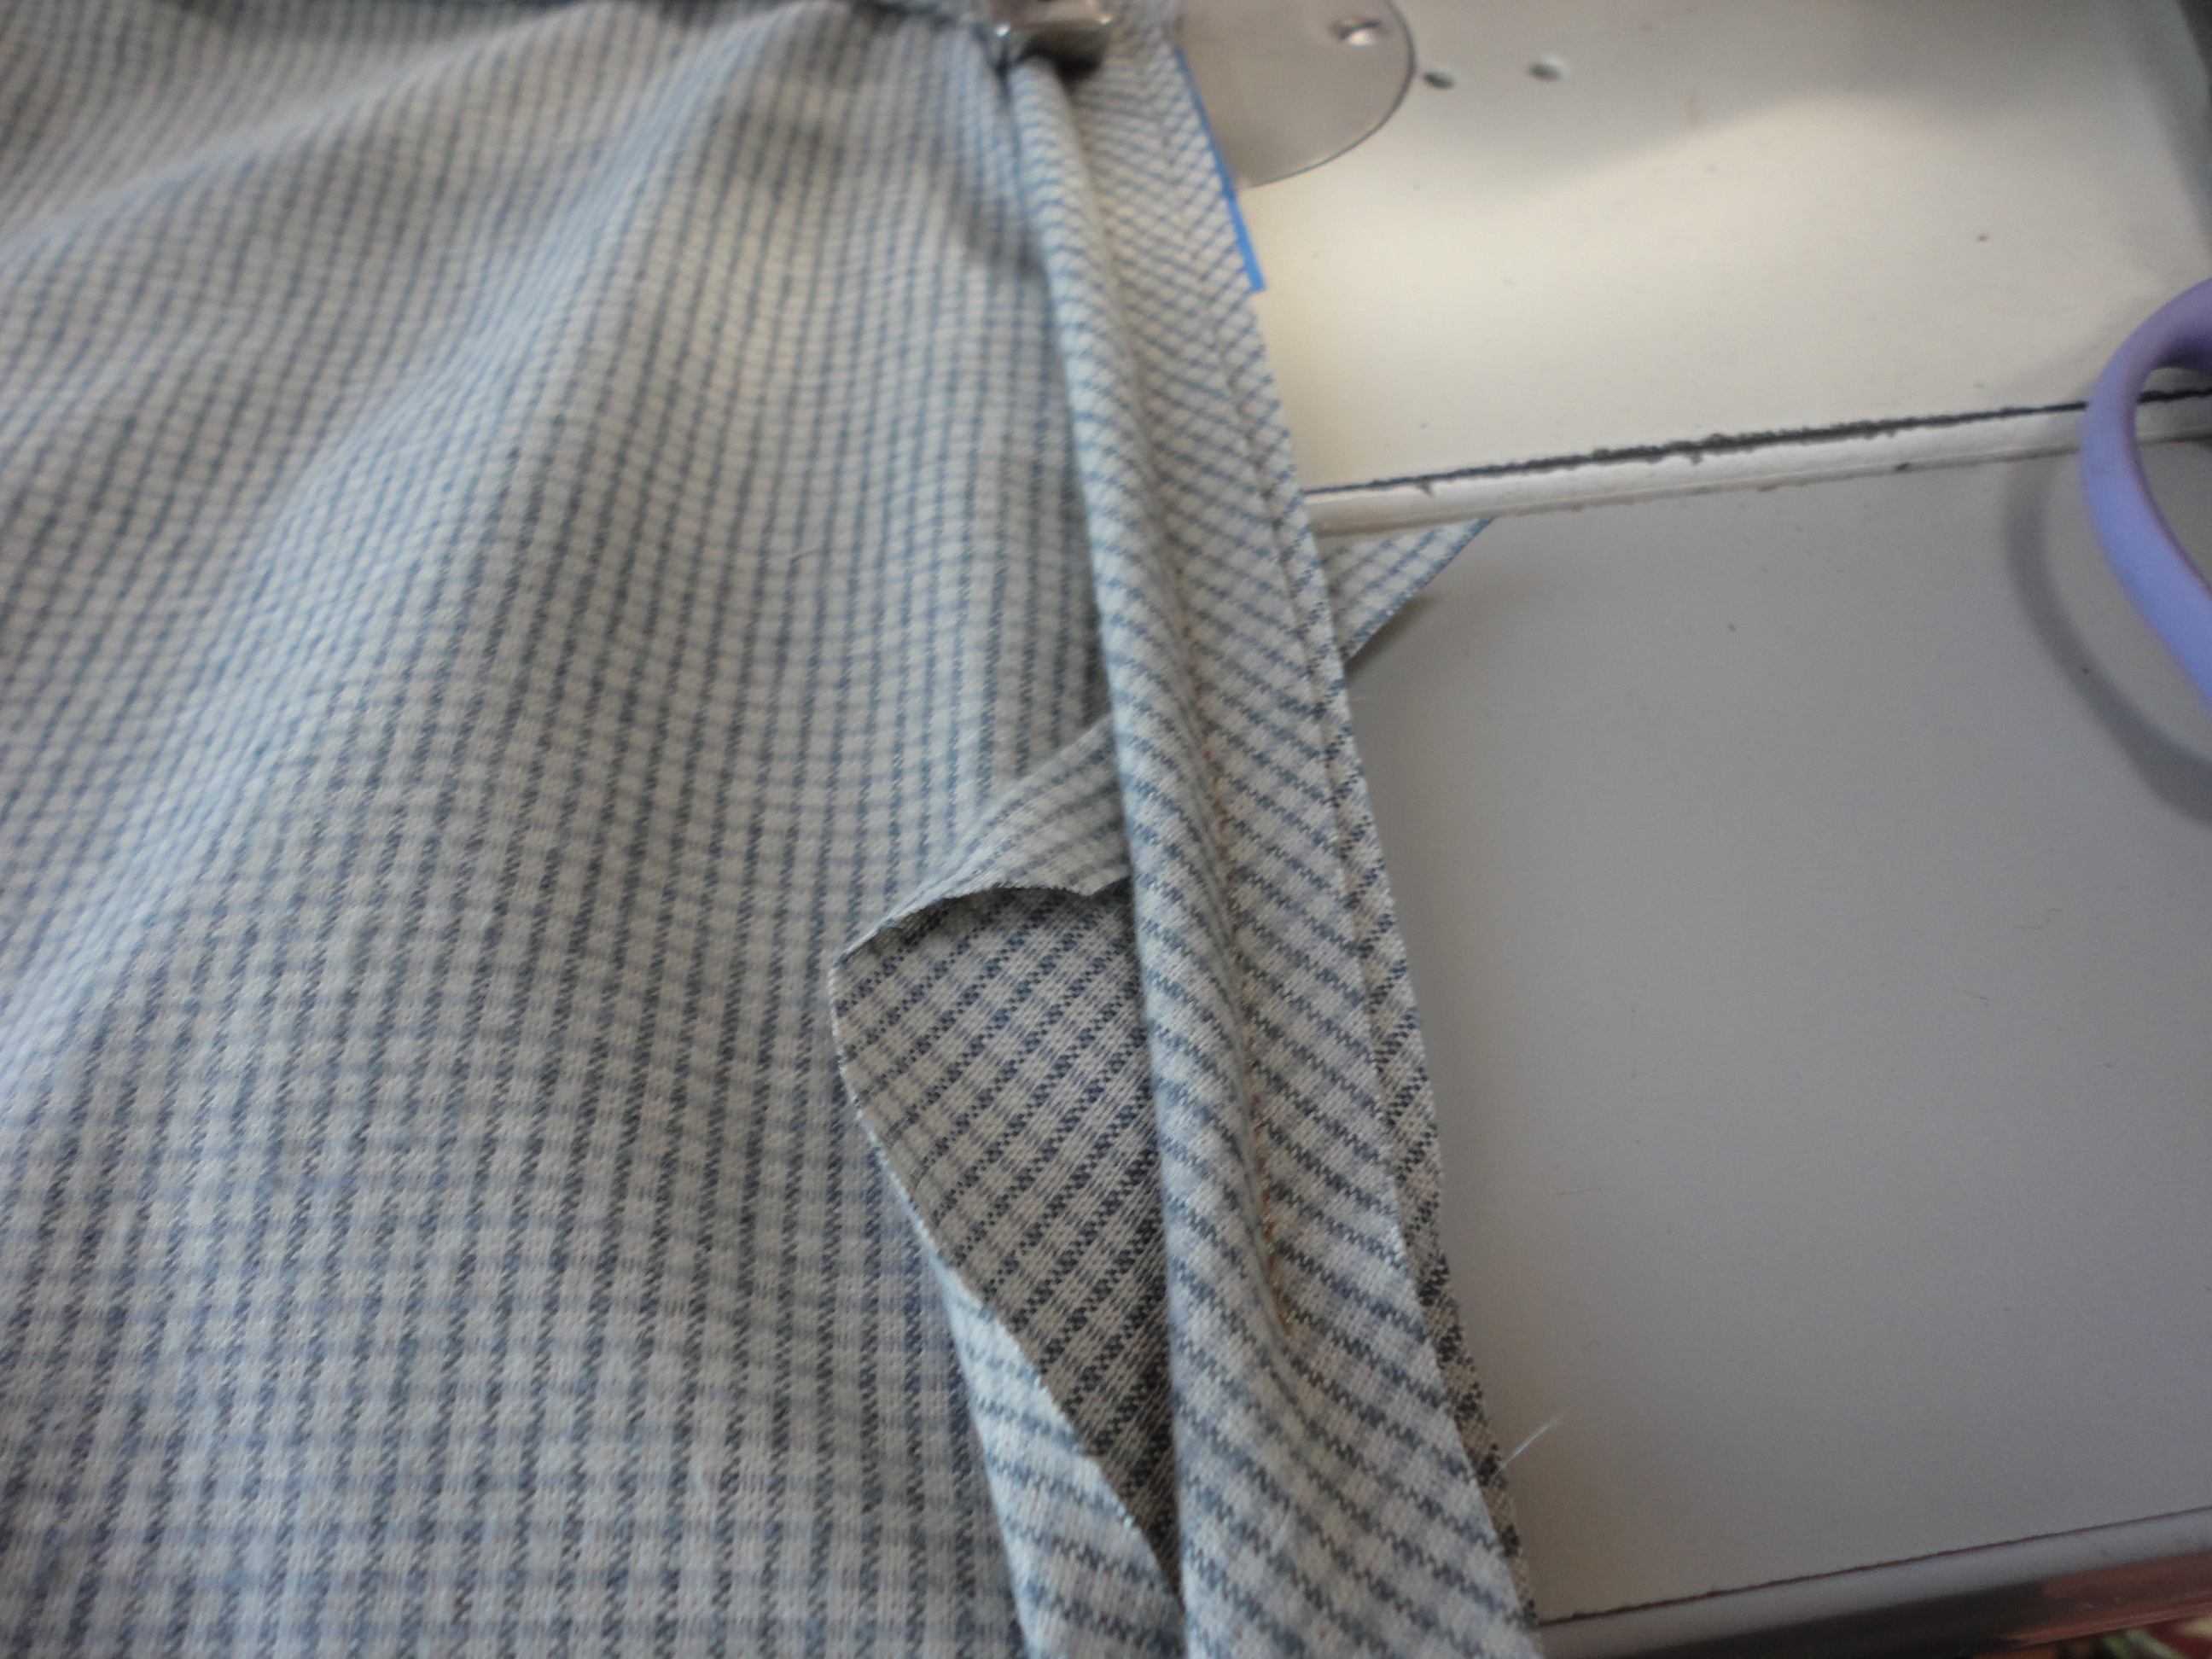 I turn under about 1/4″ and place the piping over it. custodia iphone x bandiera
 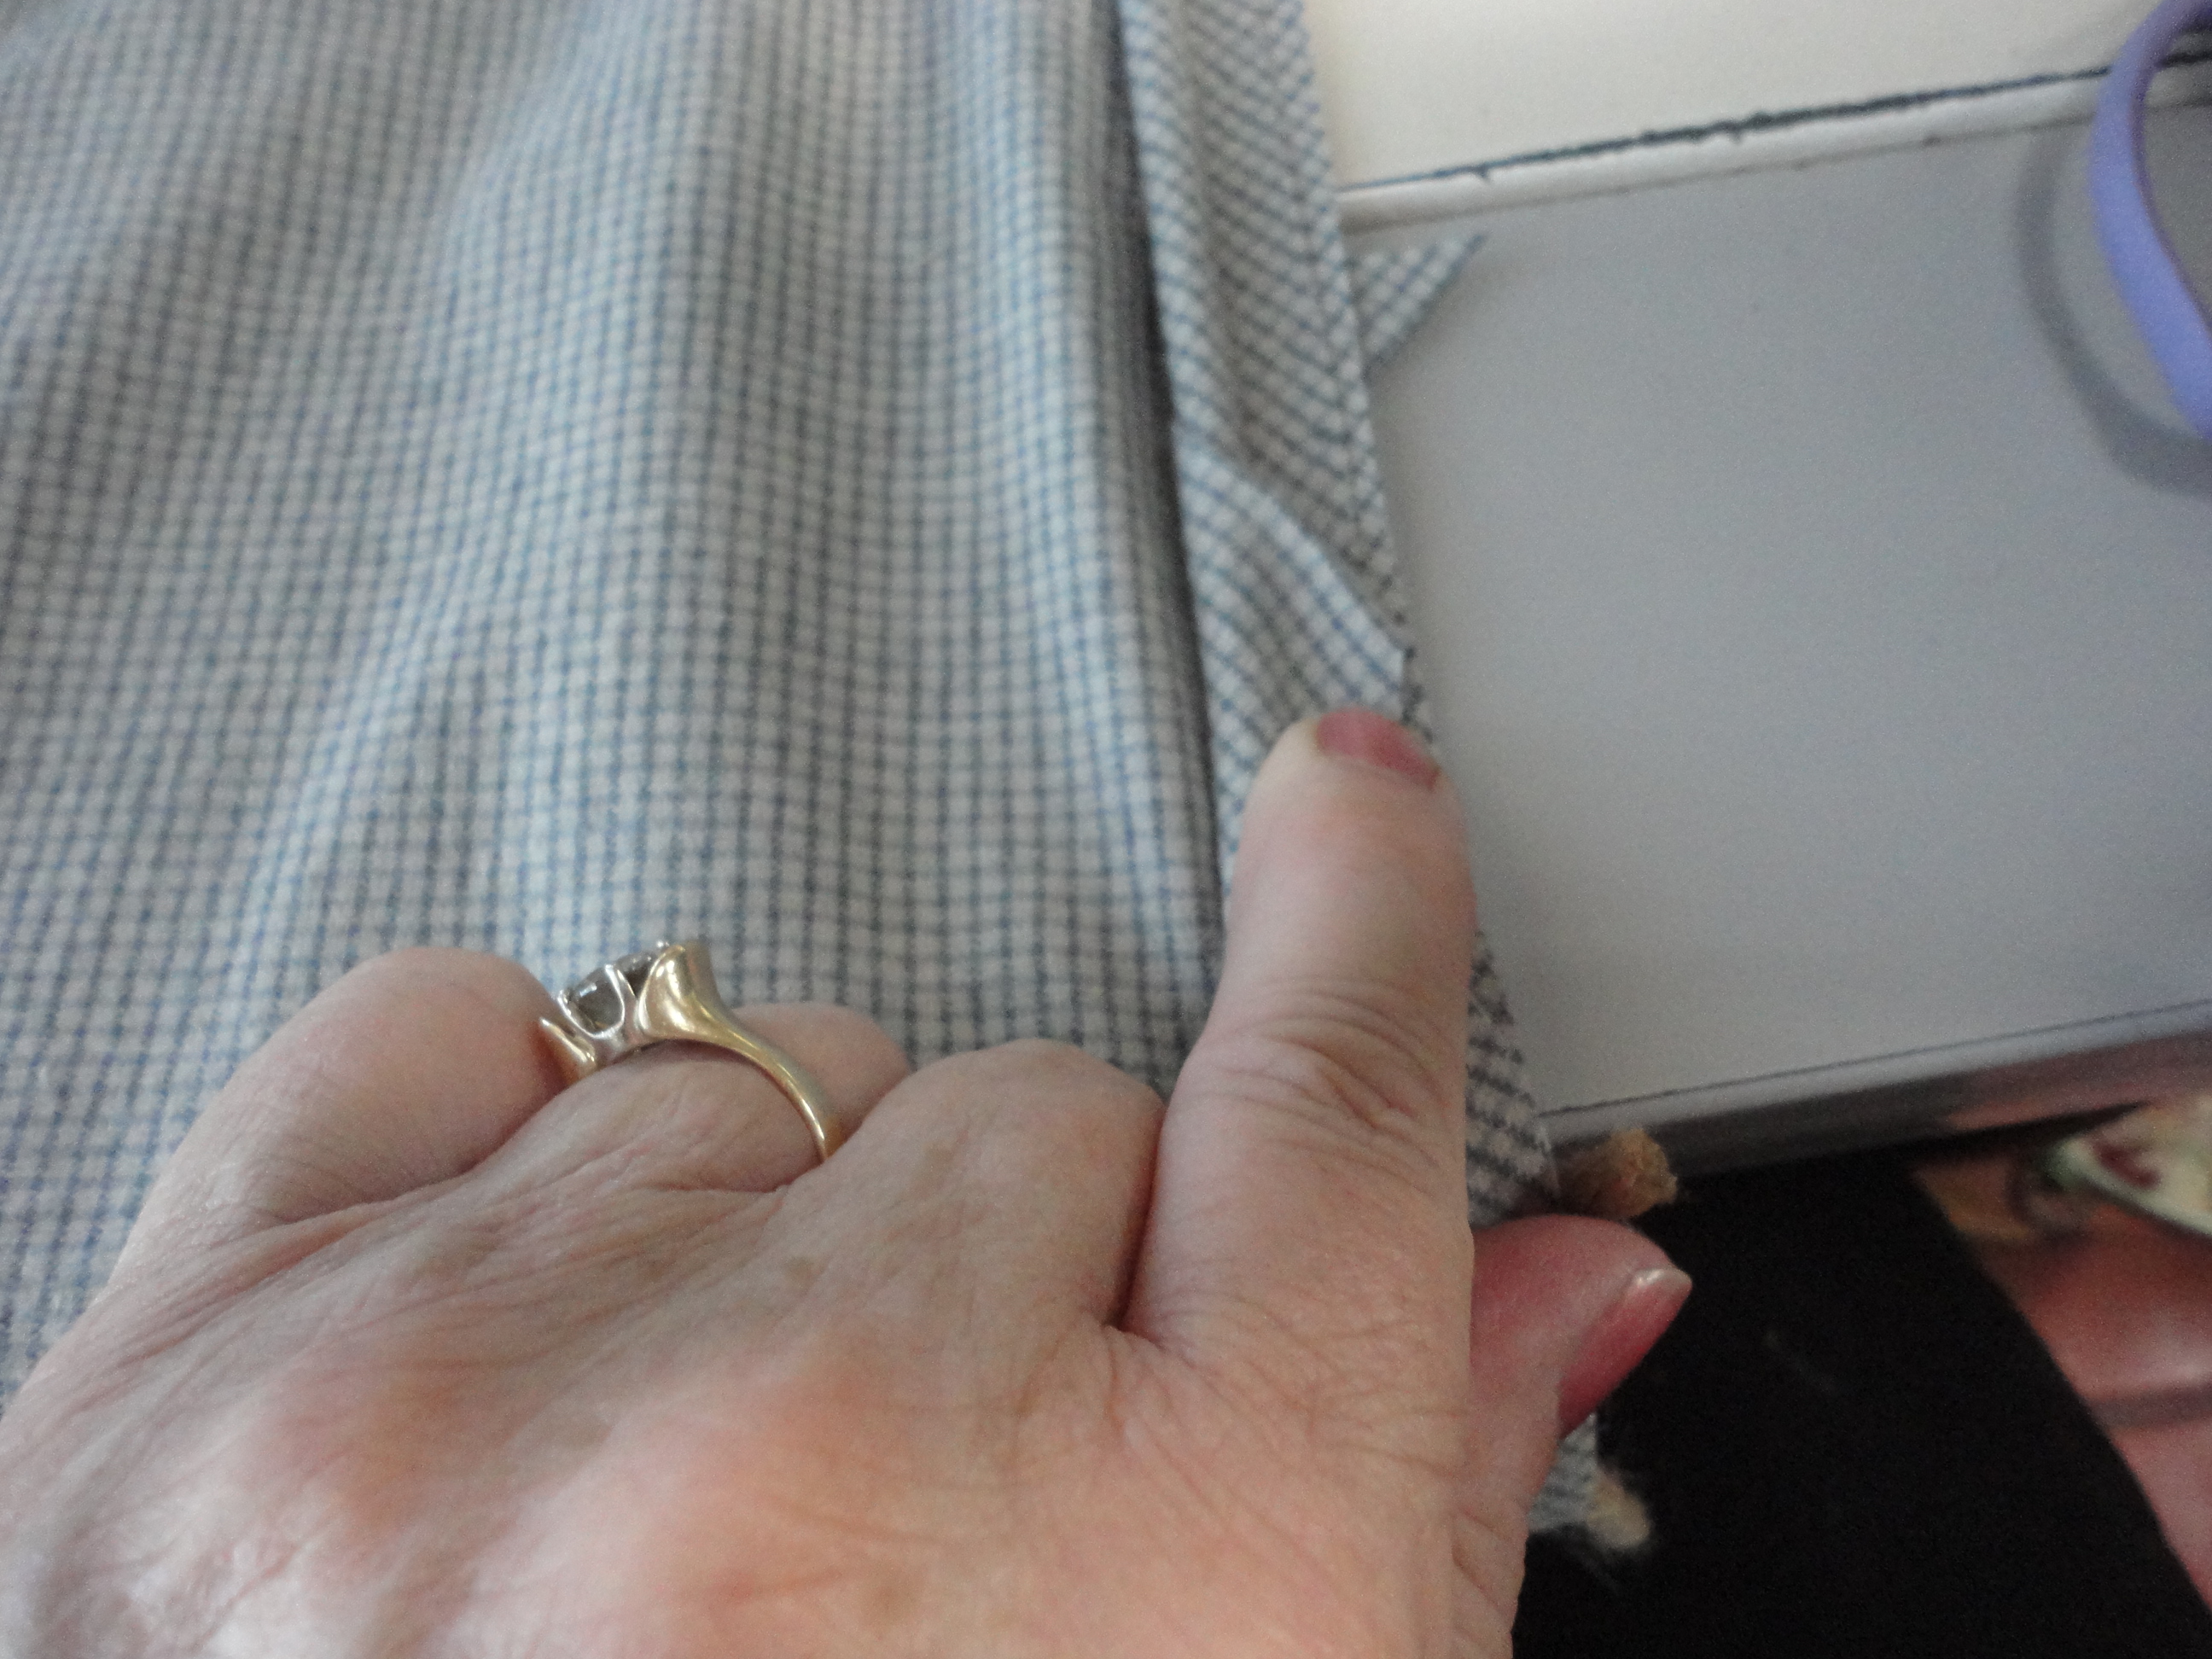 I hold it down with my finger so it is nice and taught over the piping.
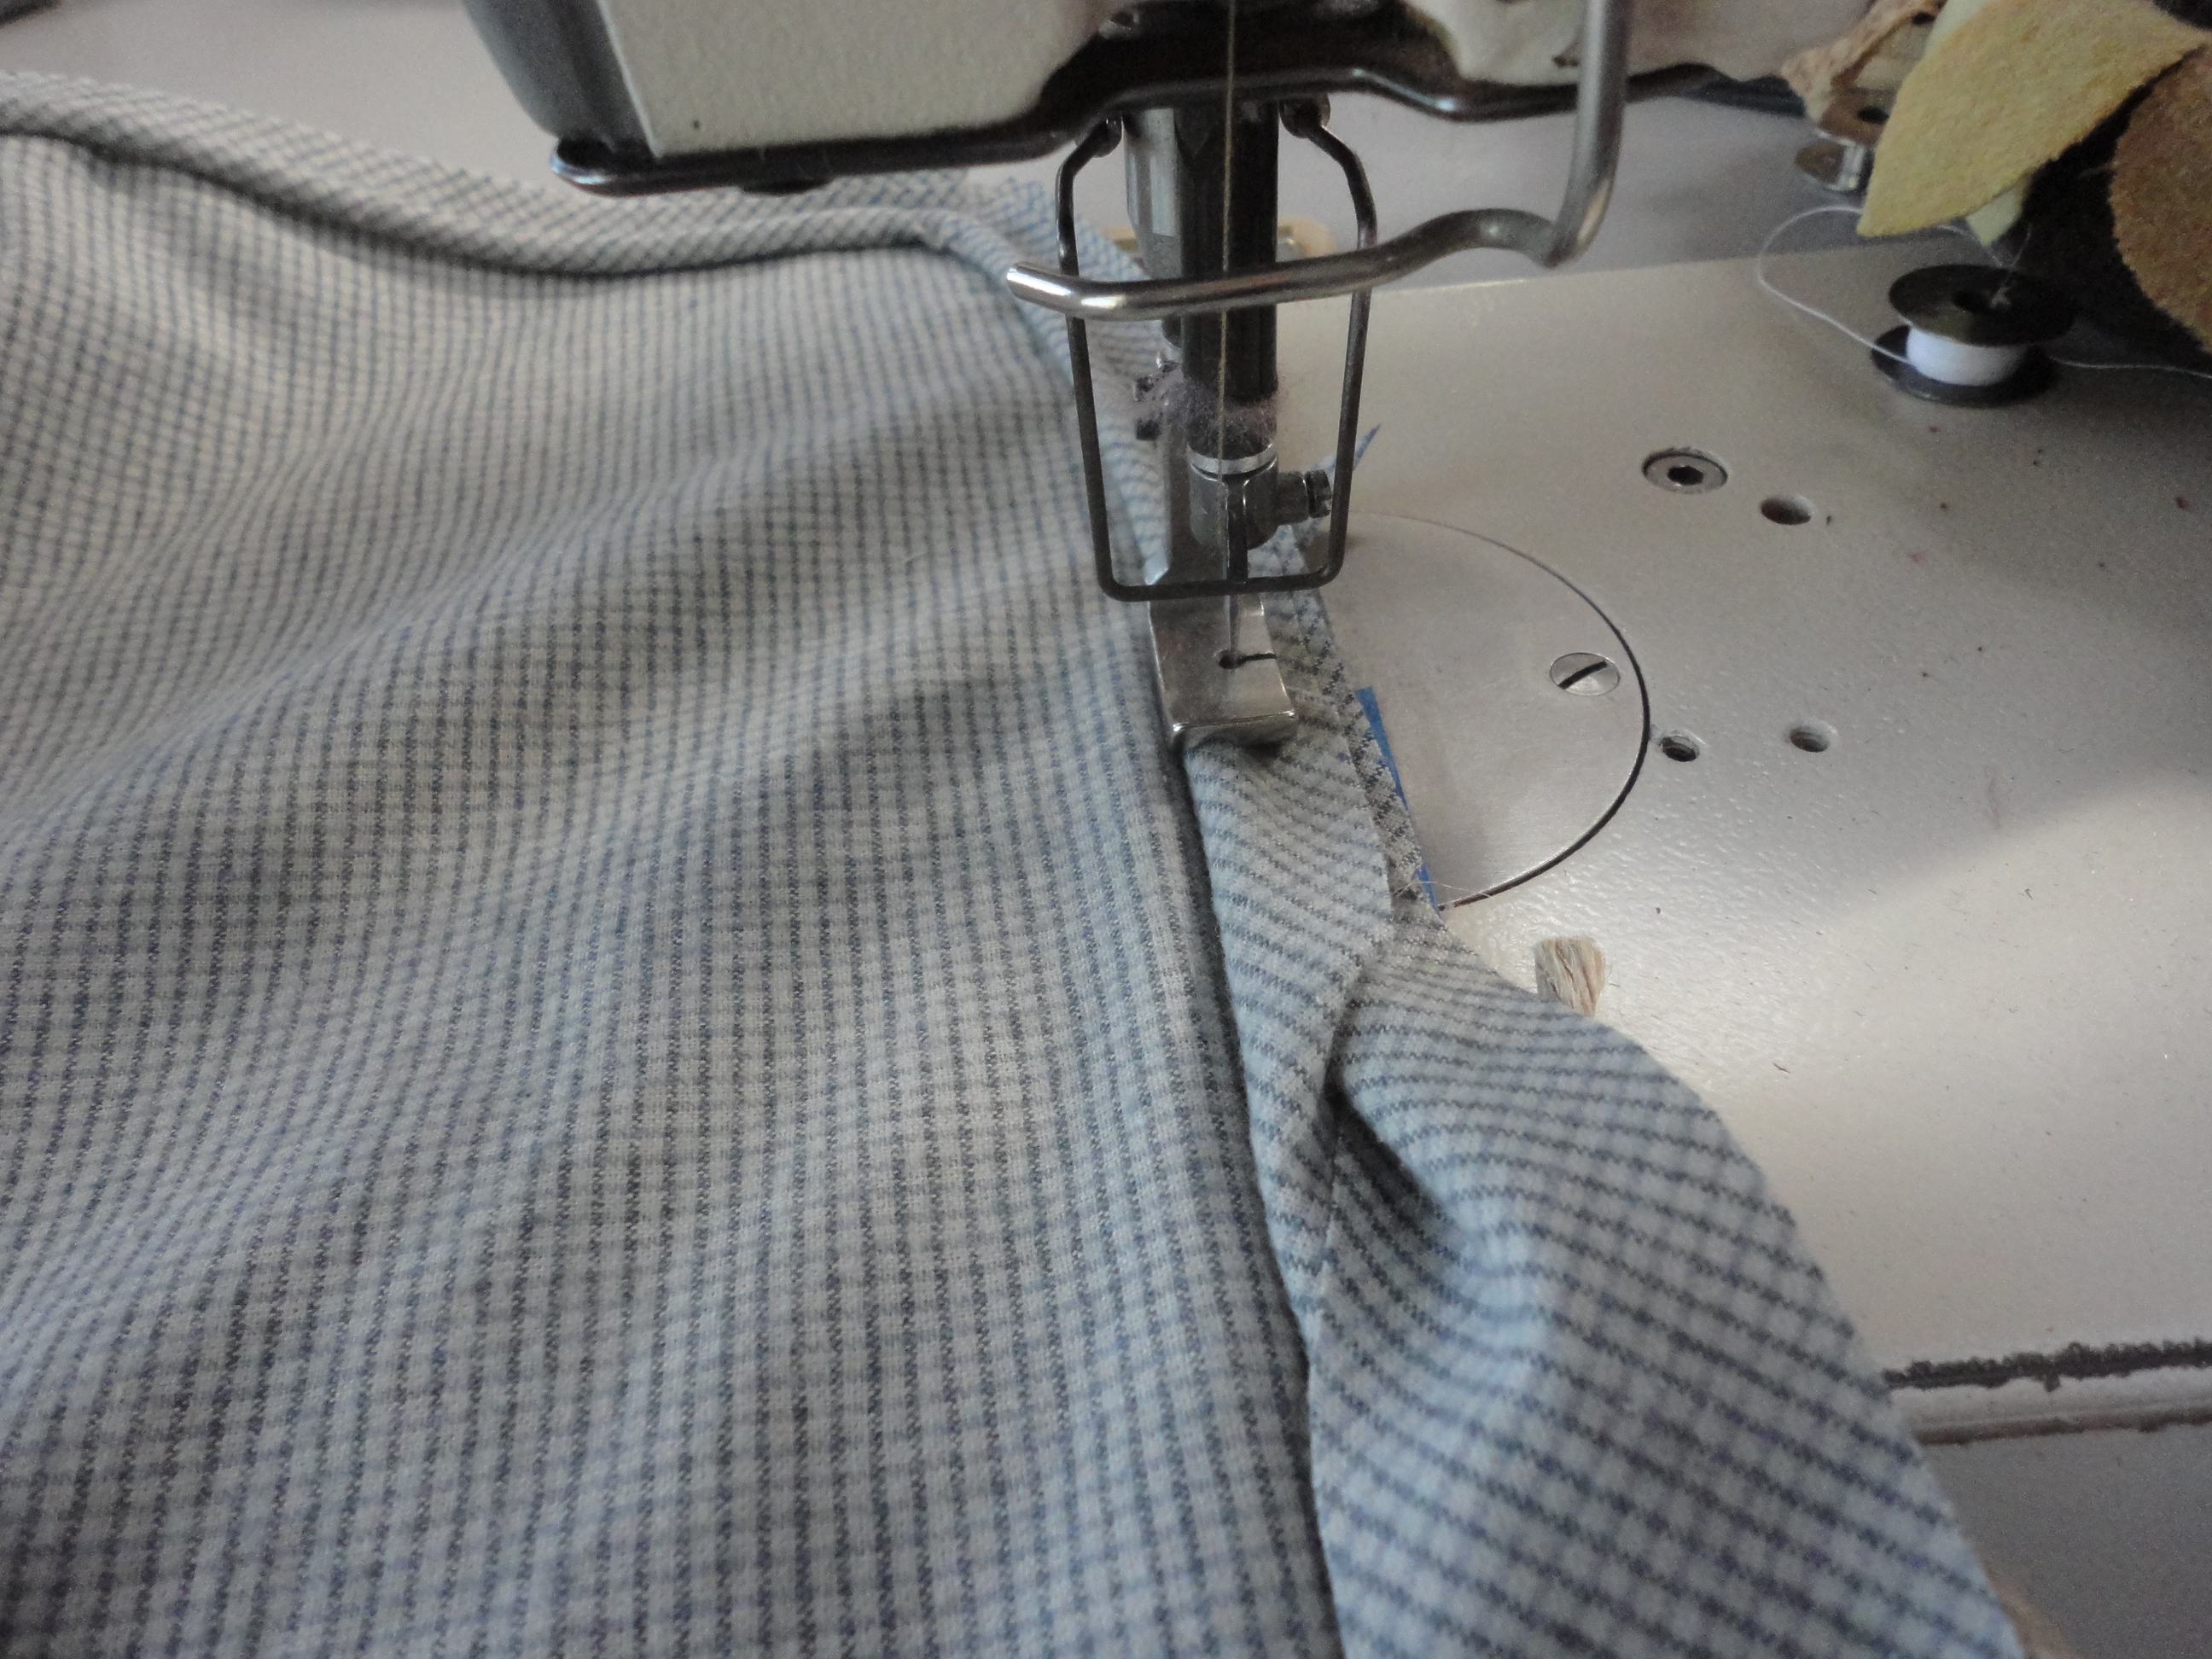 I stitch over the end just to catch the folded end of the bias.
 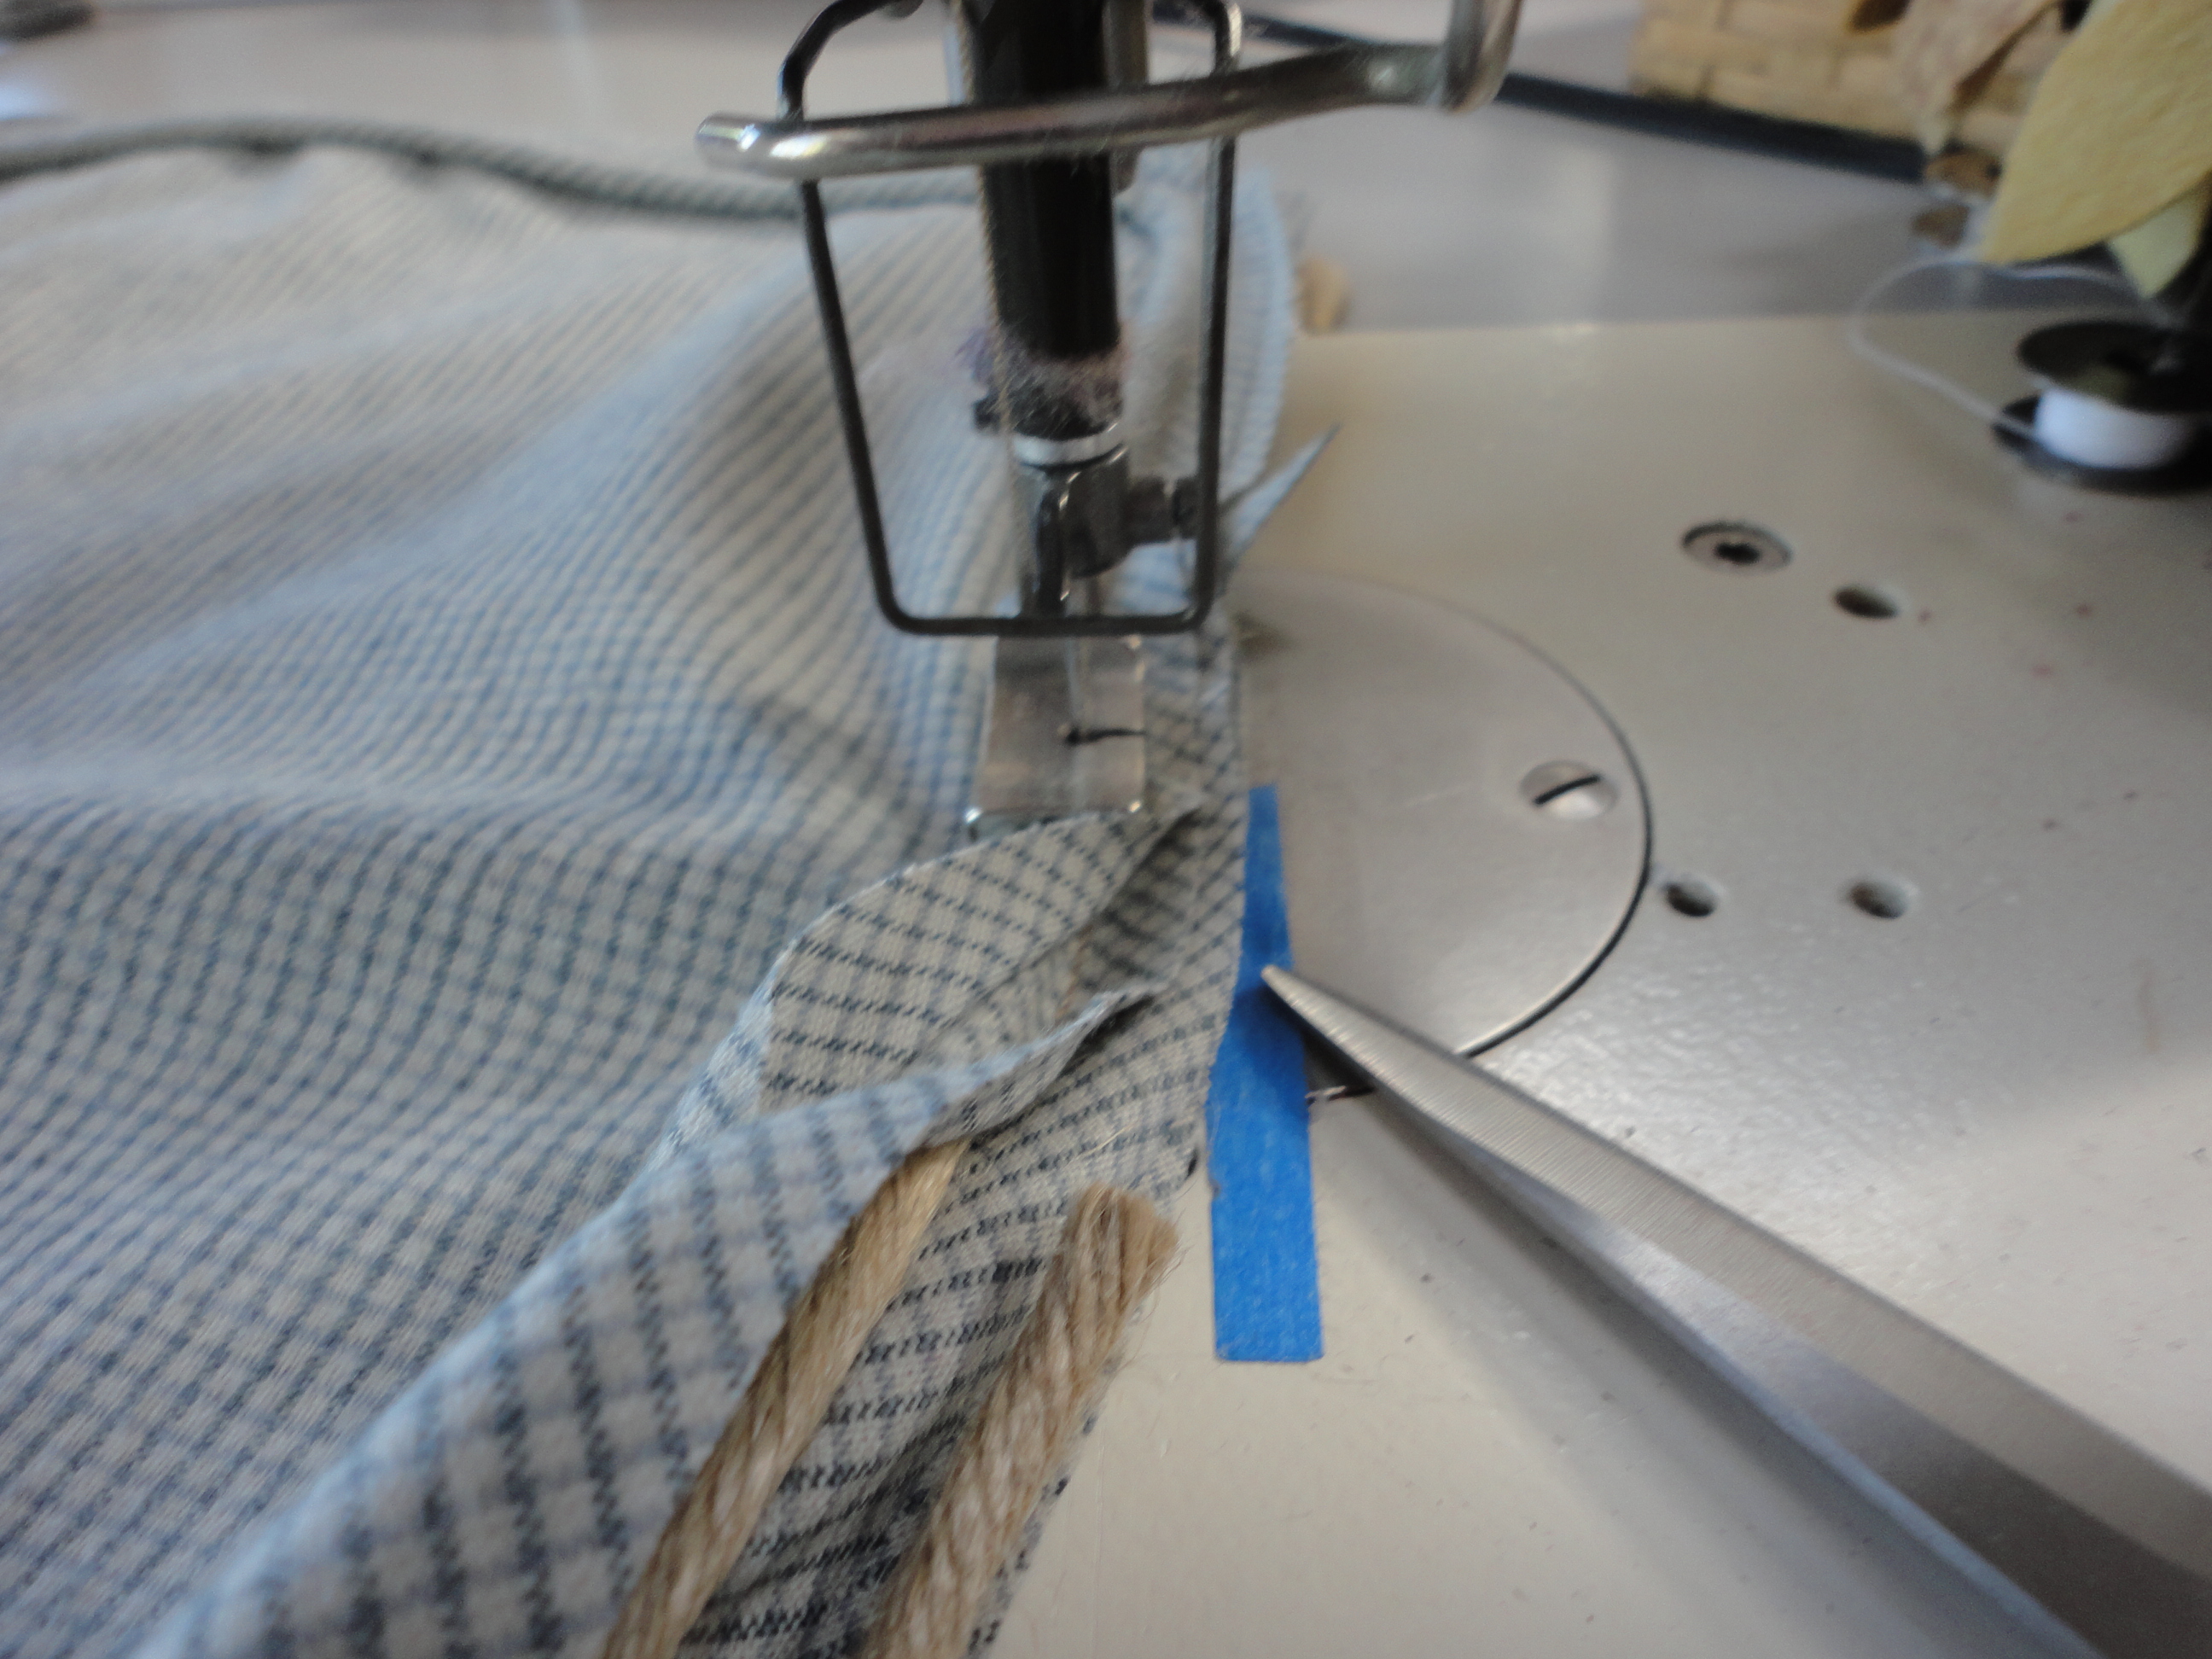 Now I carefully line up the piping from the beginning of the pillow to the end of the pillow and cut through all layers except the loose bias strip.
 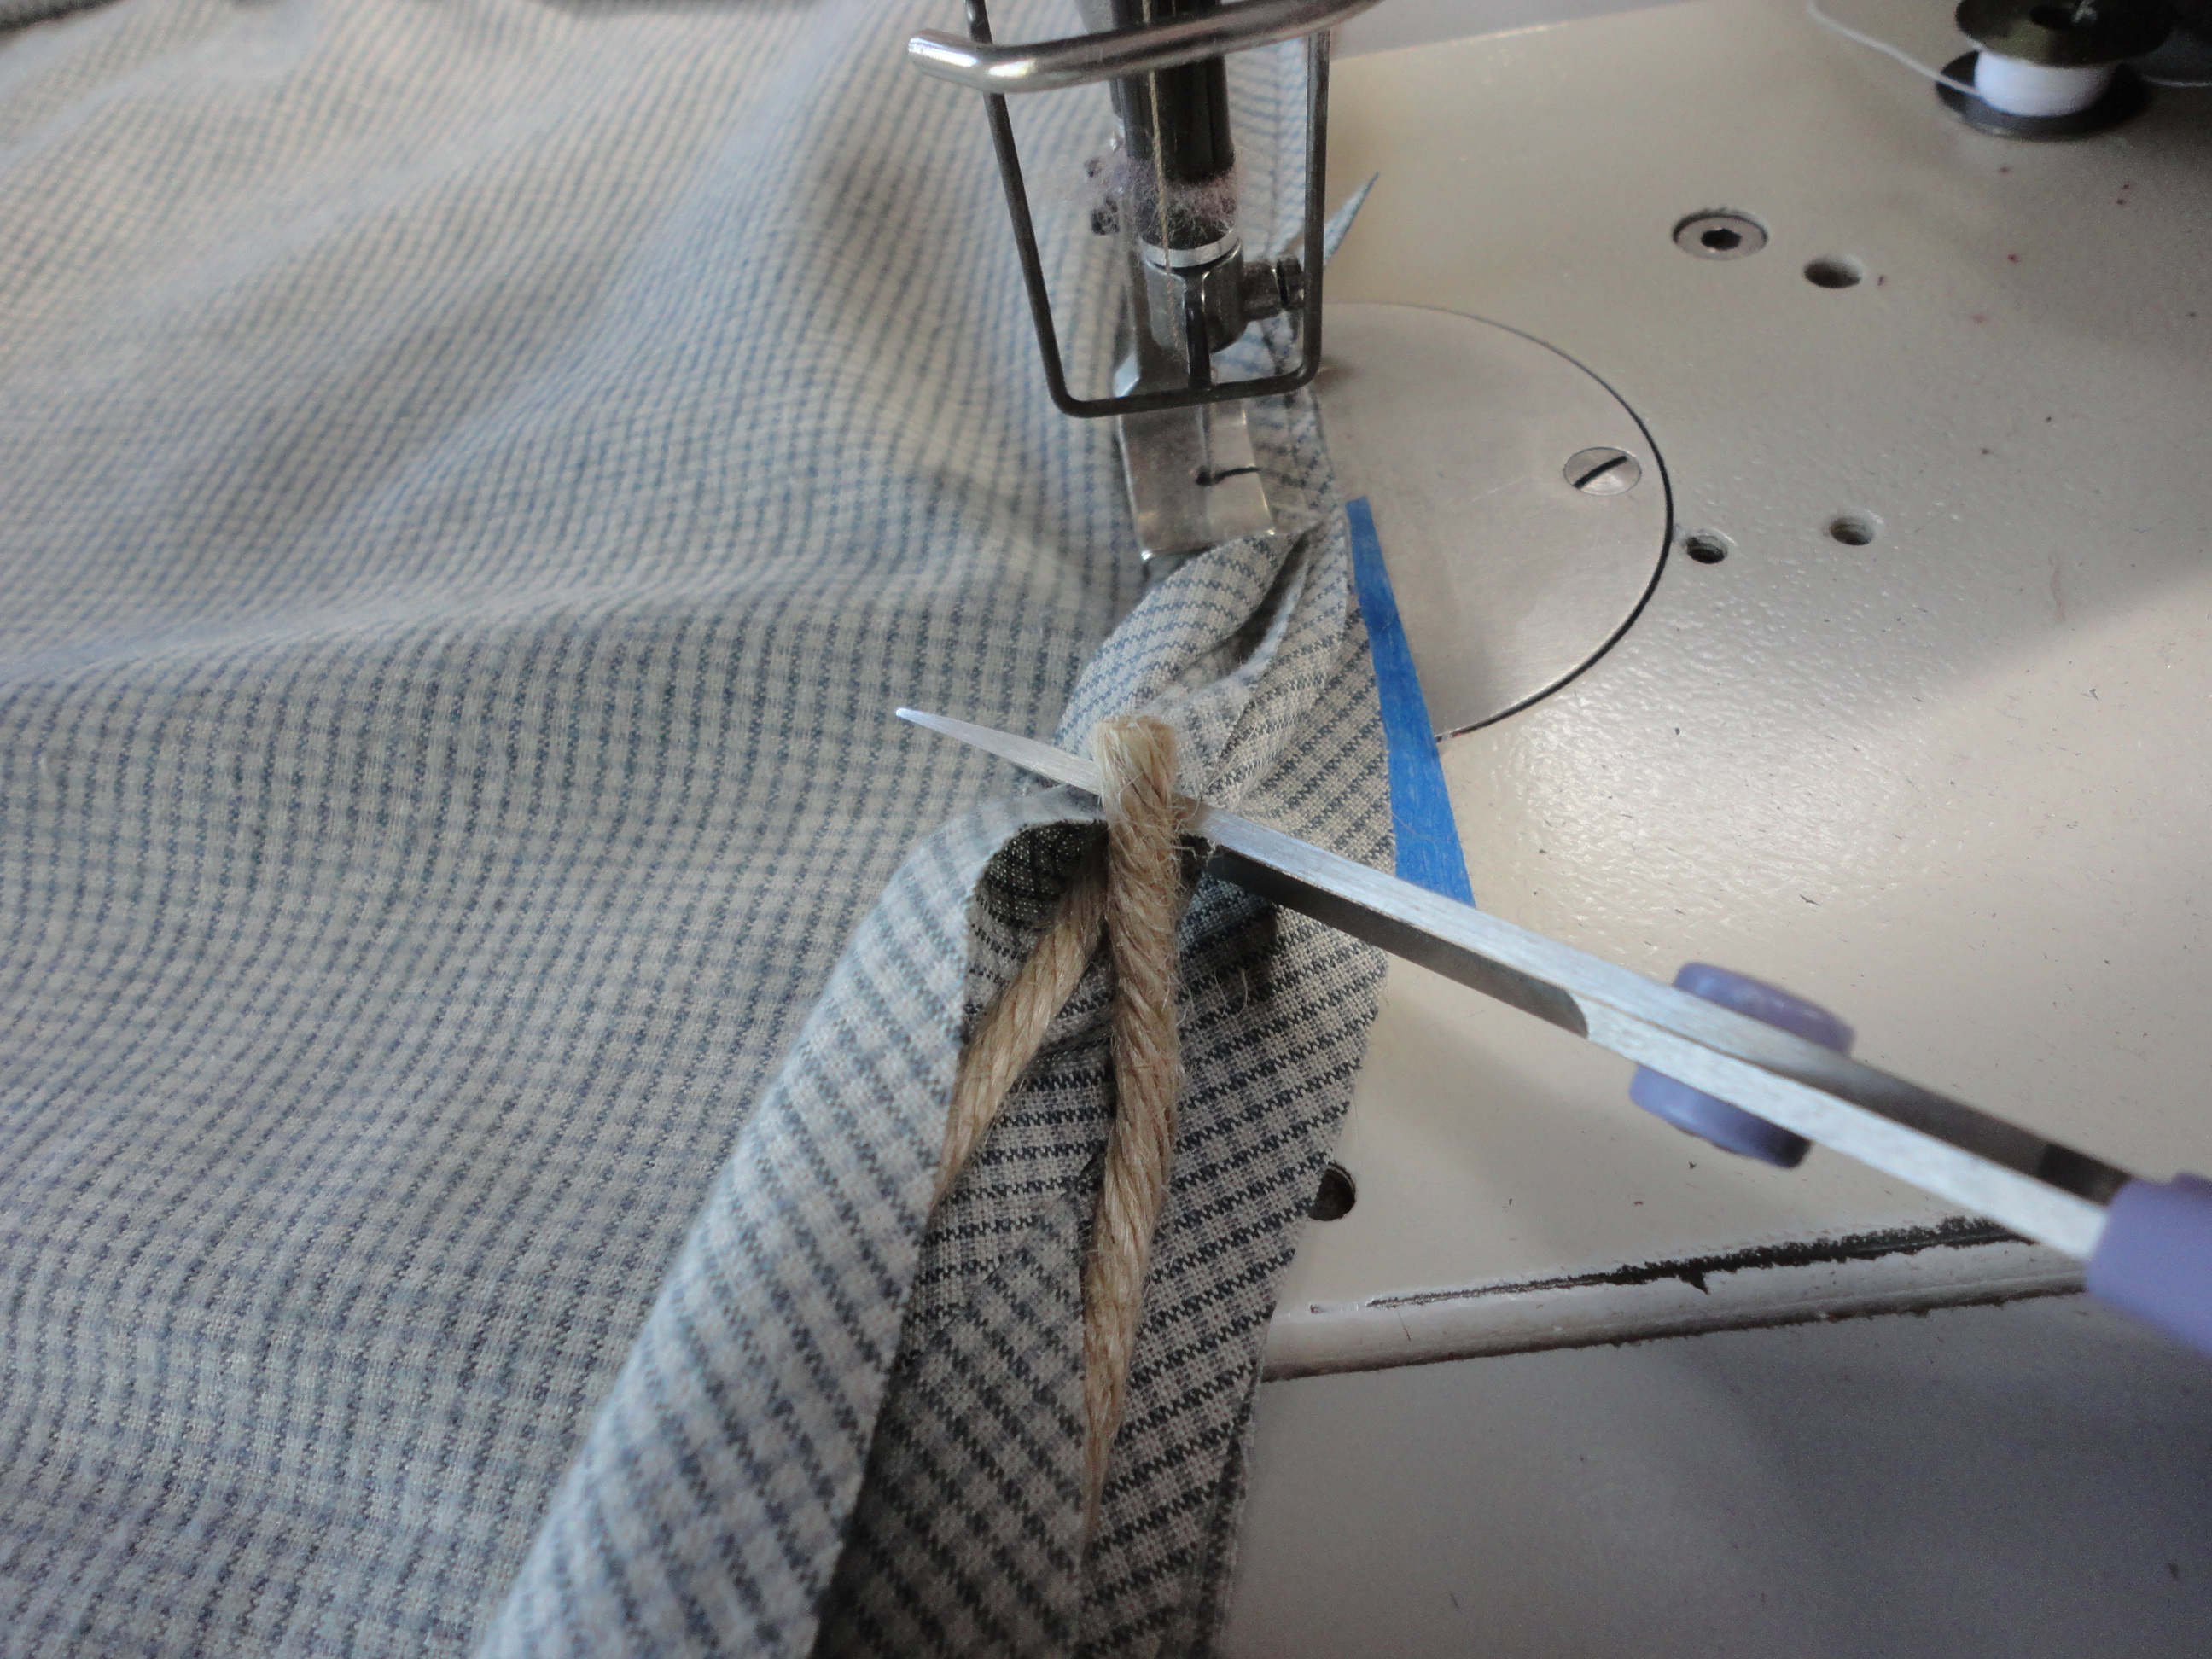 Careful not to cut the loose end of the bias, just all the stuff that is on the inside gets cut.
 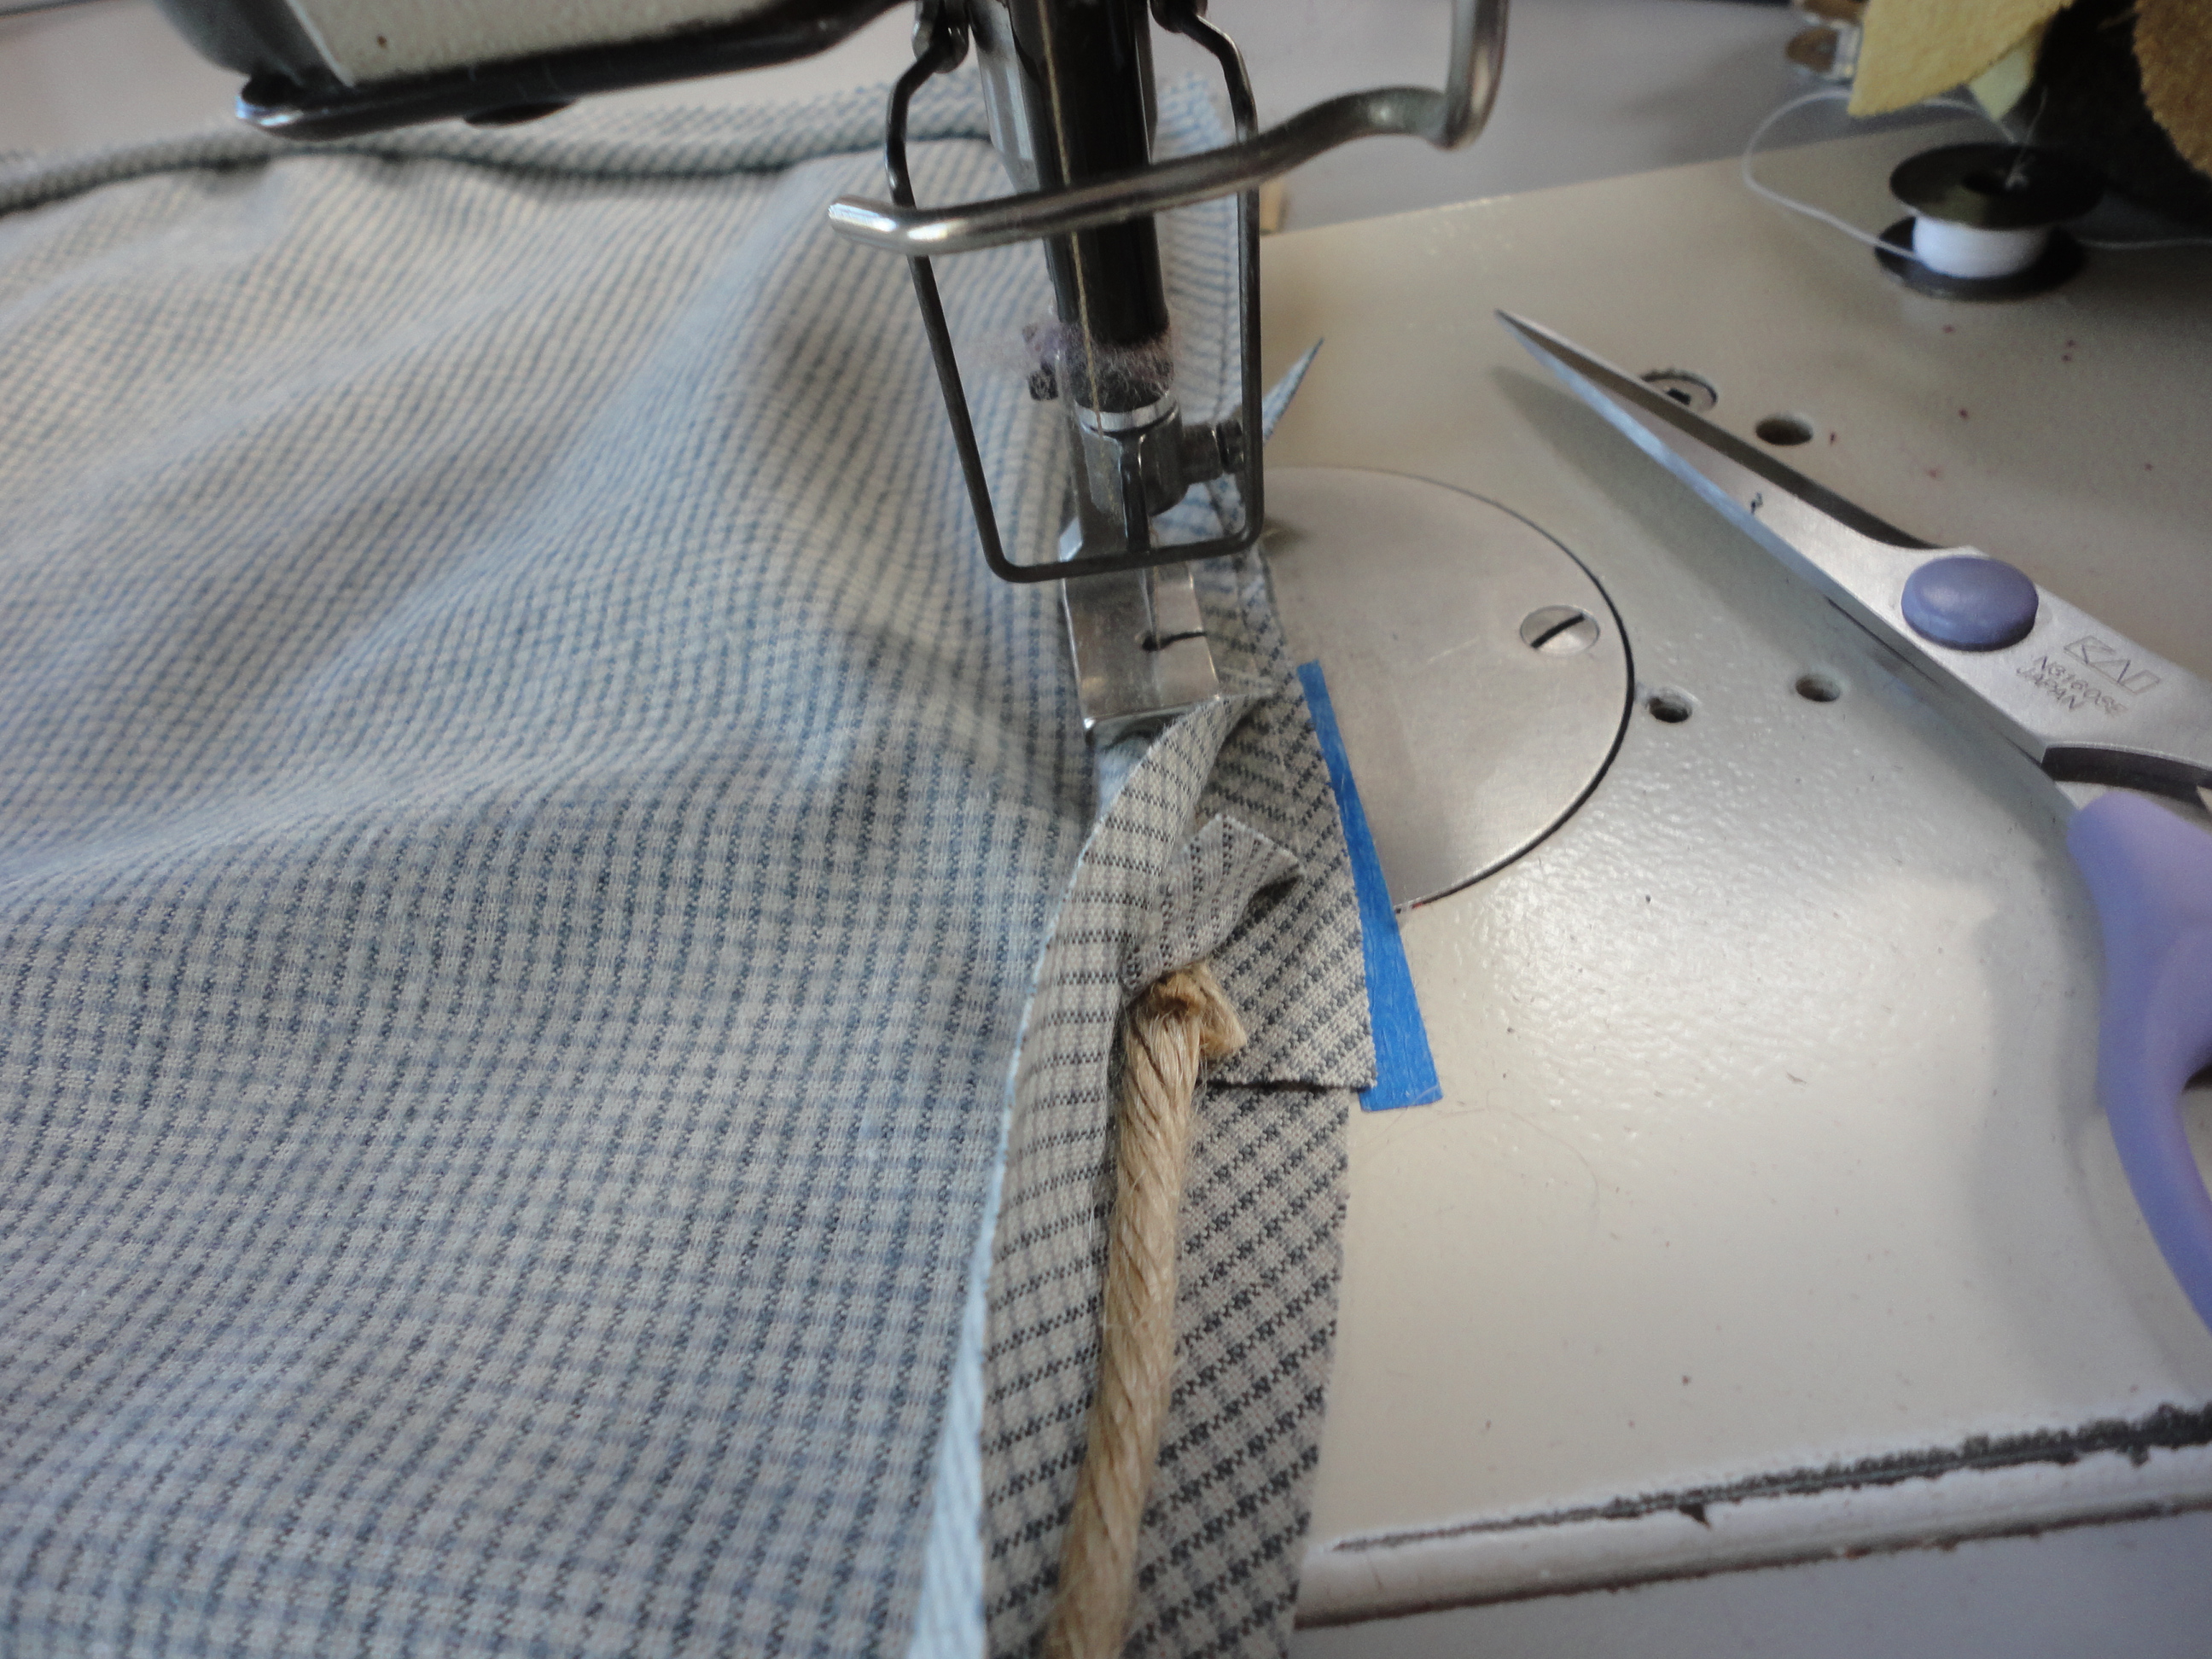 Now it butts up perfectly end to end, cover it with the bias and sew until you reach your beginning stitching.
 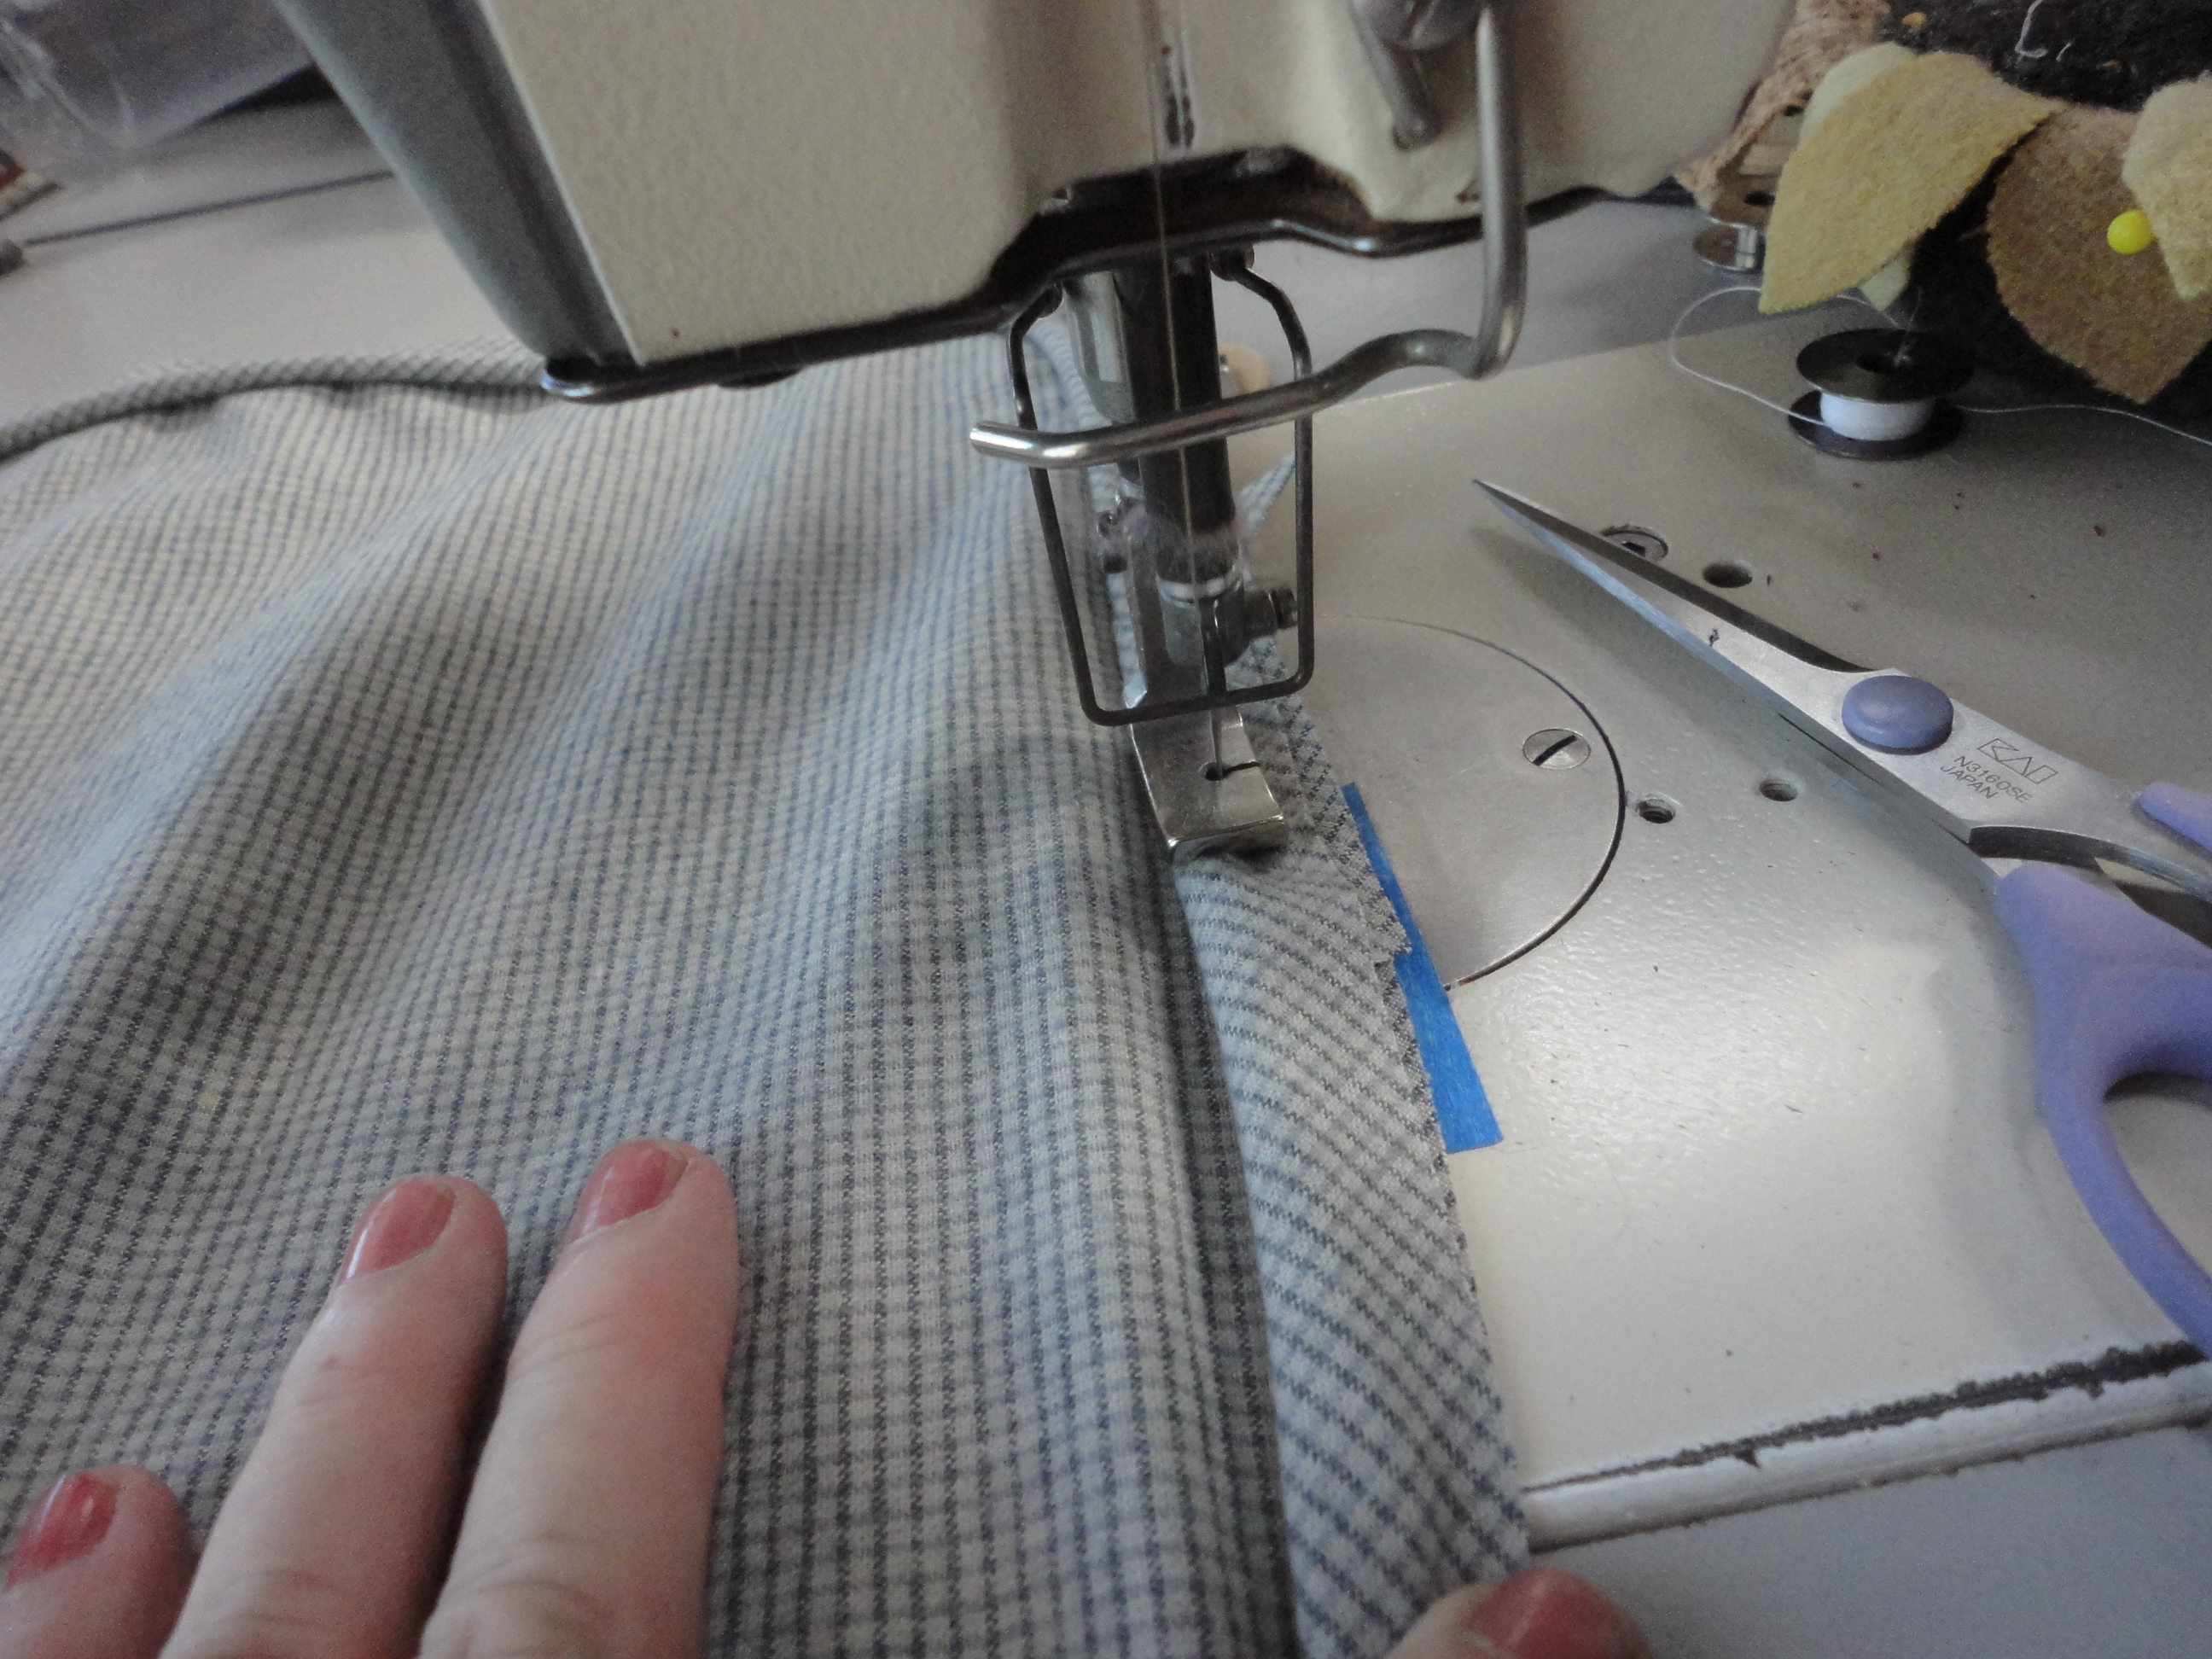 There you have it! piping sewn in place on the front pillow cover.
 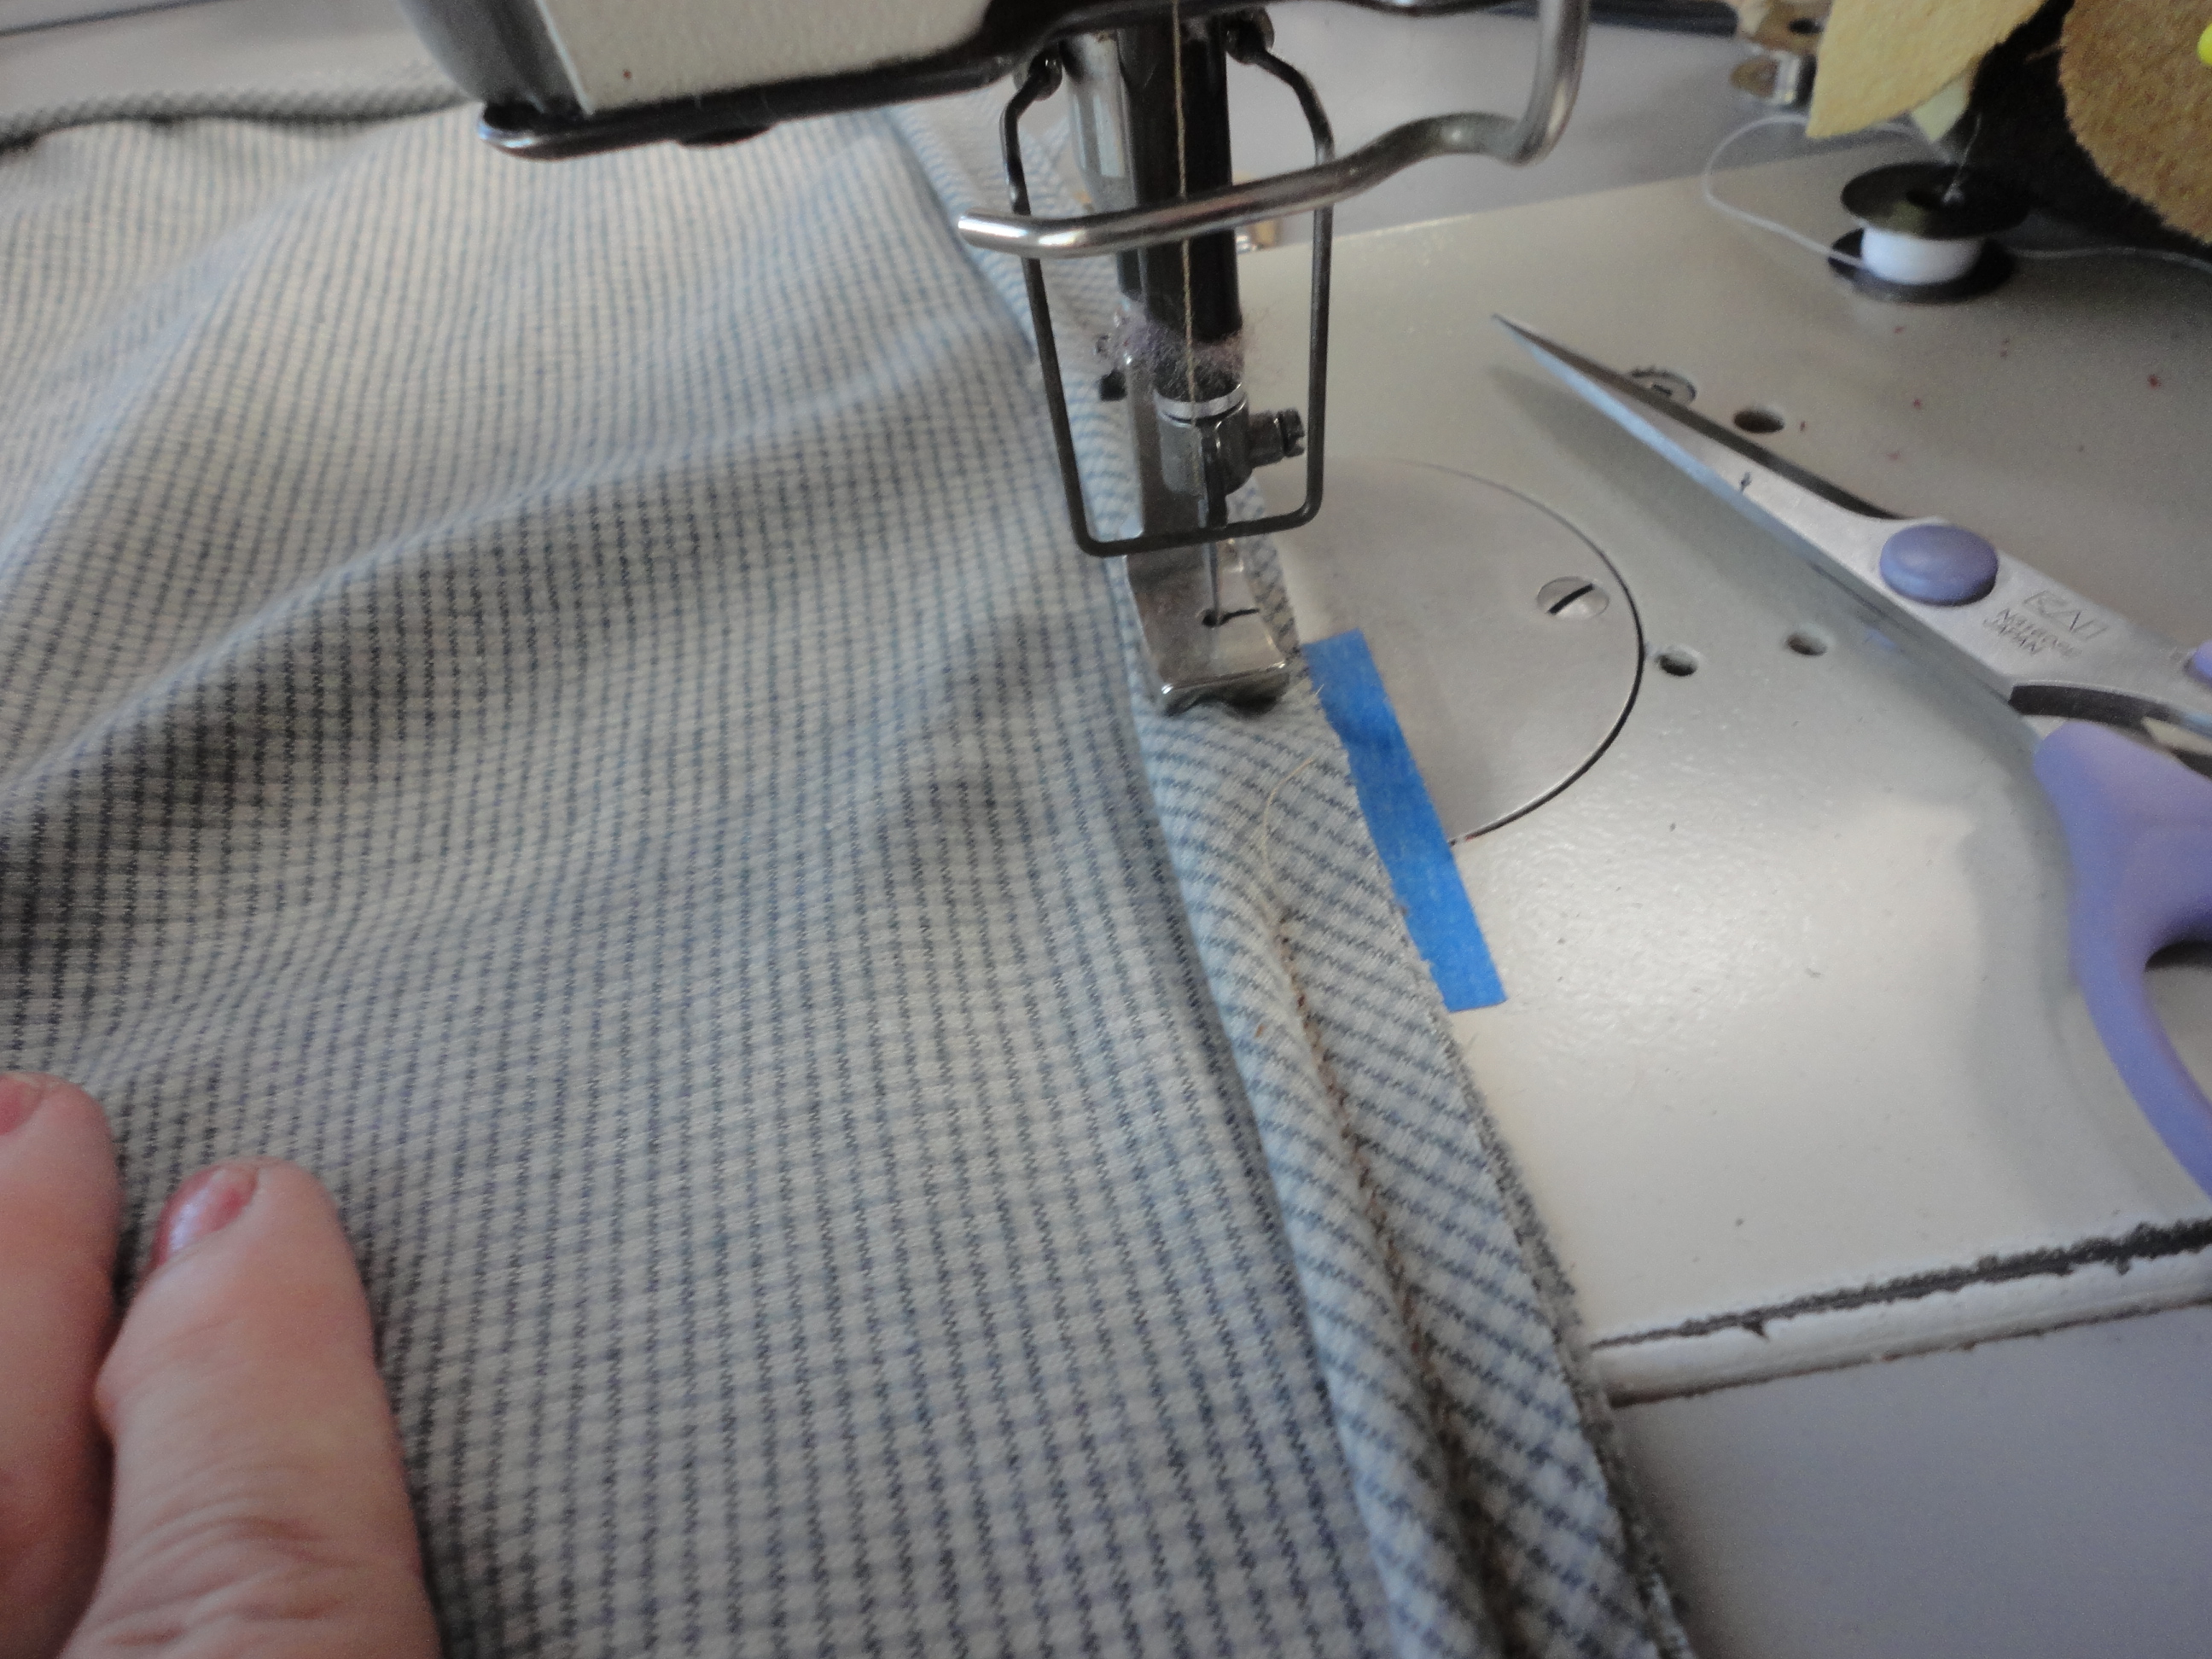 See how nicely it sews in place? The beginning/ending are nearly invisible.
 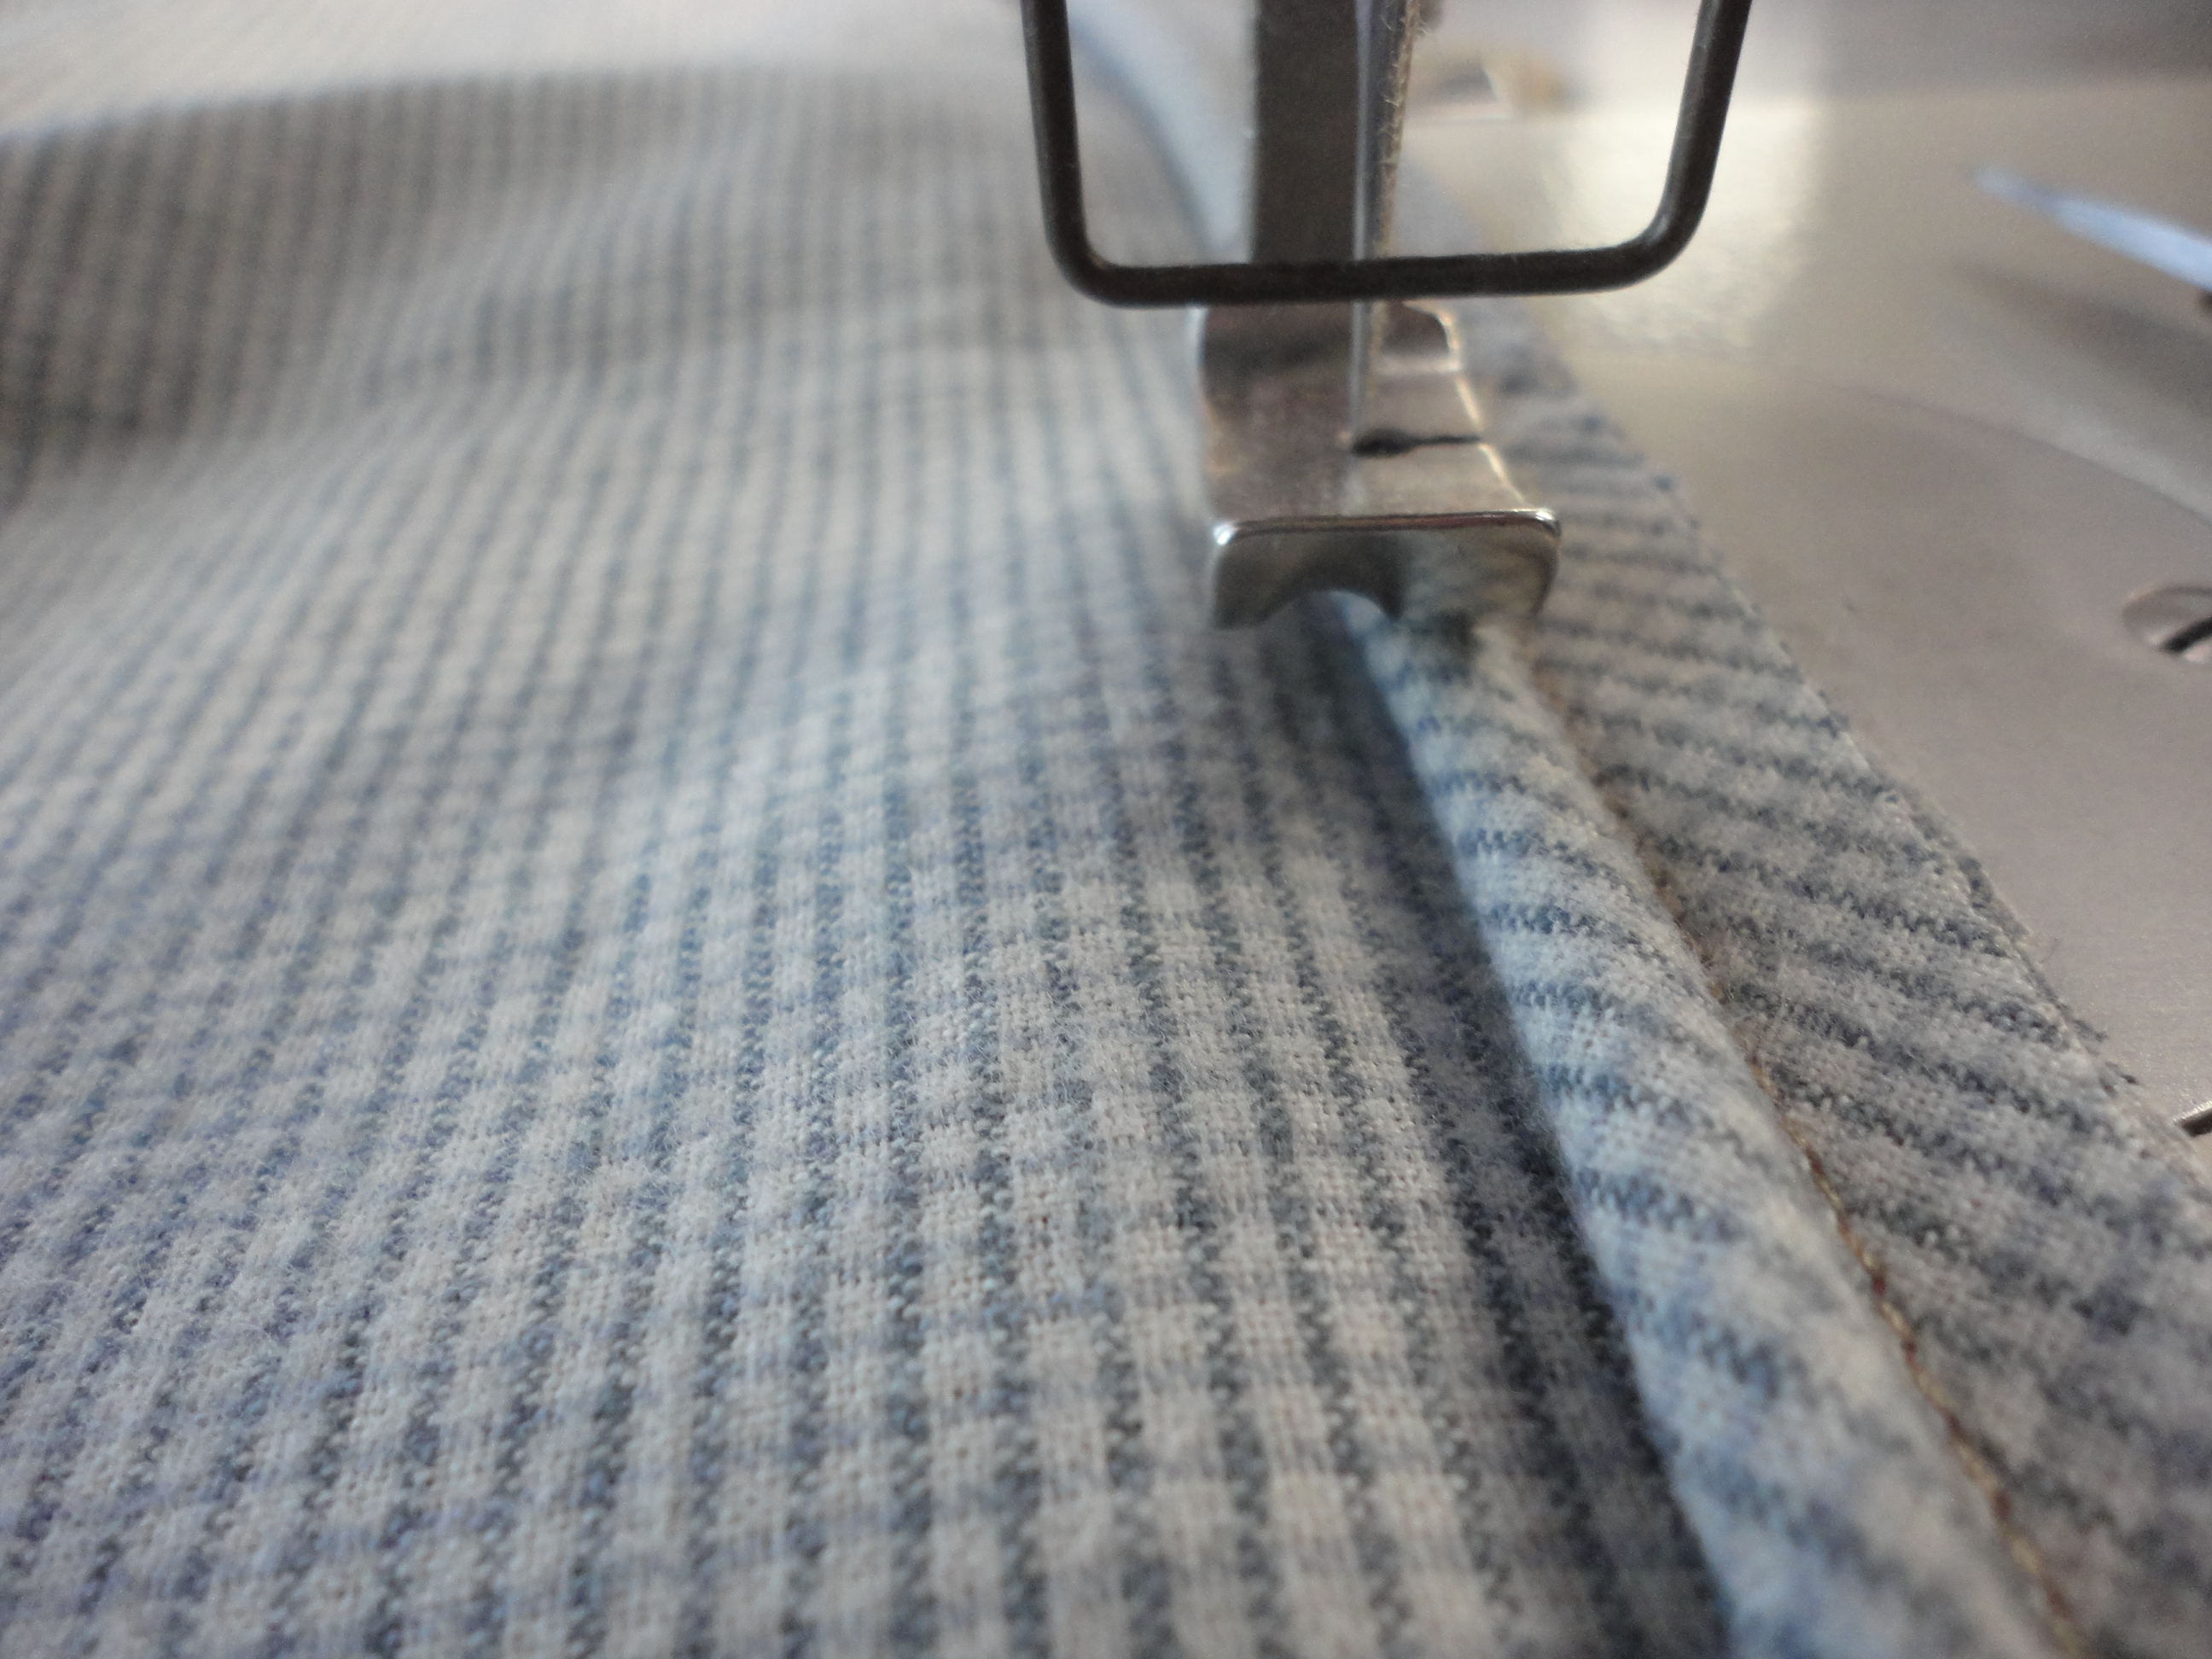 Now look carefully at the needle position. I’ve moved it as far to the left of the opening in the foot. It’s only a couple of threads worth of a move, but oh, so important! You can see the grove in the bottom of the cording foot. It will be placed right over the top of the cording, this is not the correct position here.
 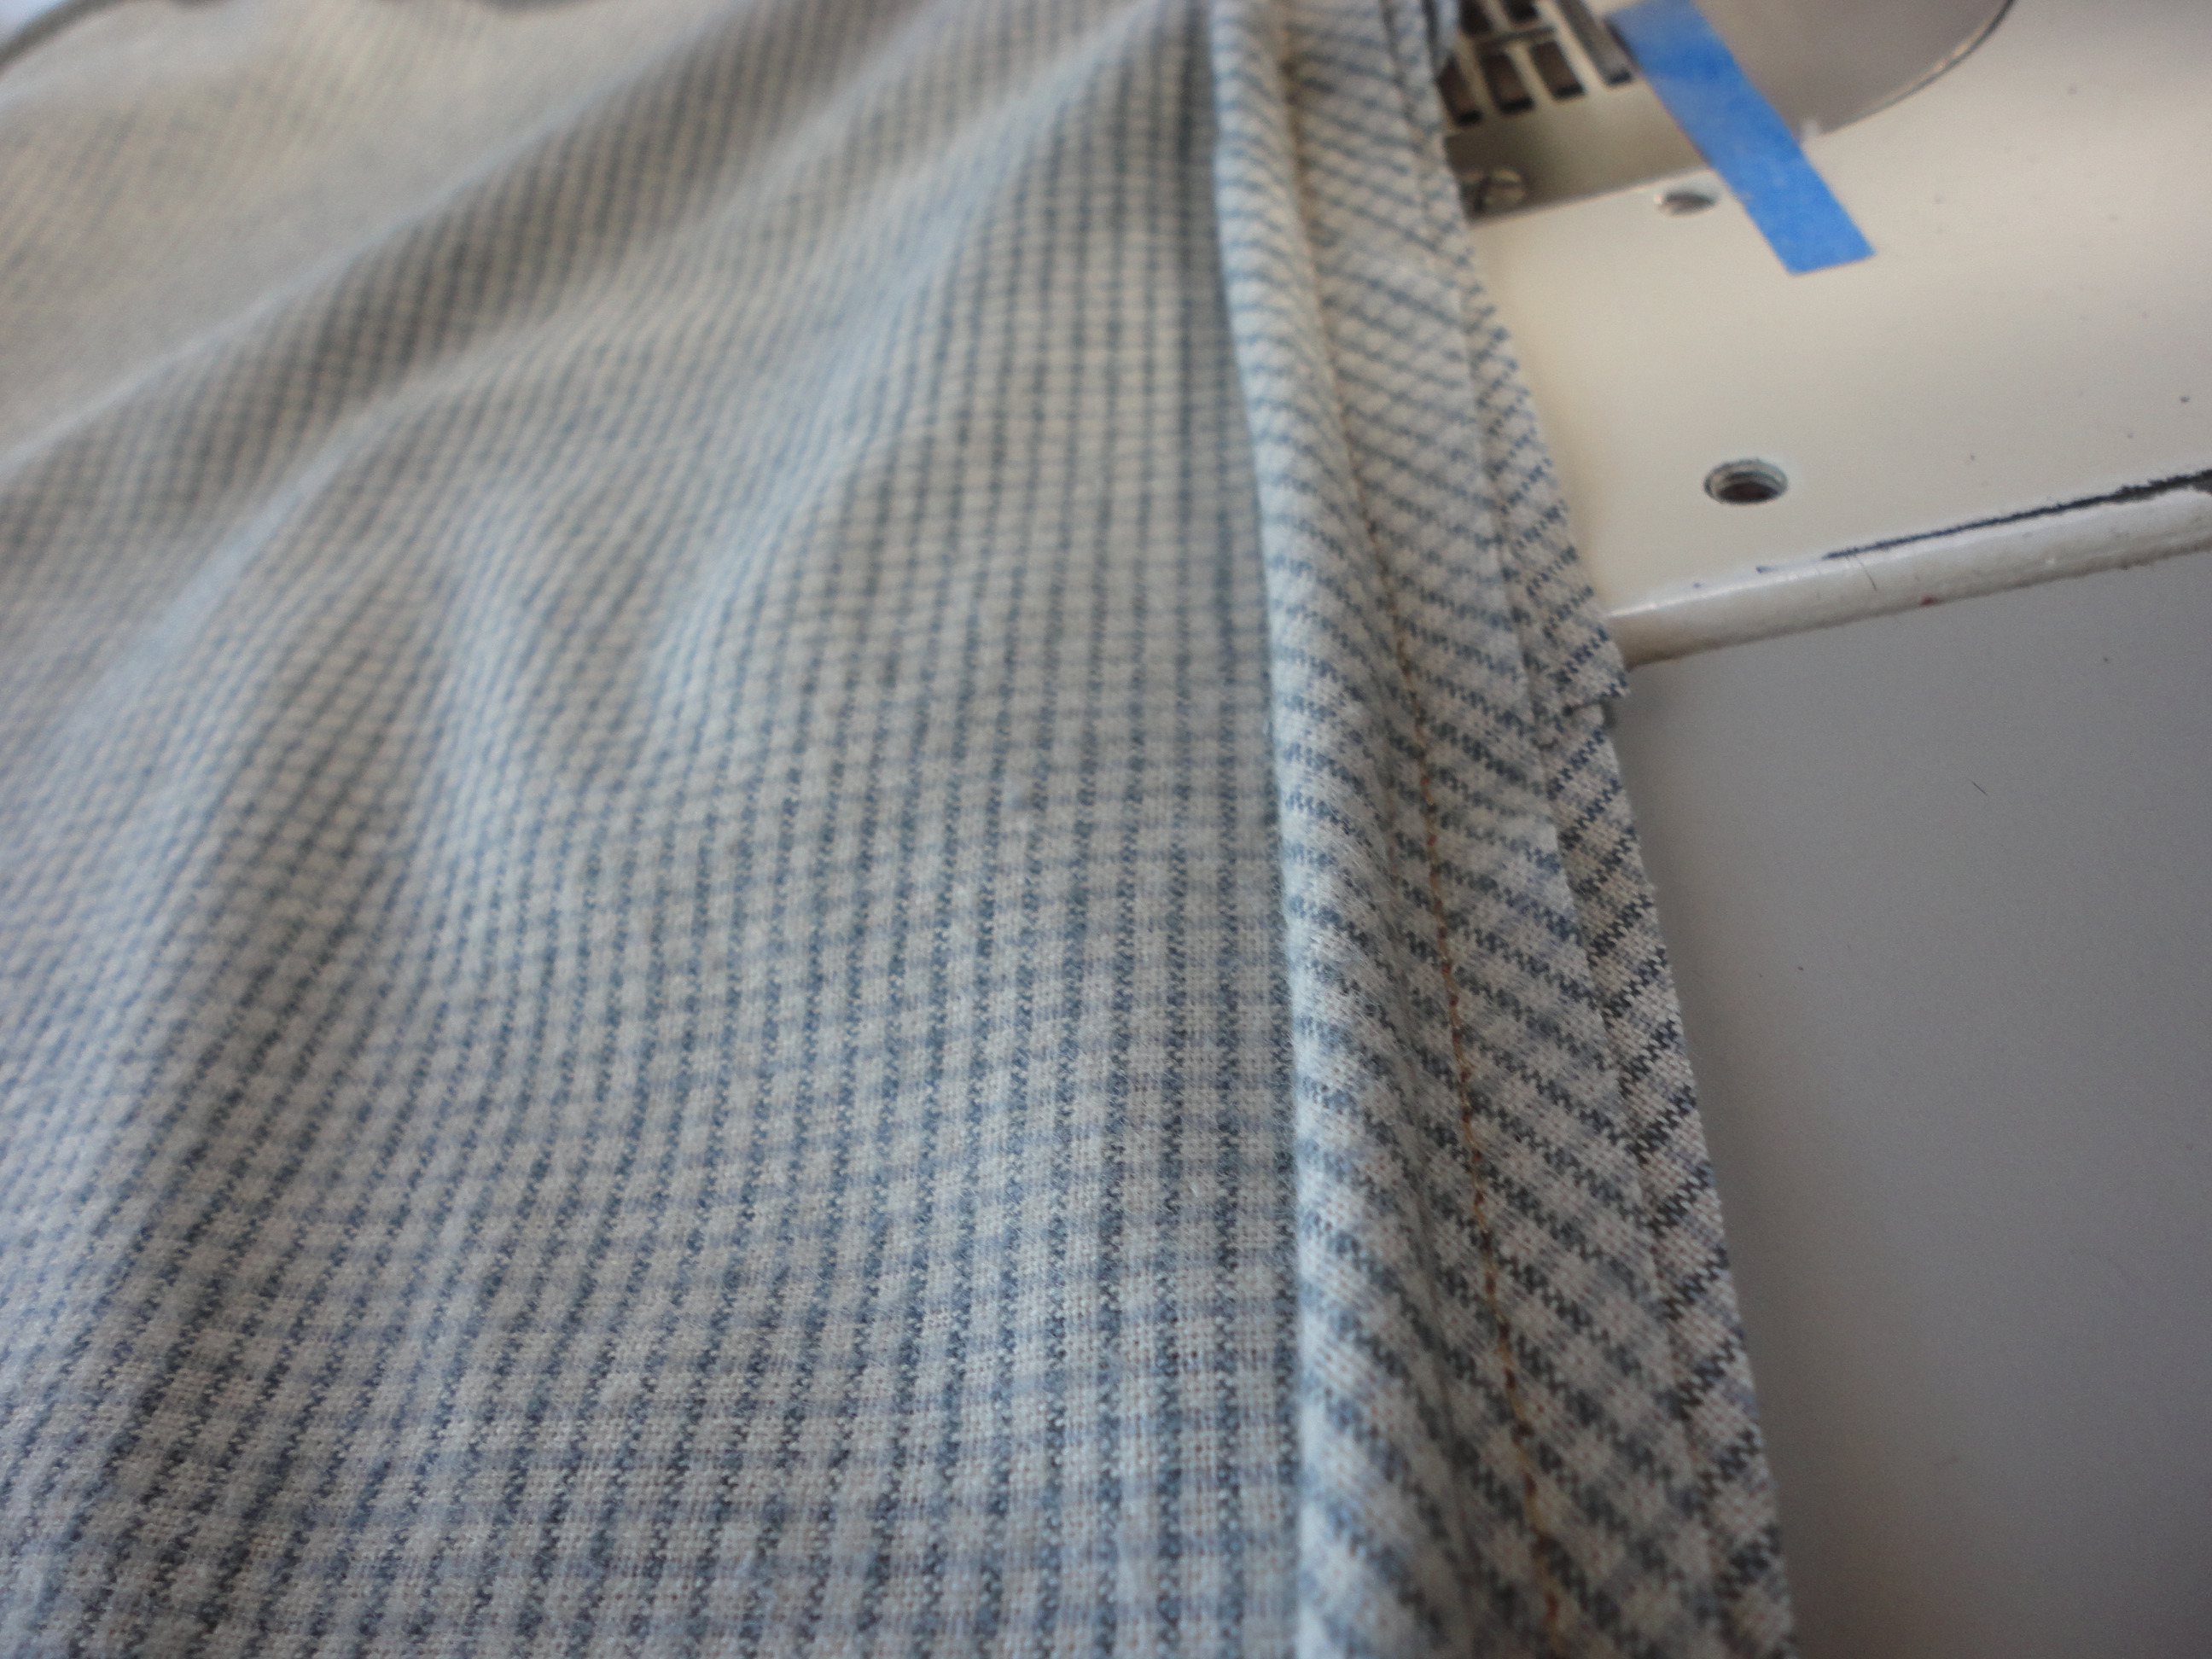 I sew with the needle in the left position all along the bottom of the pillow cover piping. You can see the original stitching with the needle in the right position. The second stitching really tightens things up.
 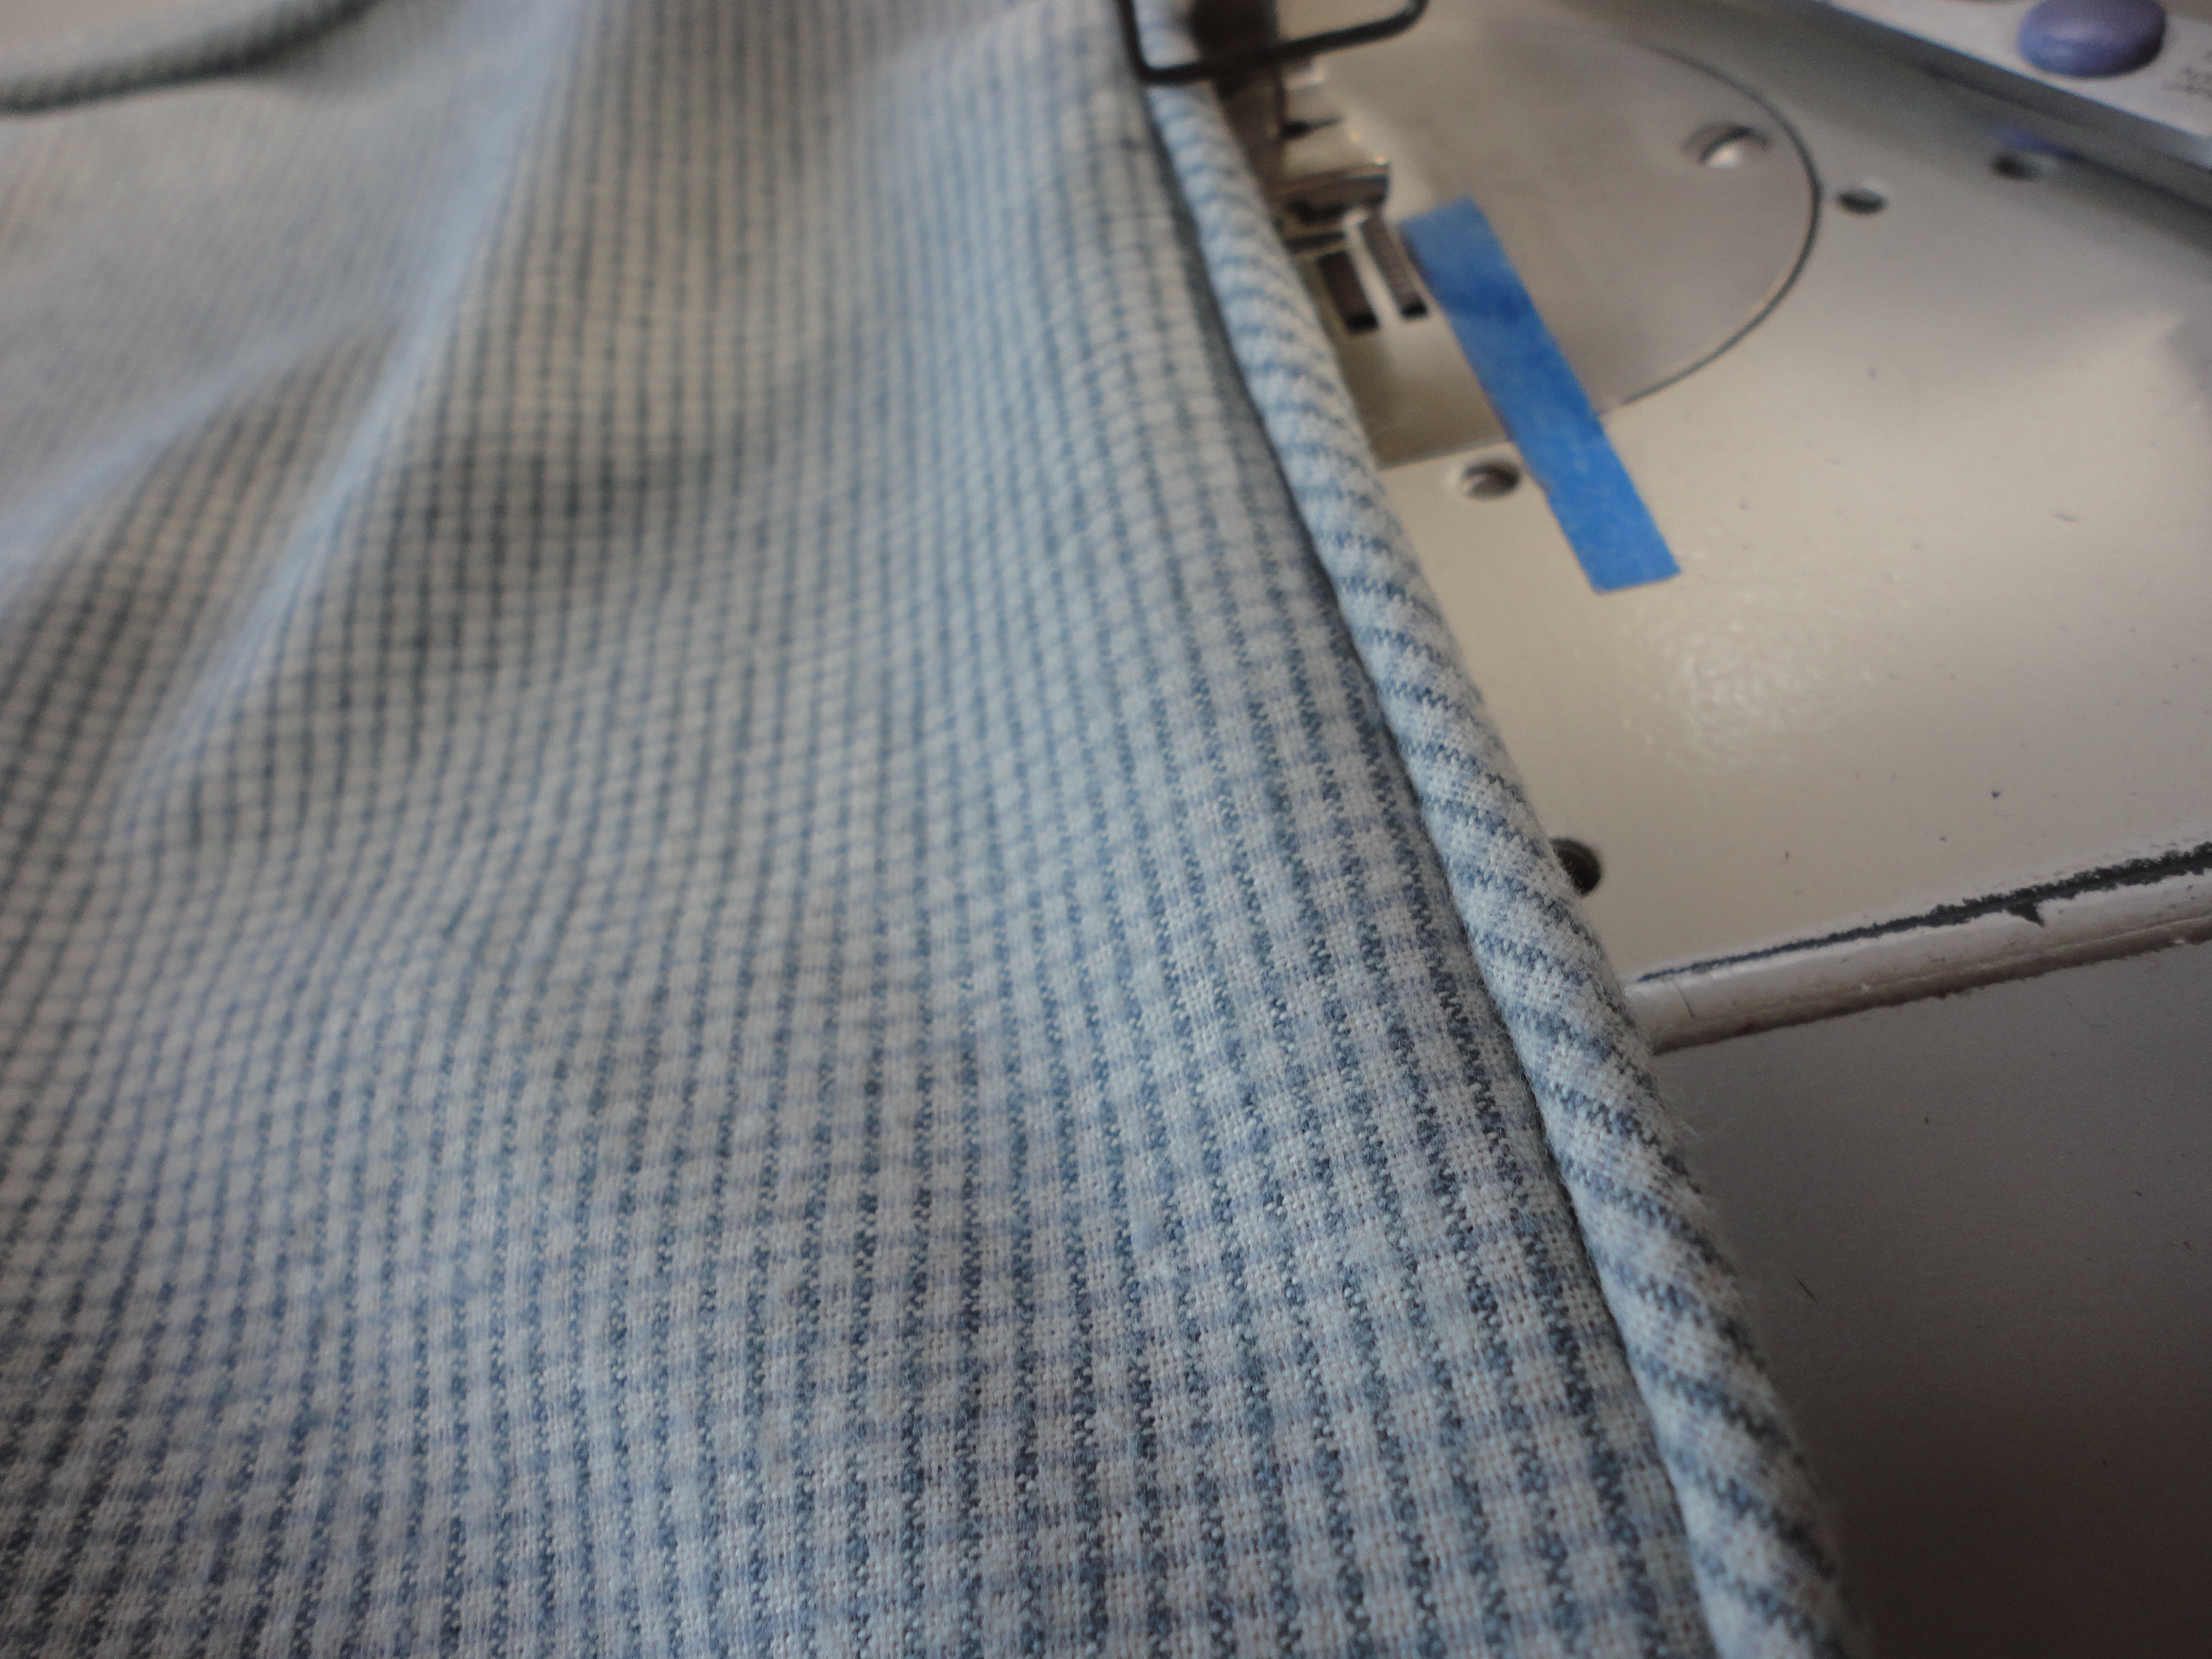 Turn it over and look to see that you have no stitching showing. And you can see how tight and smooth the piping is!
 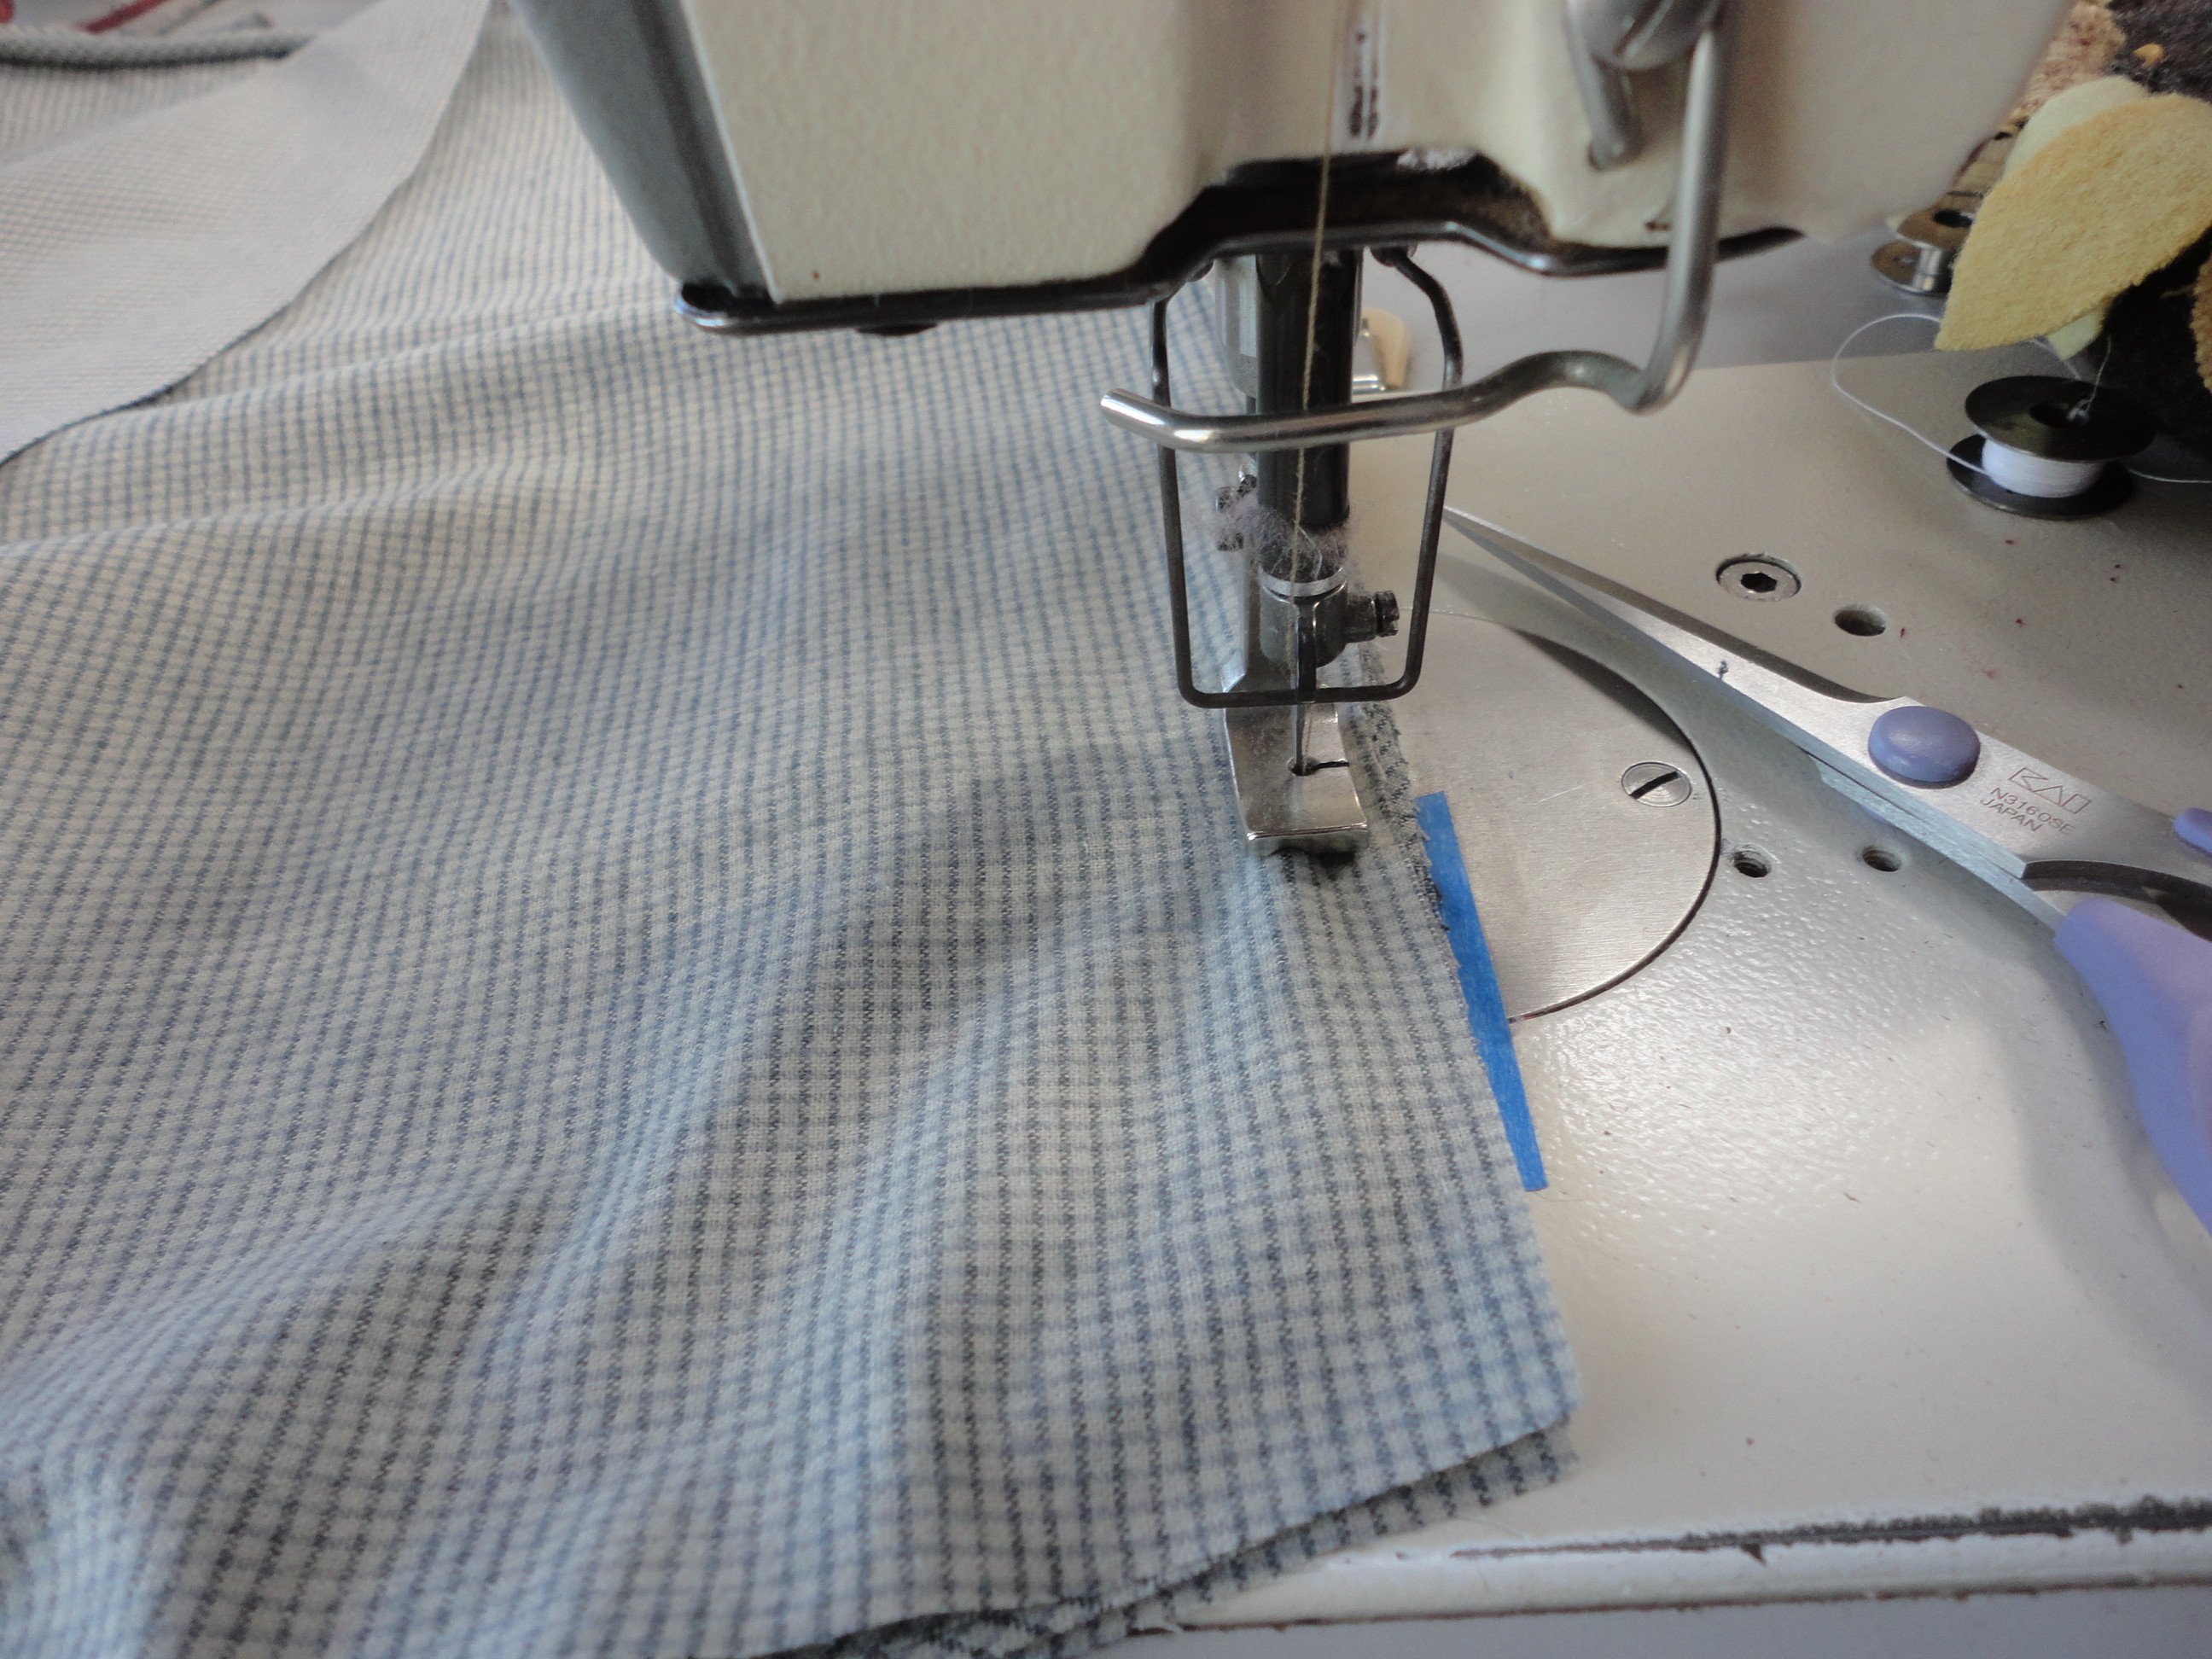 Now put the back pillow cover right sides together with the front and begin stitching (and backstitch) a couple of inches from the corner. Sew all around the pillow, paying attention at the corners and stitching two stitches angled at the corner the same as you applied the piping.
 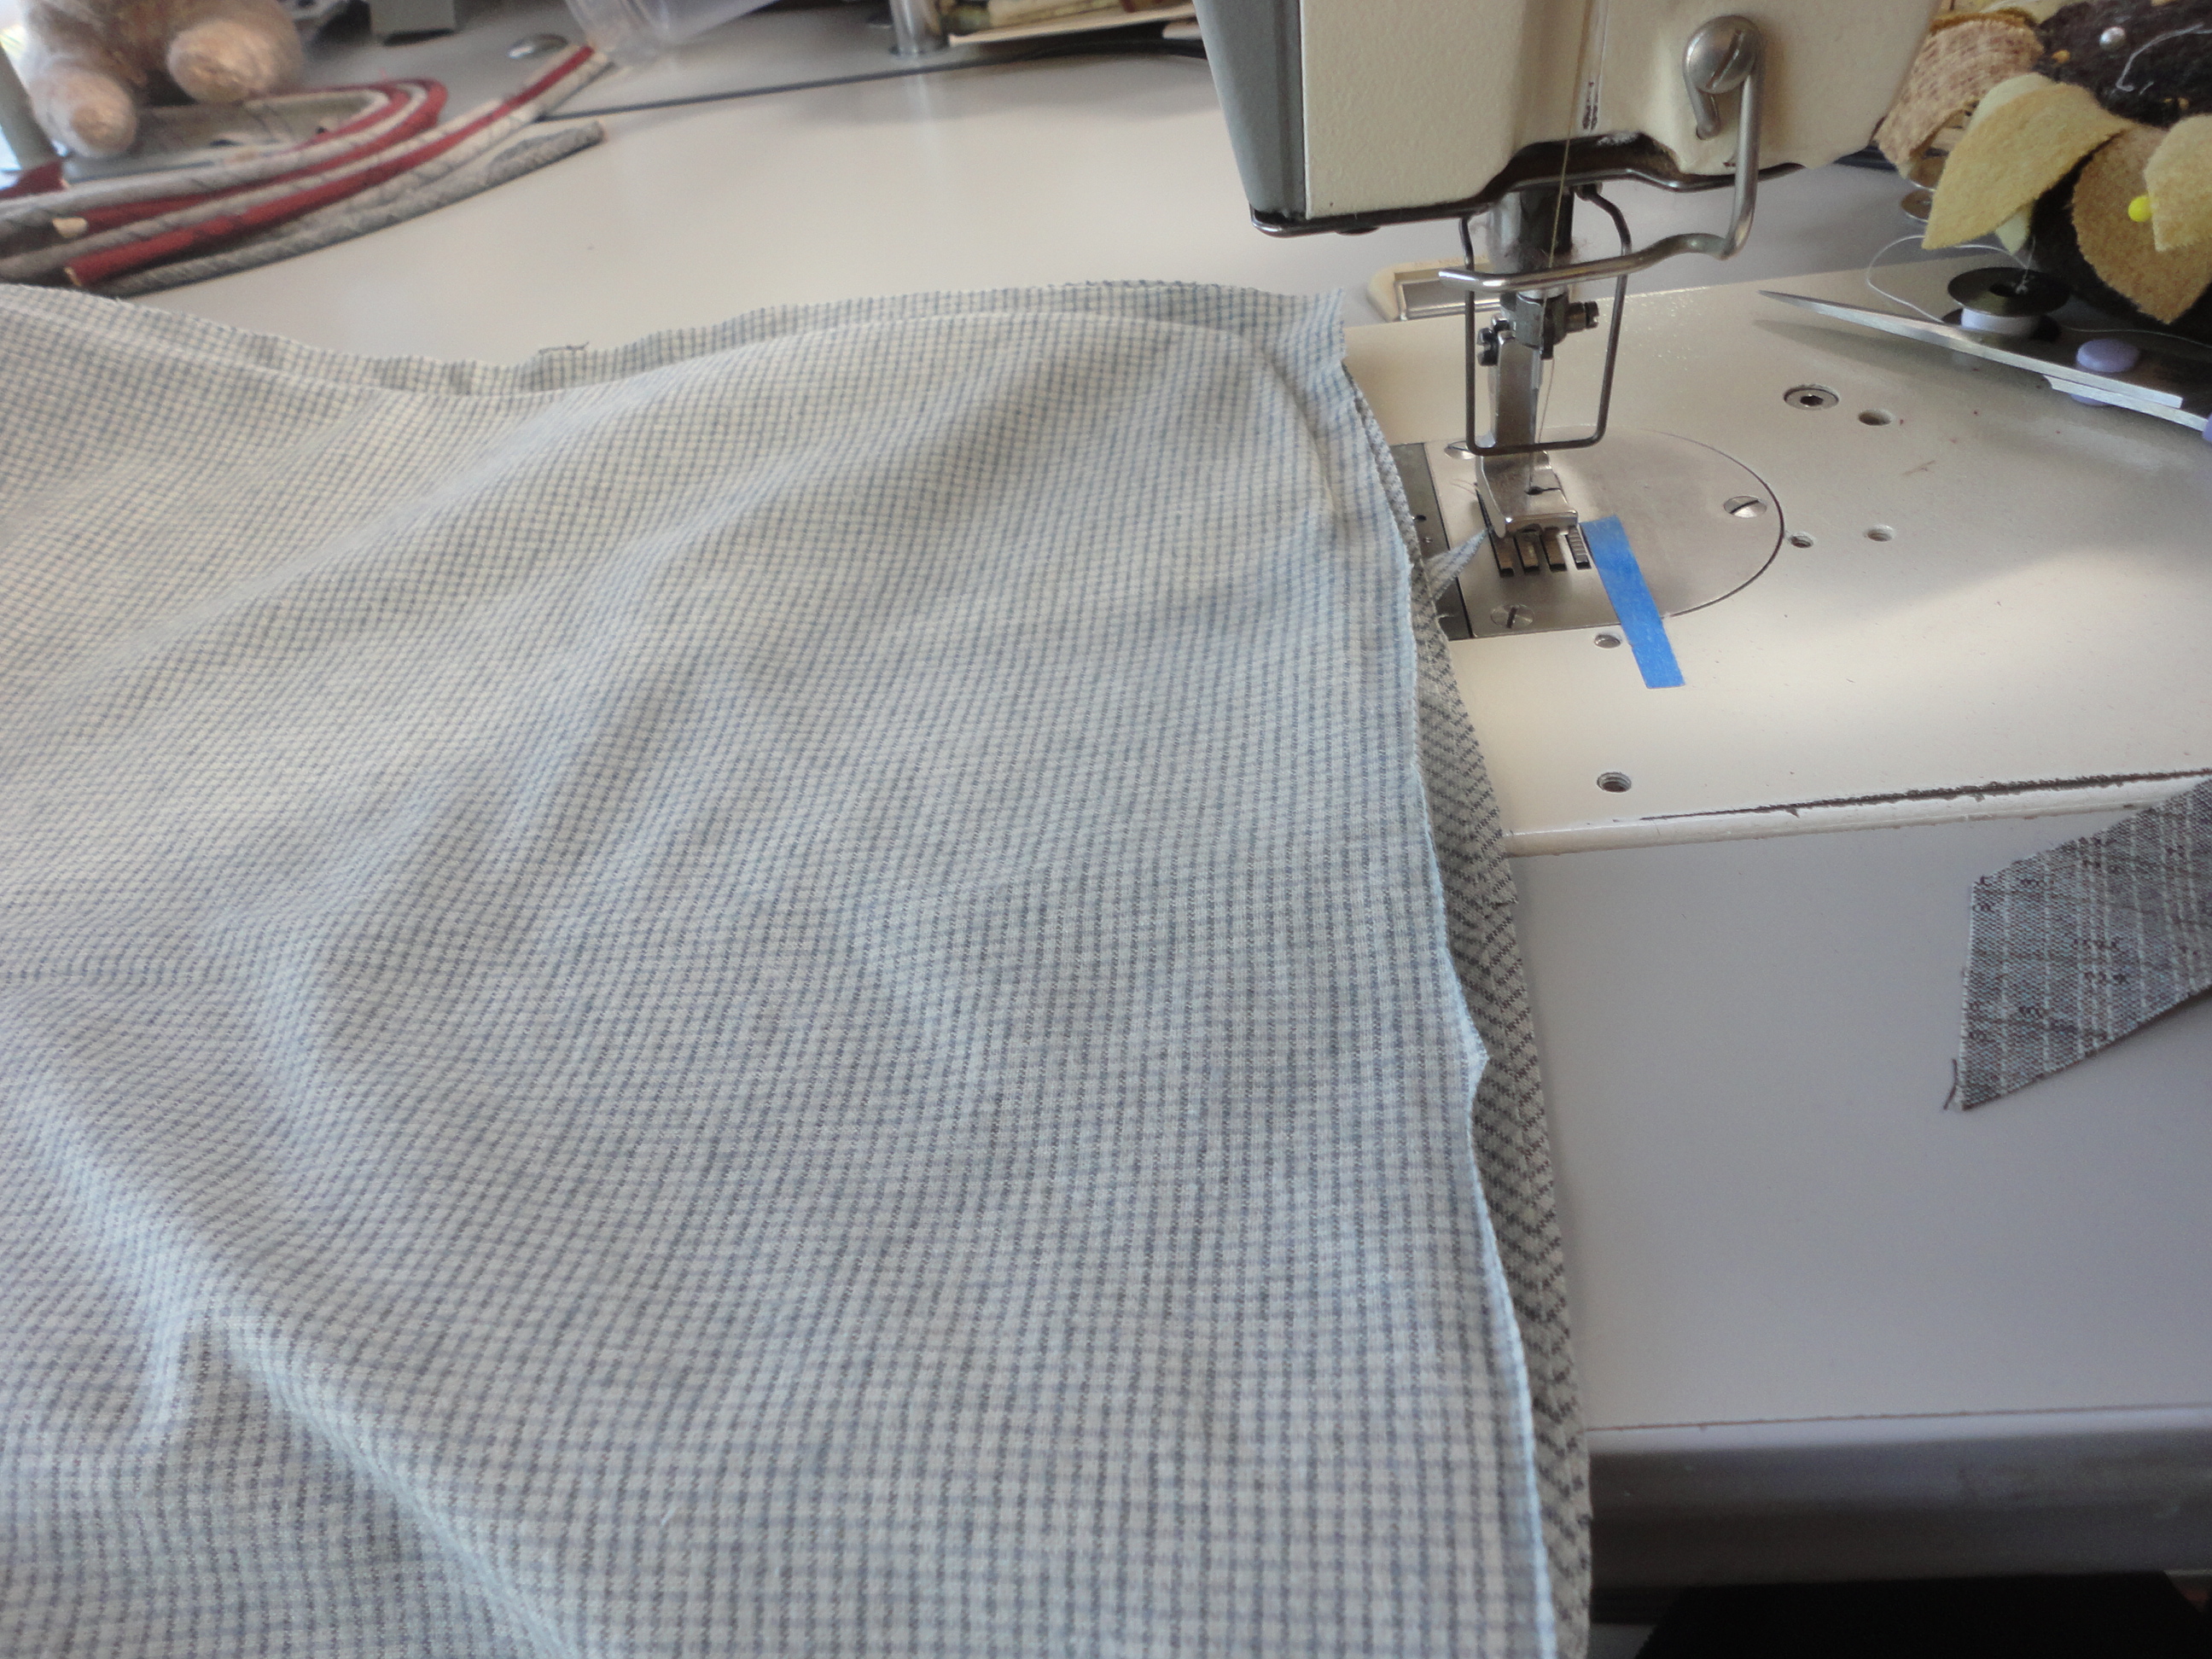 Stop stitching a couple of inches from the last corner, leaving an opening large enough to insert the pillow.
  Turn the cover right sides out. Nice looking, huh?
 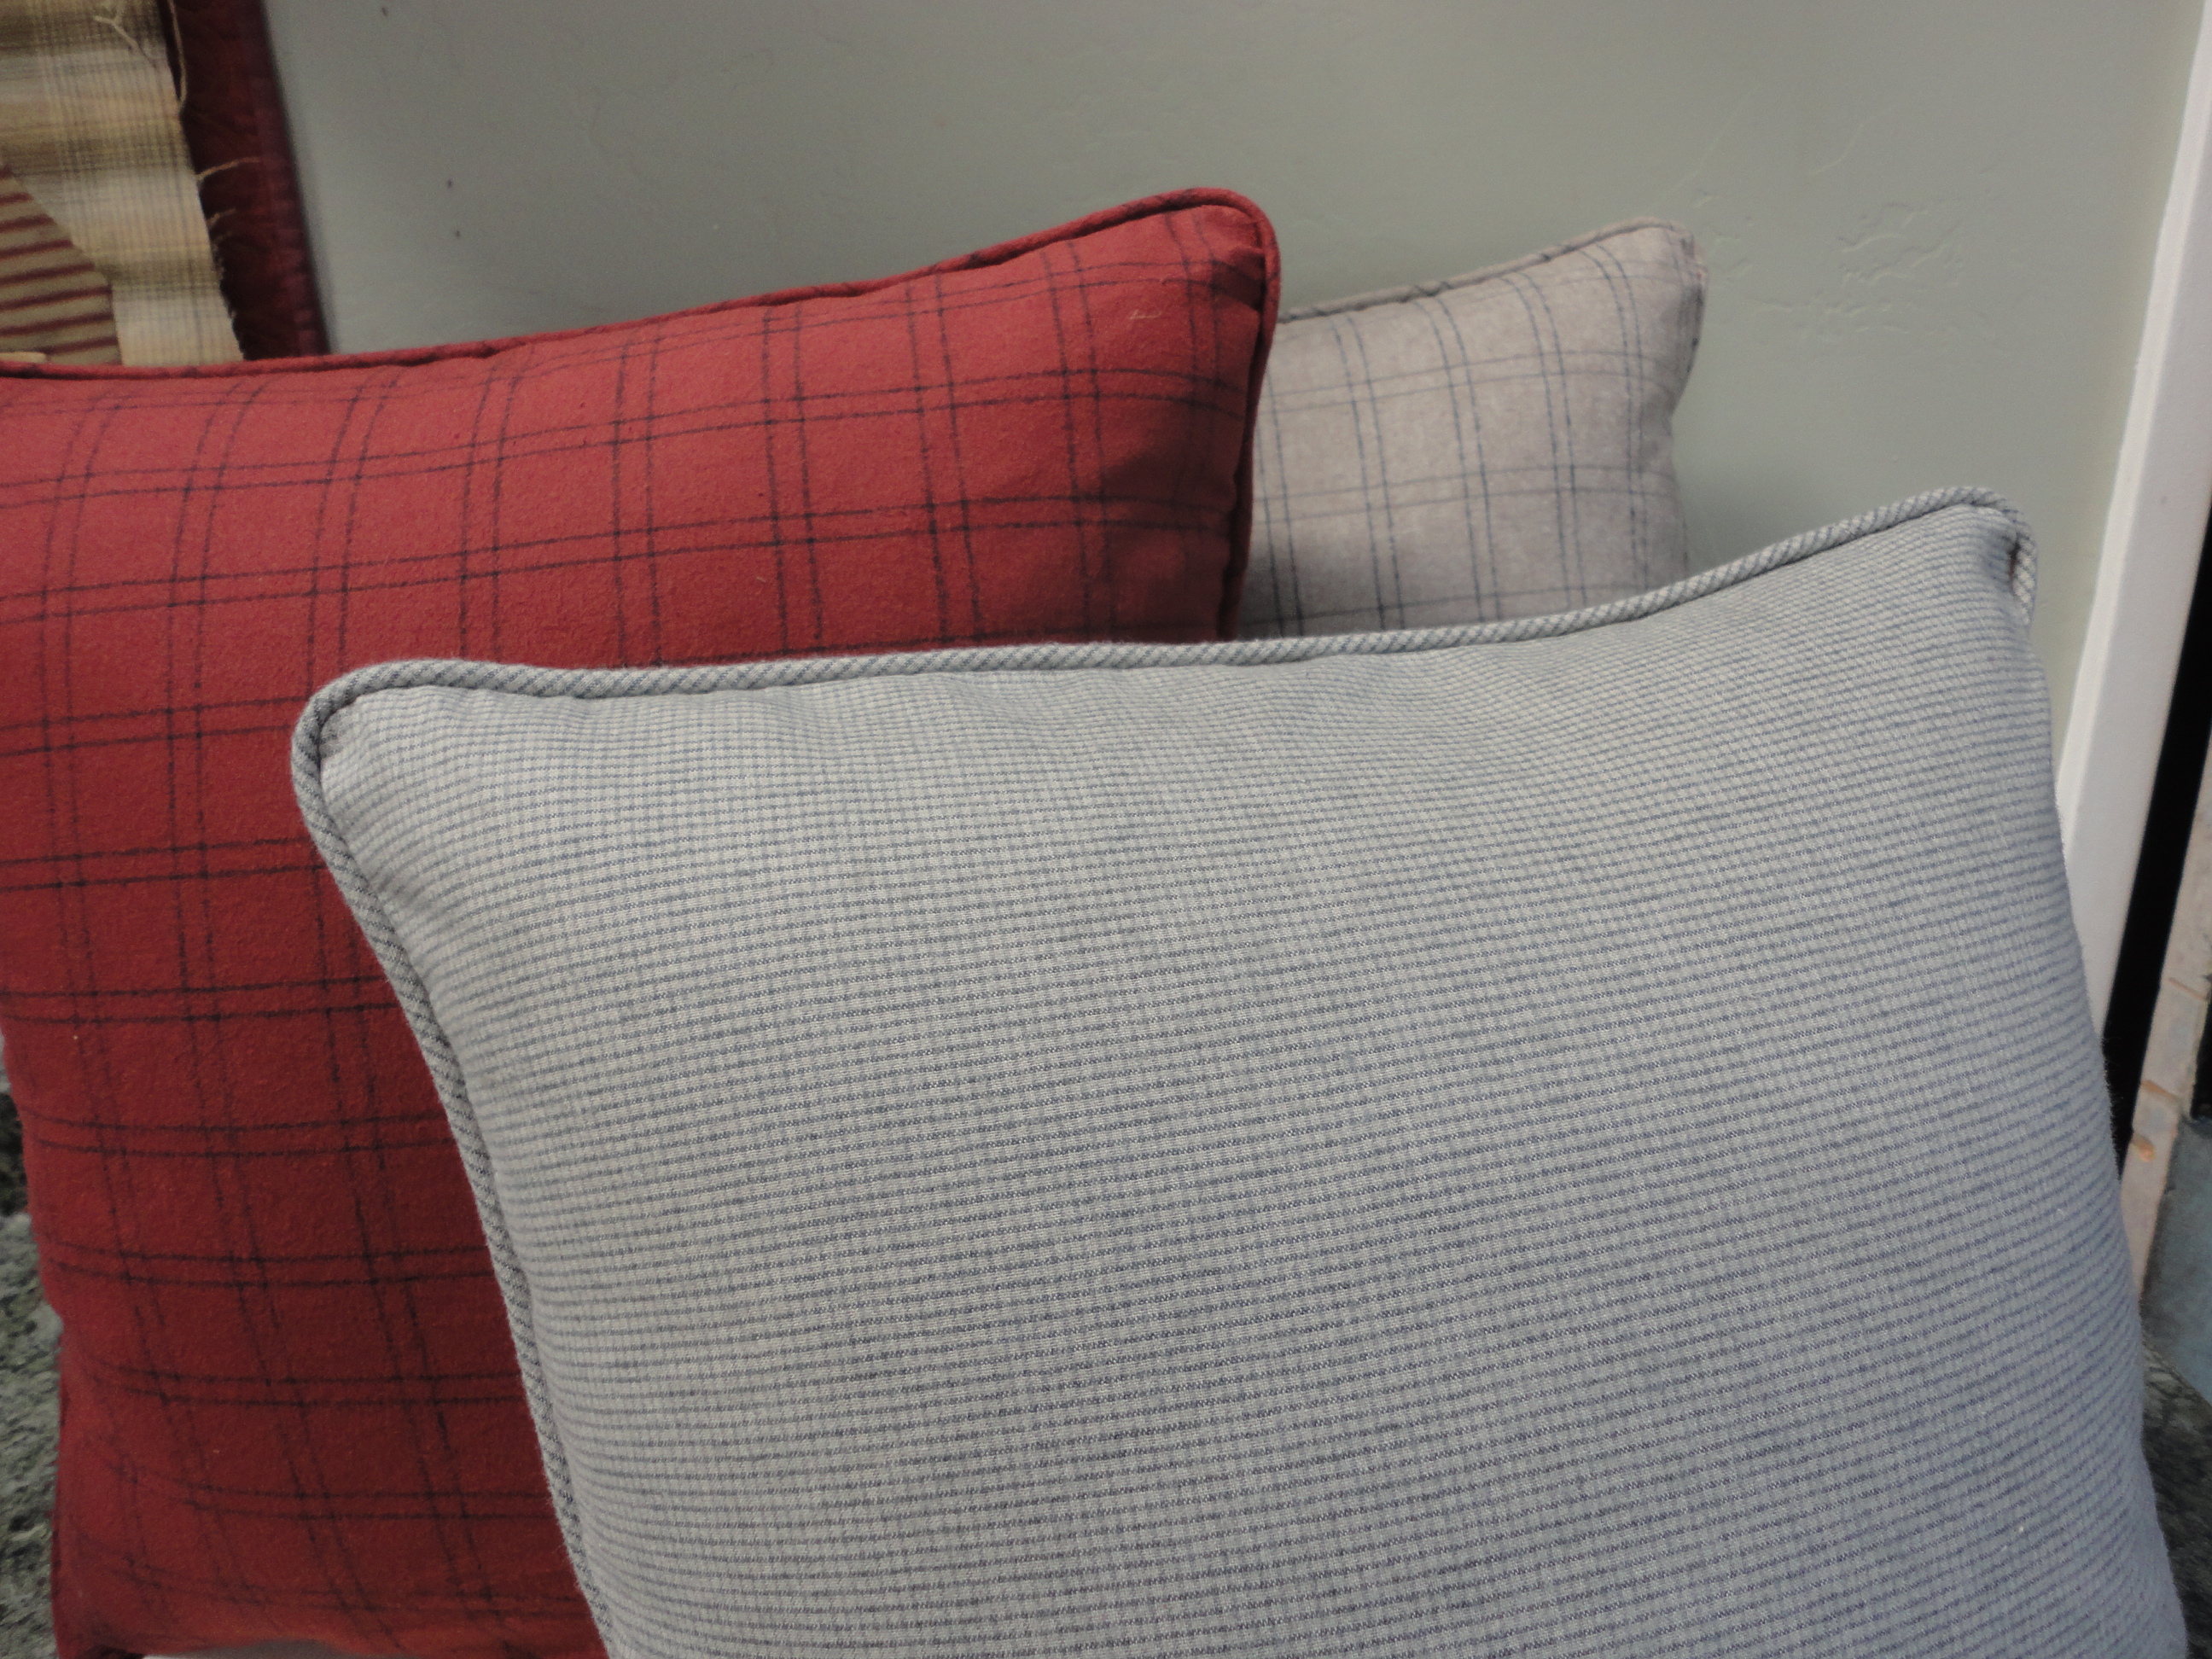 Put your pillow insert in and hand stitch it shut. Smooth it out and adjust your corners.
 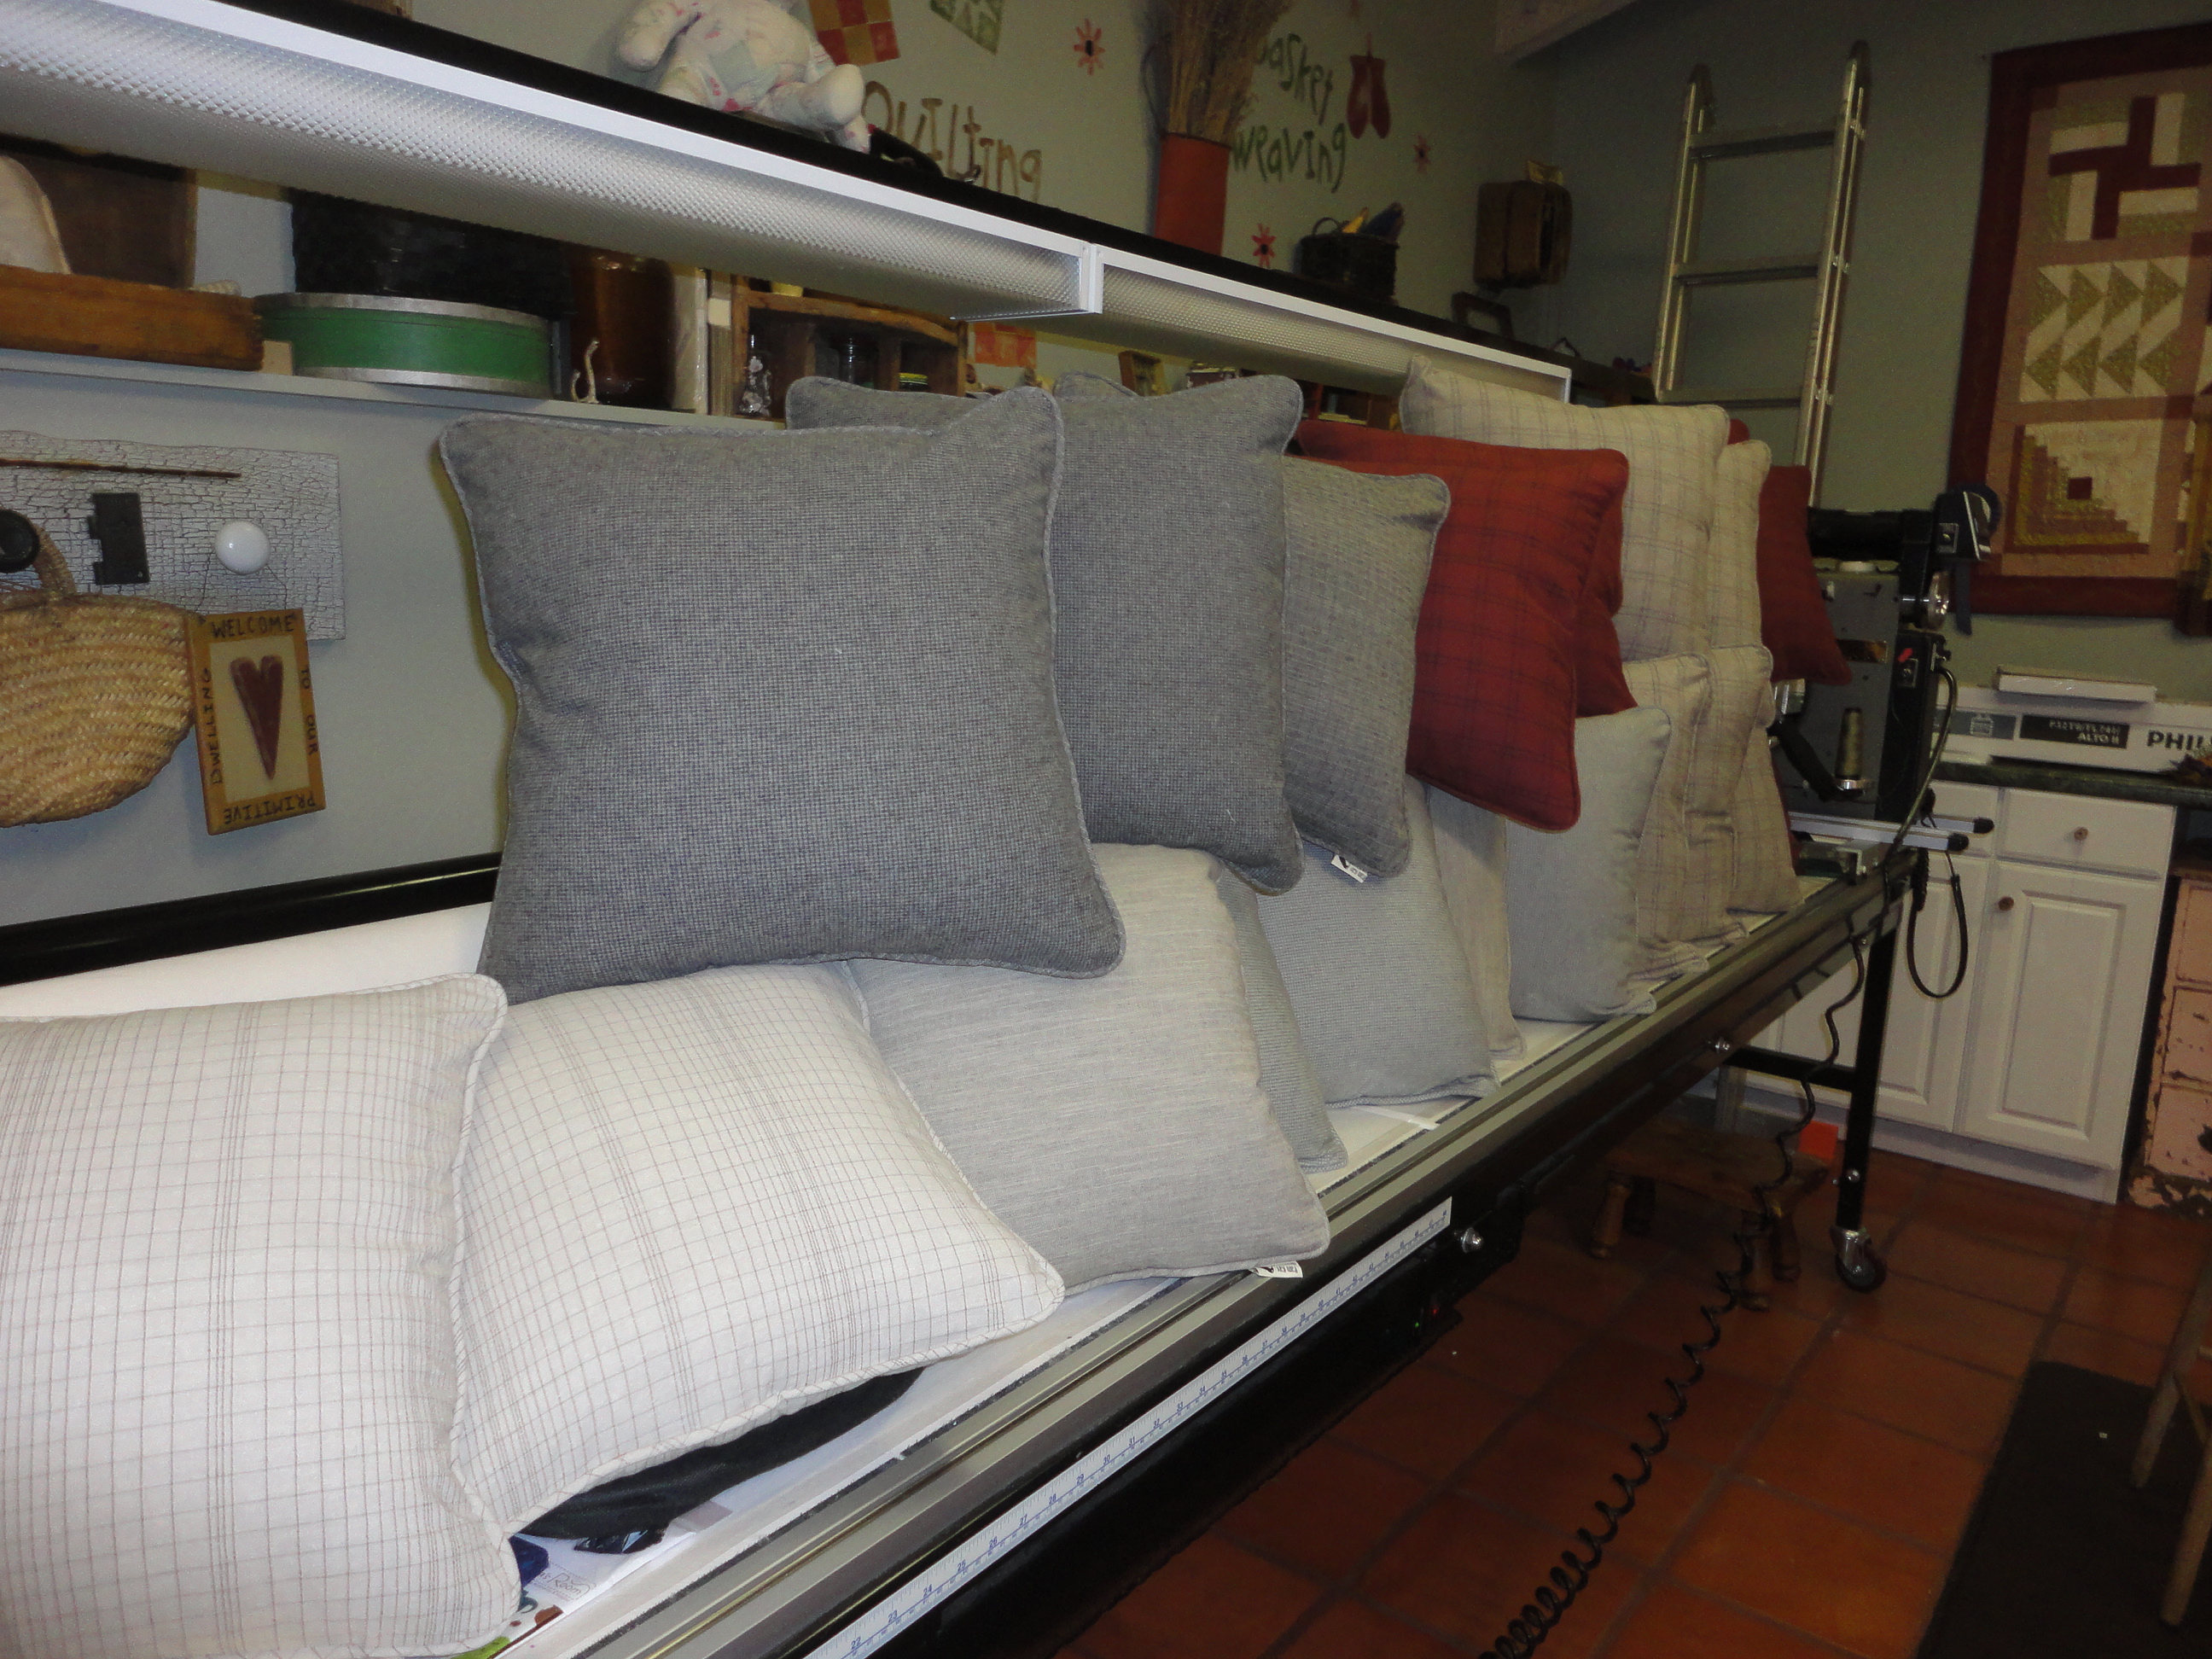 You can turn out professional looking pillows every time with this technique. They are beautifully square without those nasty pointy corners, and they are smooth and nicely stuffed. Remember, you can double click any picture to make it larger! Now, go make some pillows! And my friend, Pat, did just that. She sent these photos:
 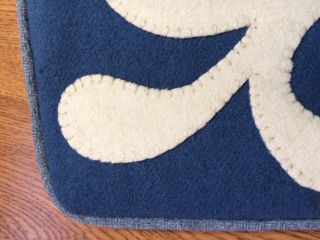 See the beautiful piping and wonderful corner?
 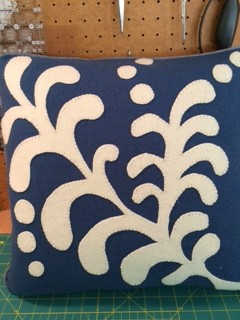 And here’s the completed project, a great wool on wool pillow. I think I see more in her future!
  Well, that sure didn’t take long! Here’s another darling pillow made by my friend Pat.

3 Responses to How about a little “pillow talk?”